Some months ago, a realization slapped me across the face: my daughters were growing up. One day I was watching two little girls sit together at the kiddie IKEA table in our living room working on their coloring books, and the very next day there was an 11 year old girl kneeling at that same table doing algebra homework while her 8 year old sister practiced her cursive handwriting. How did this happen? Where did the years go? Why were they still working on that kiddie-sized IKEA table? As their father, I had clearly failed them.
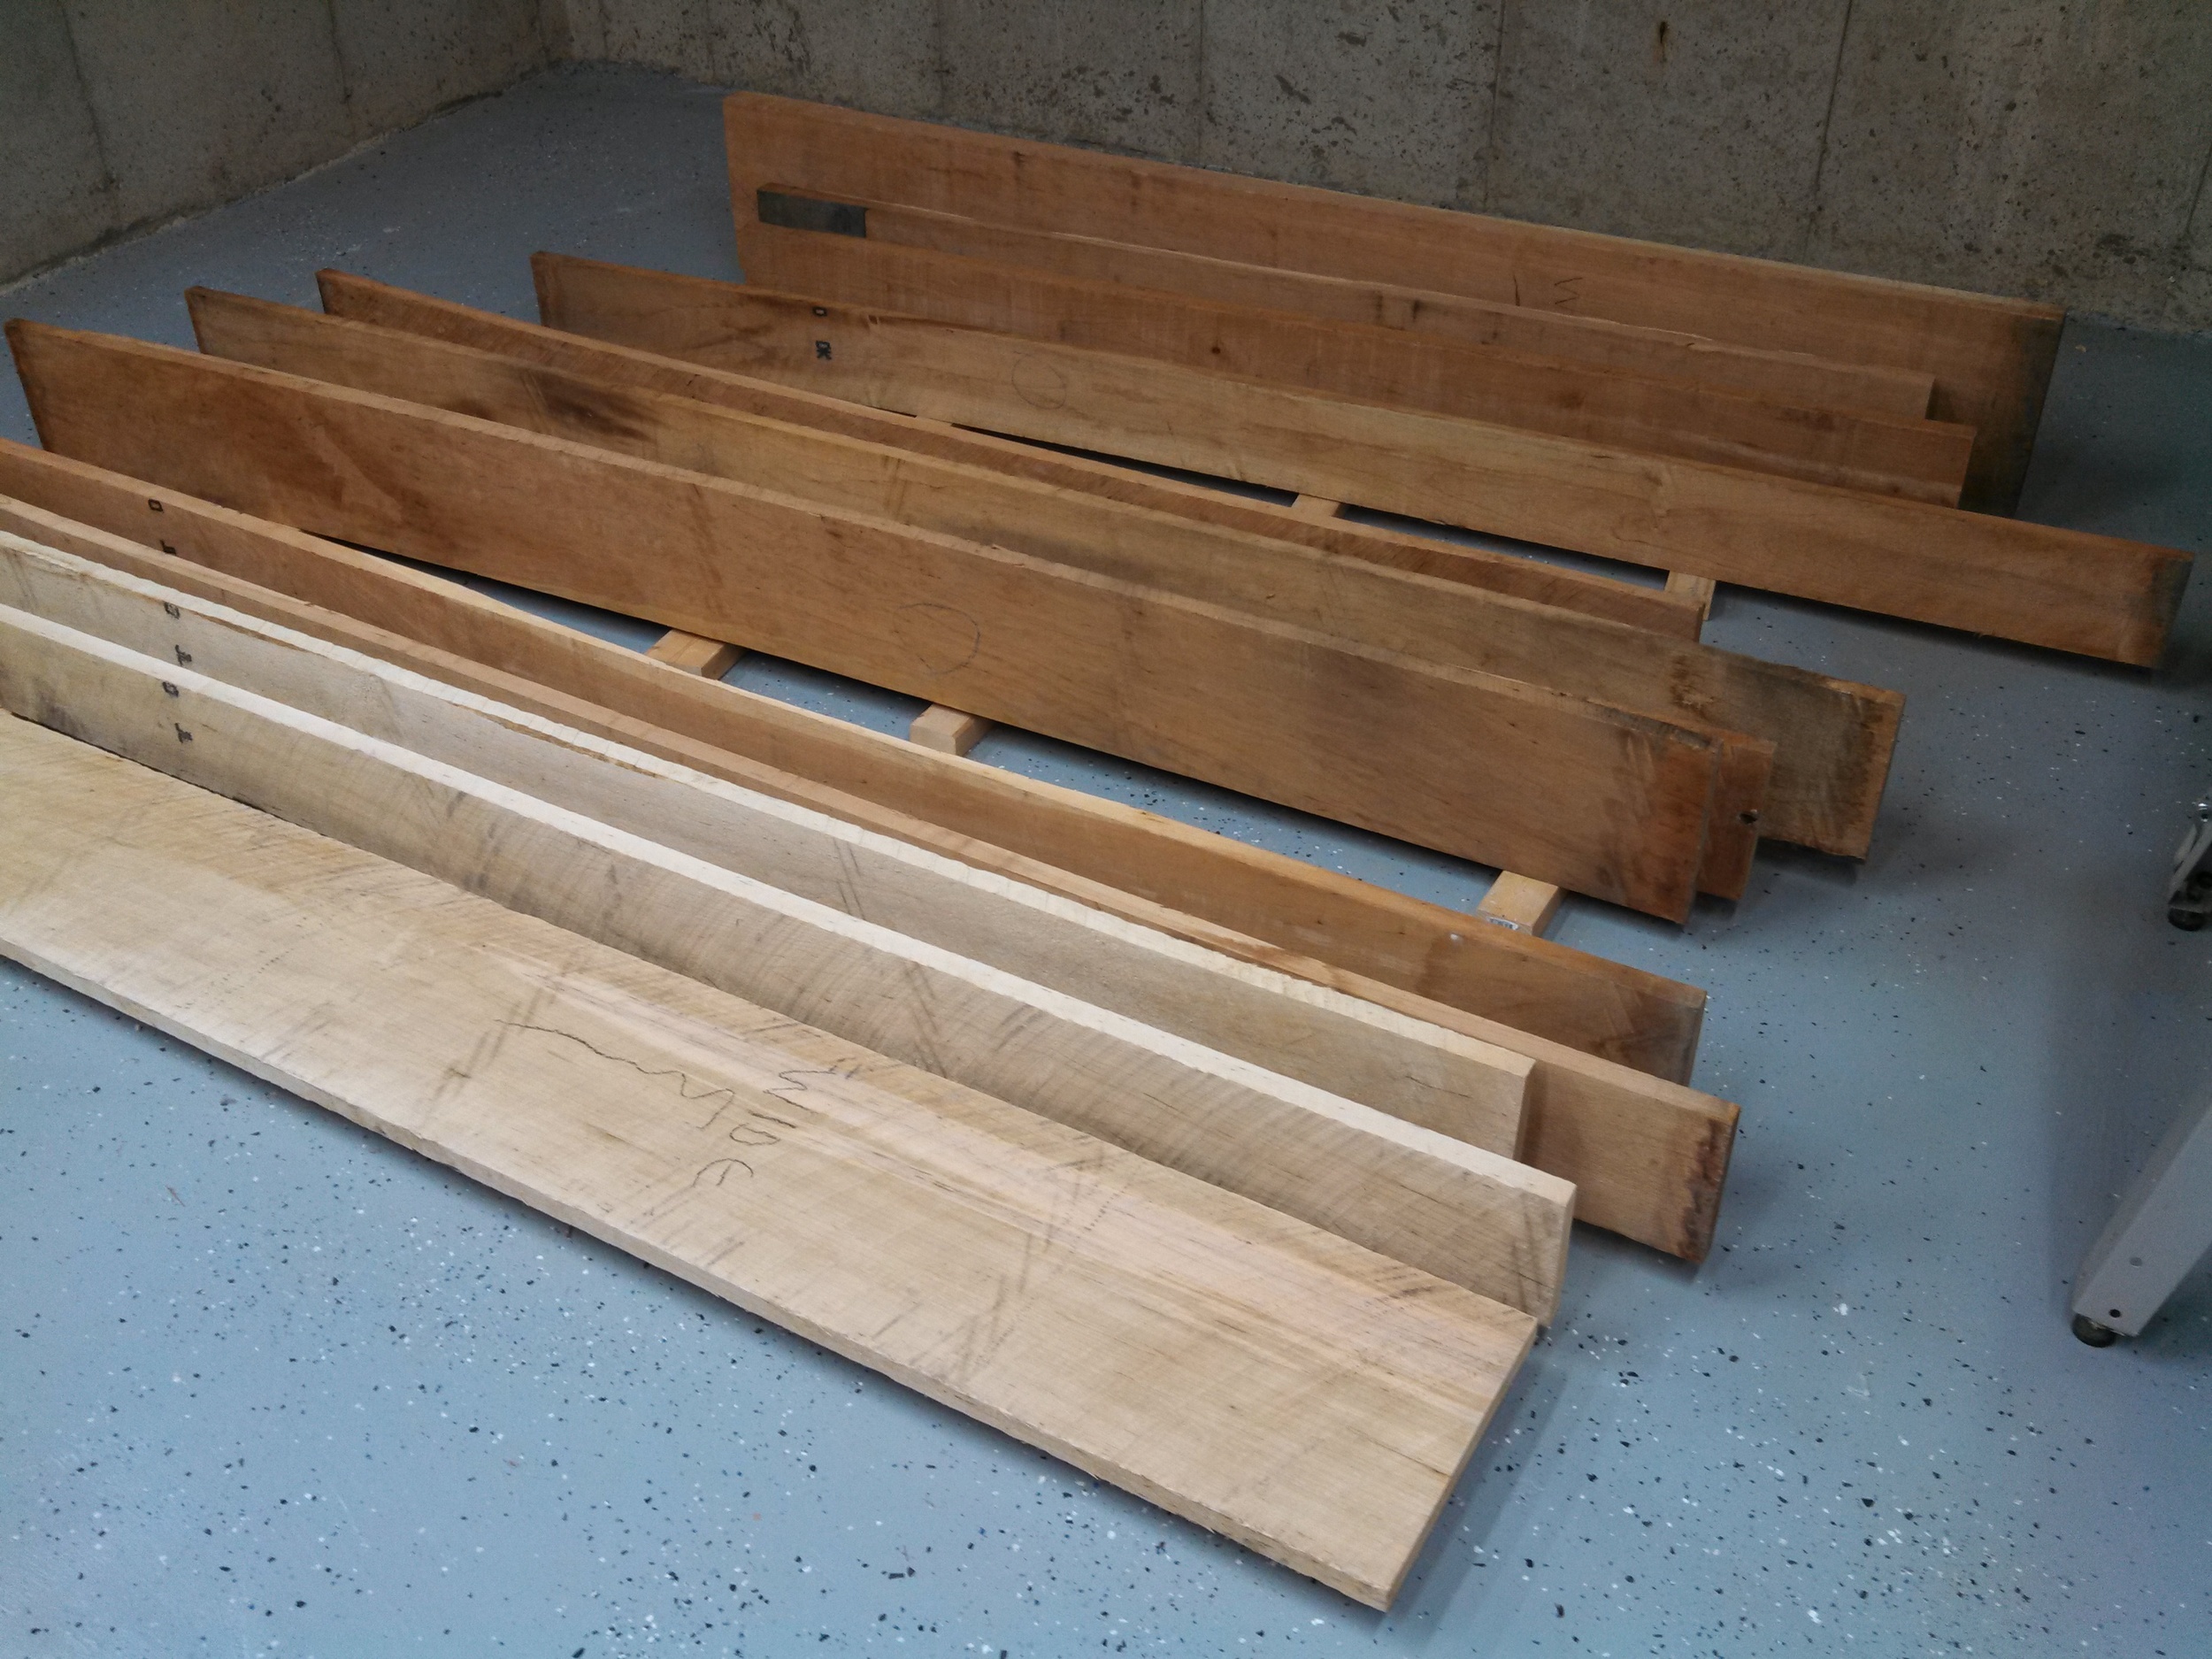
The curved front desk project is my attempt to set things right. I wanted an attractive adult-sized workspace for them to do their homework. My original plan was to design a desk based on our needs, but then I stumbled upon this curved-front desk design by Chris Gochnour in Fine Woodworking #225. It was exactly what I wanted. Chris built his version with African mahogany, which looks amazing, but is also eye-poppingly expensive in my area. Instead, I chose cherry for the carcase and soft maple for the drawer boxes.
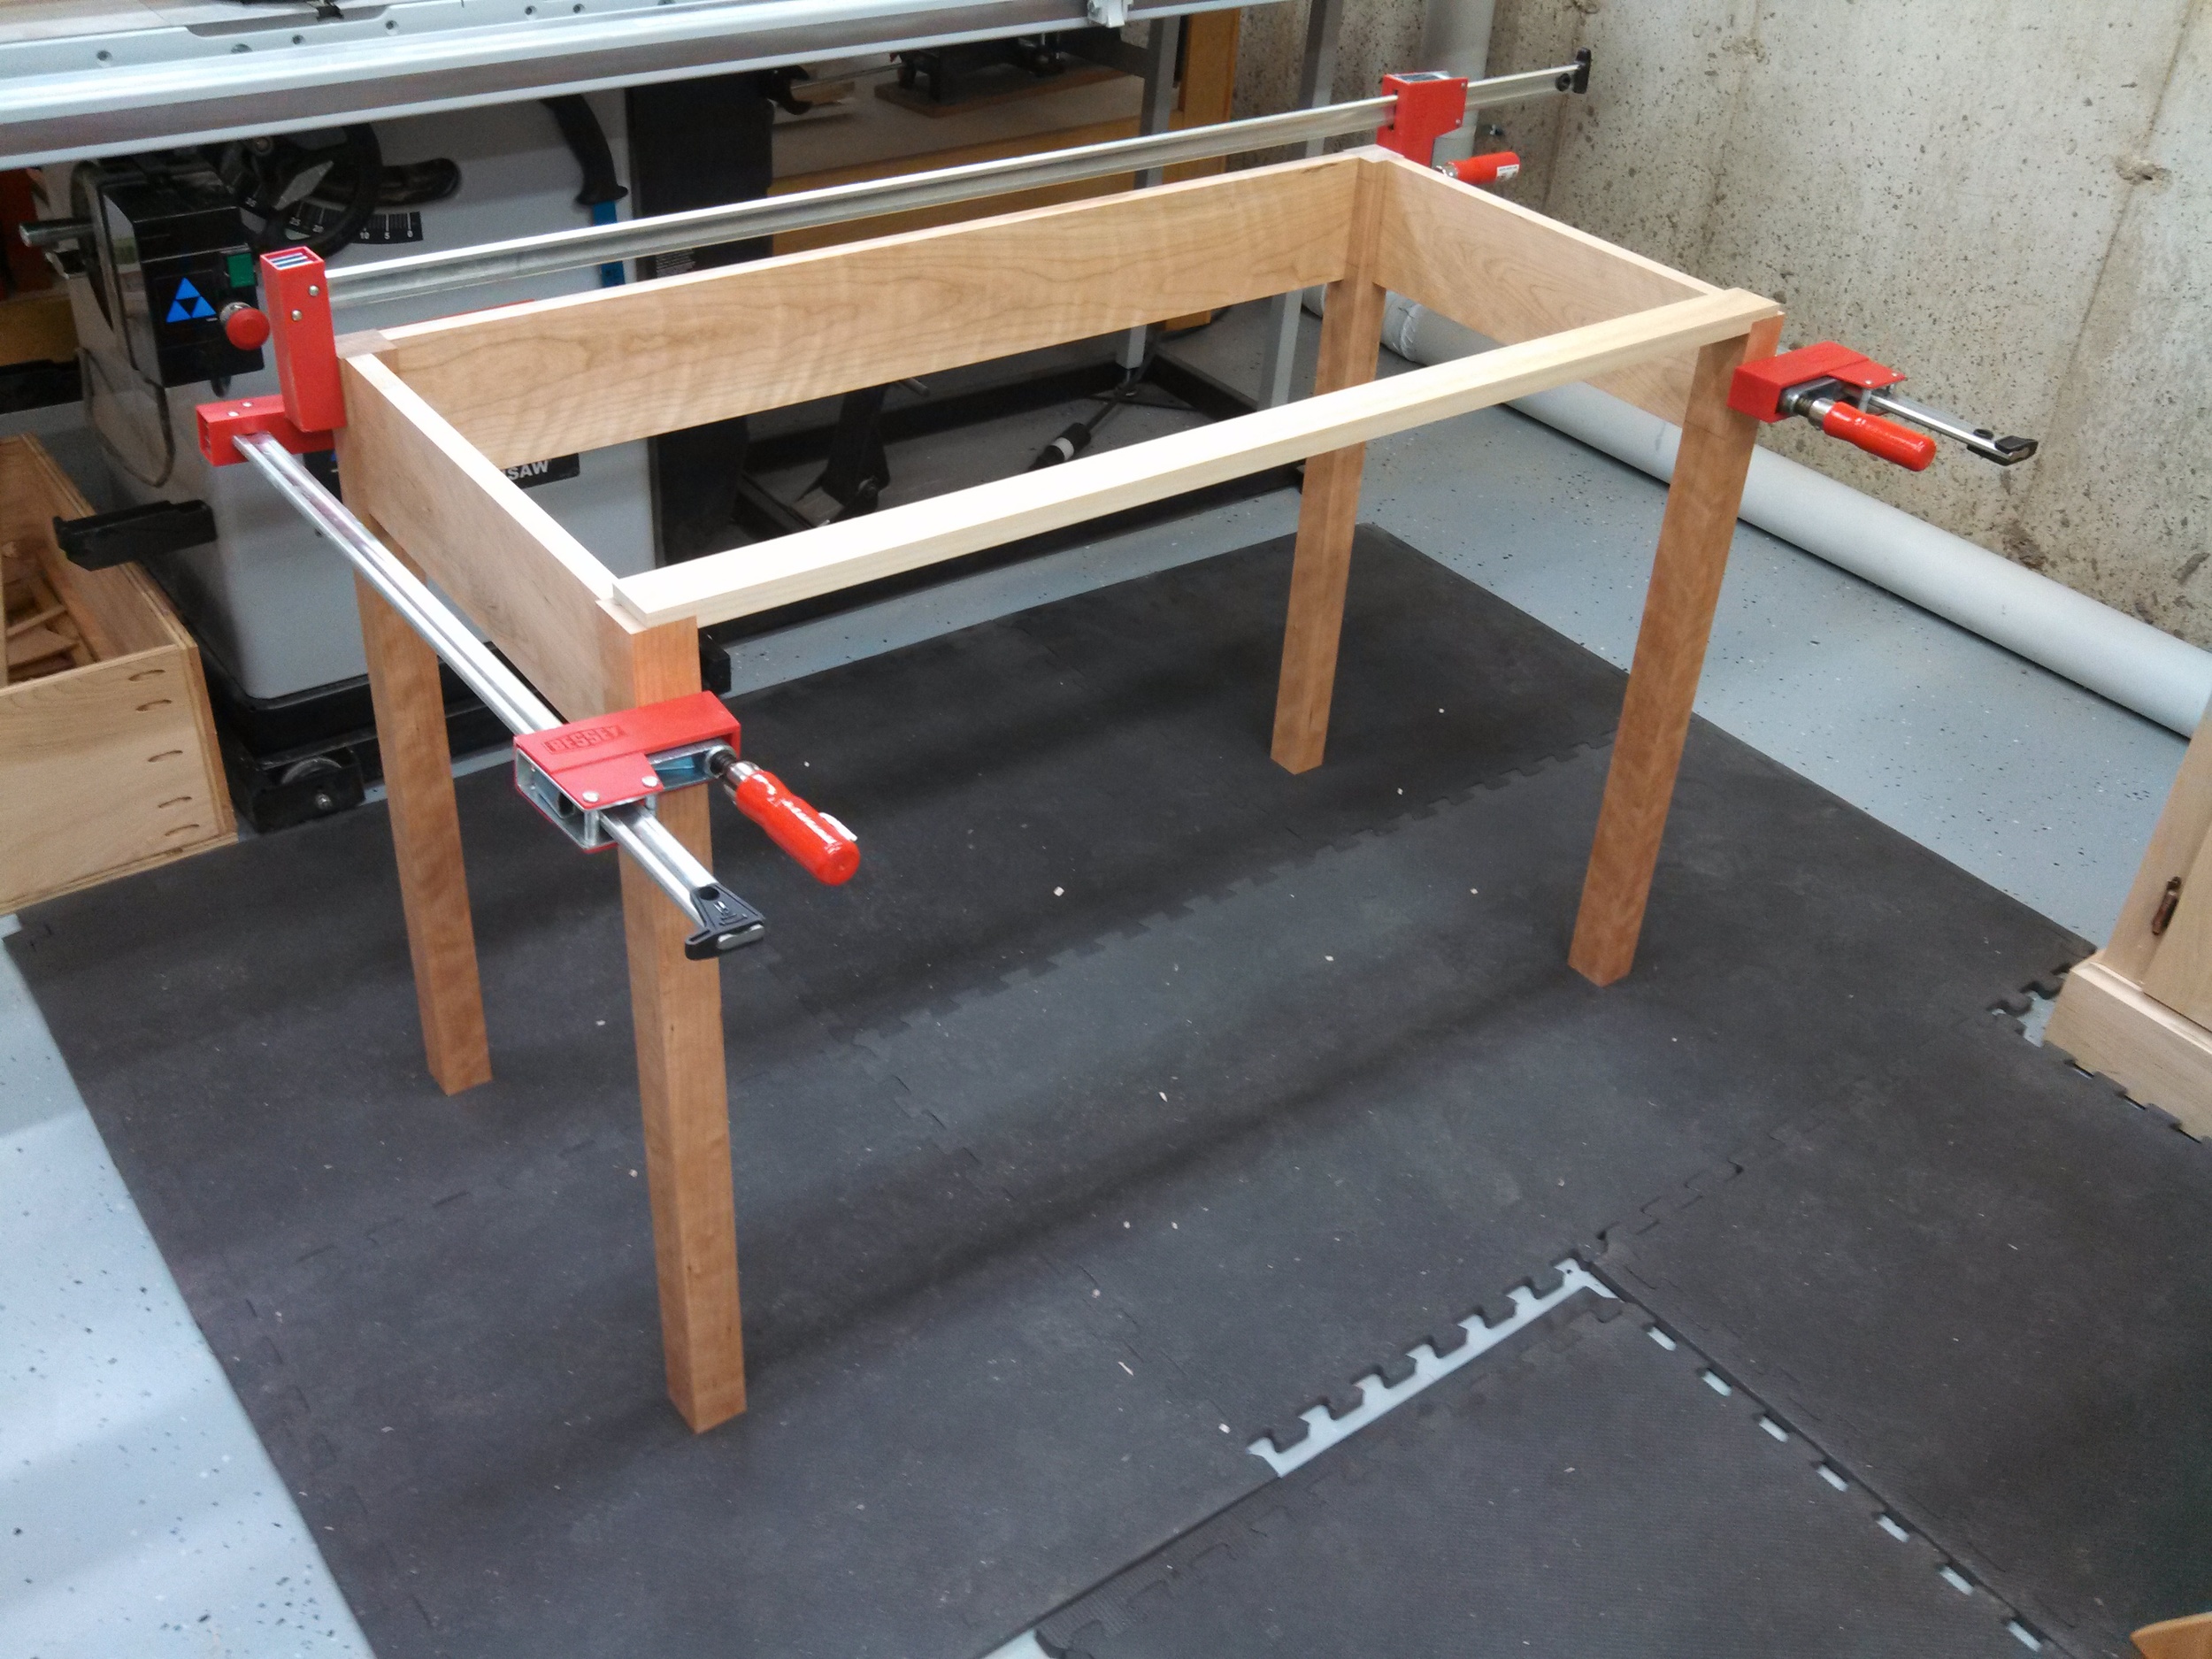
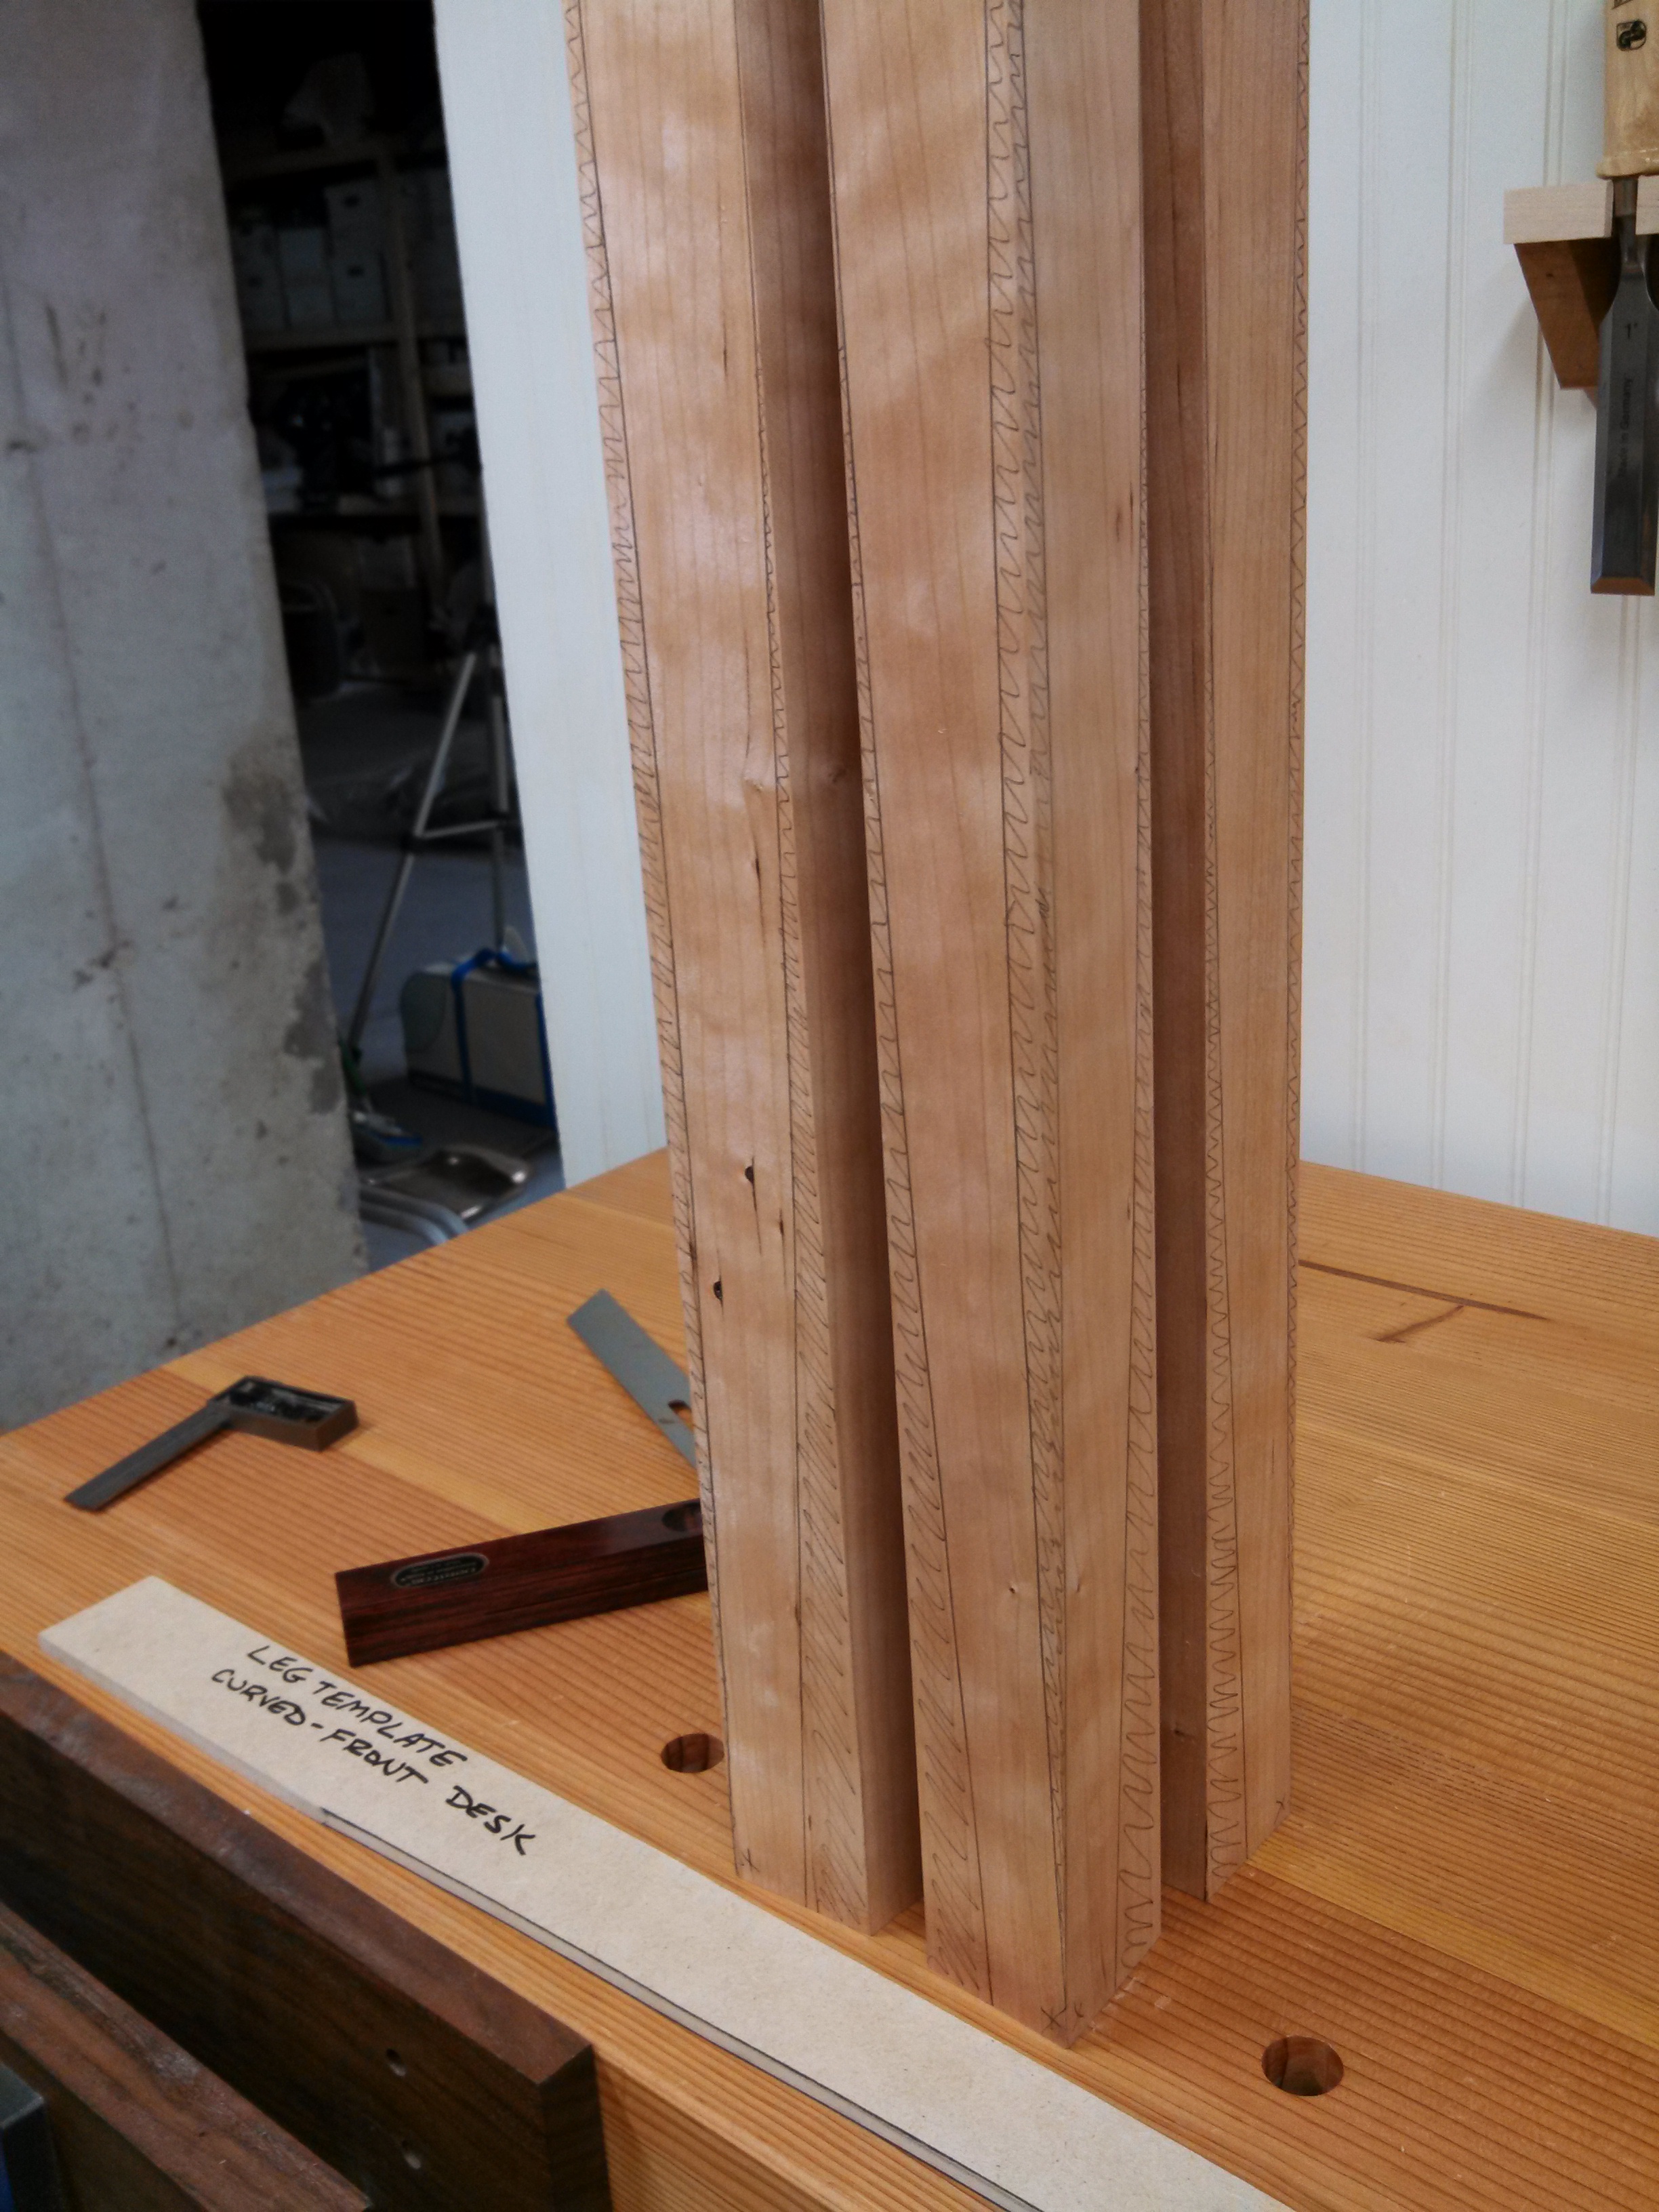
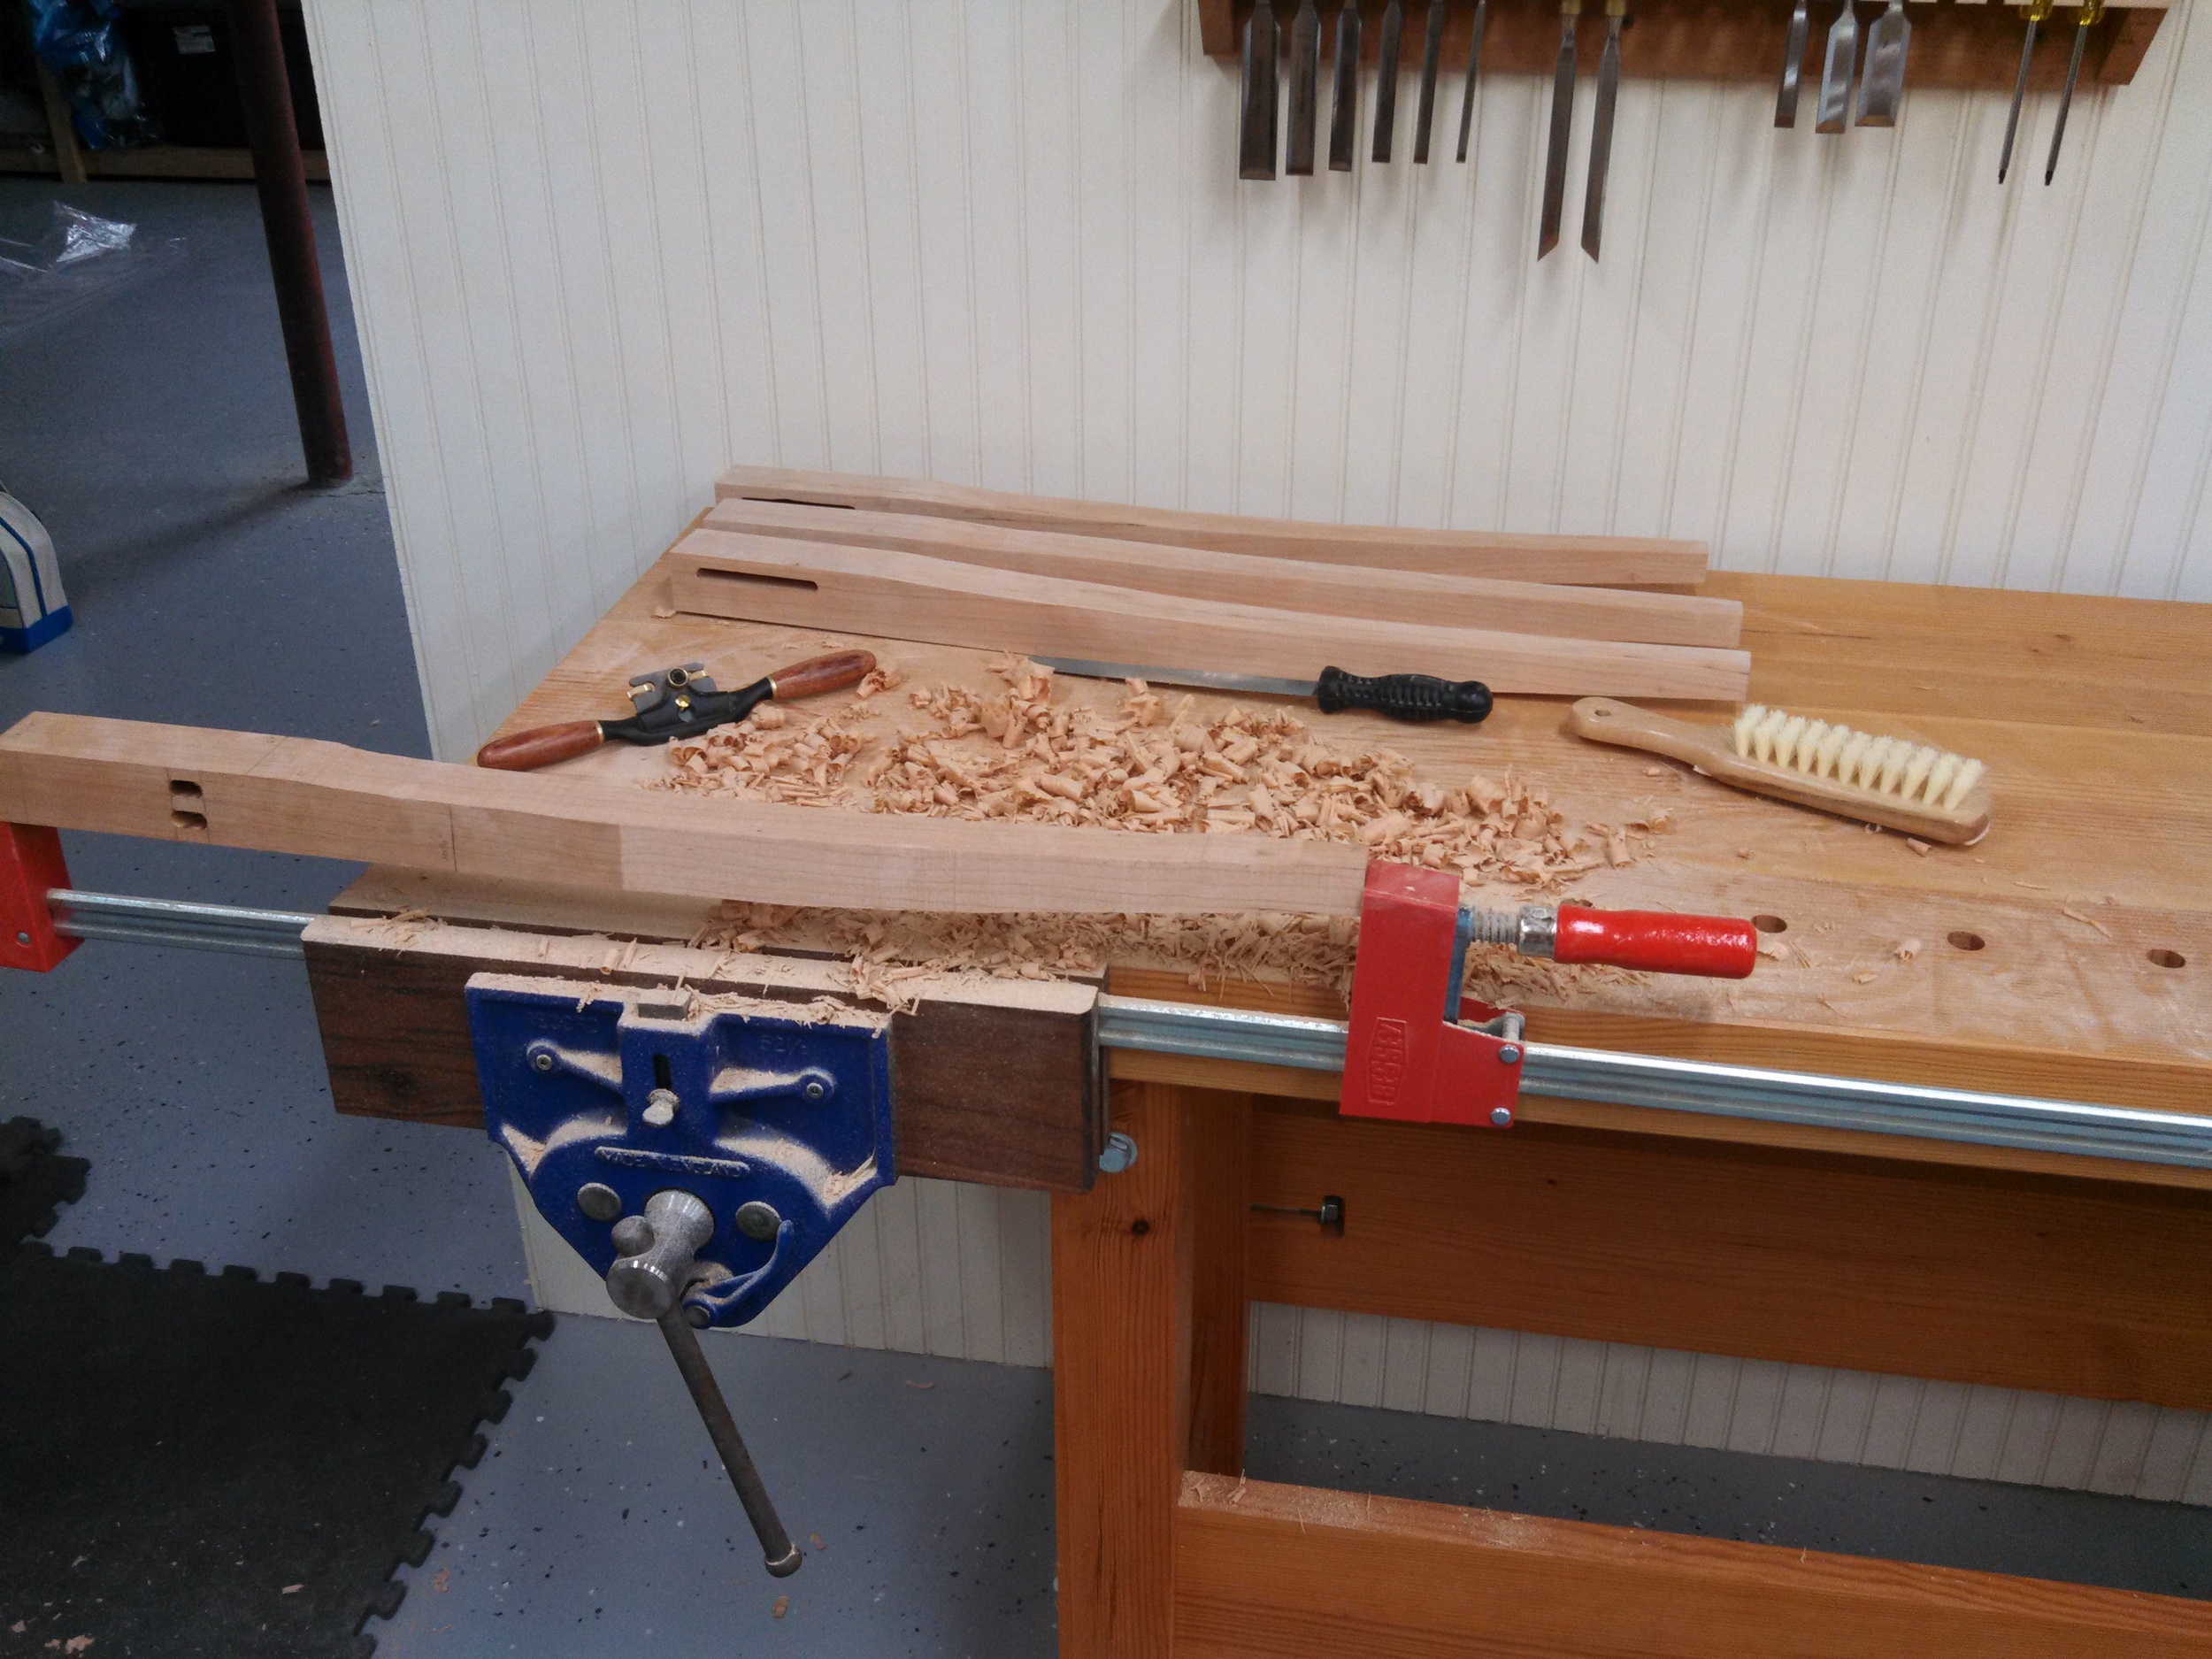
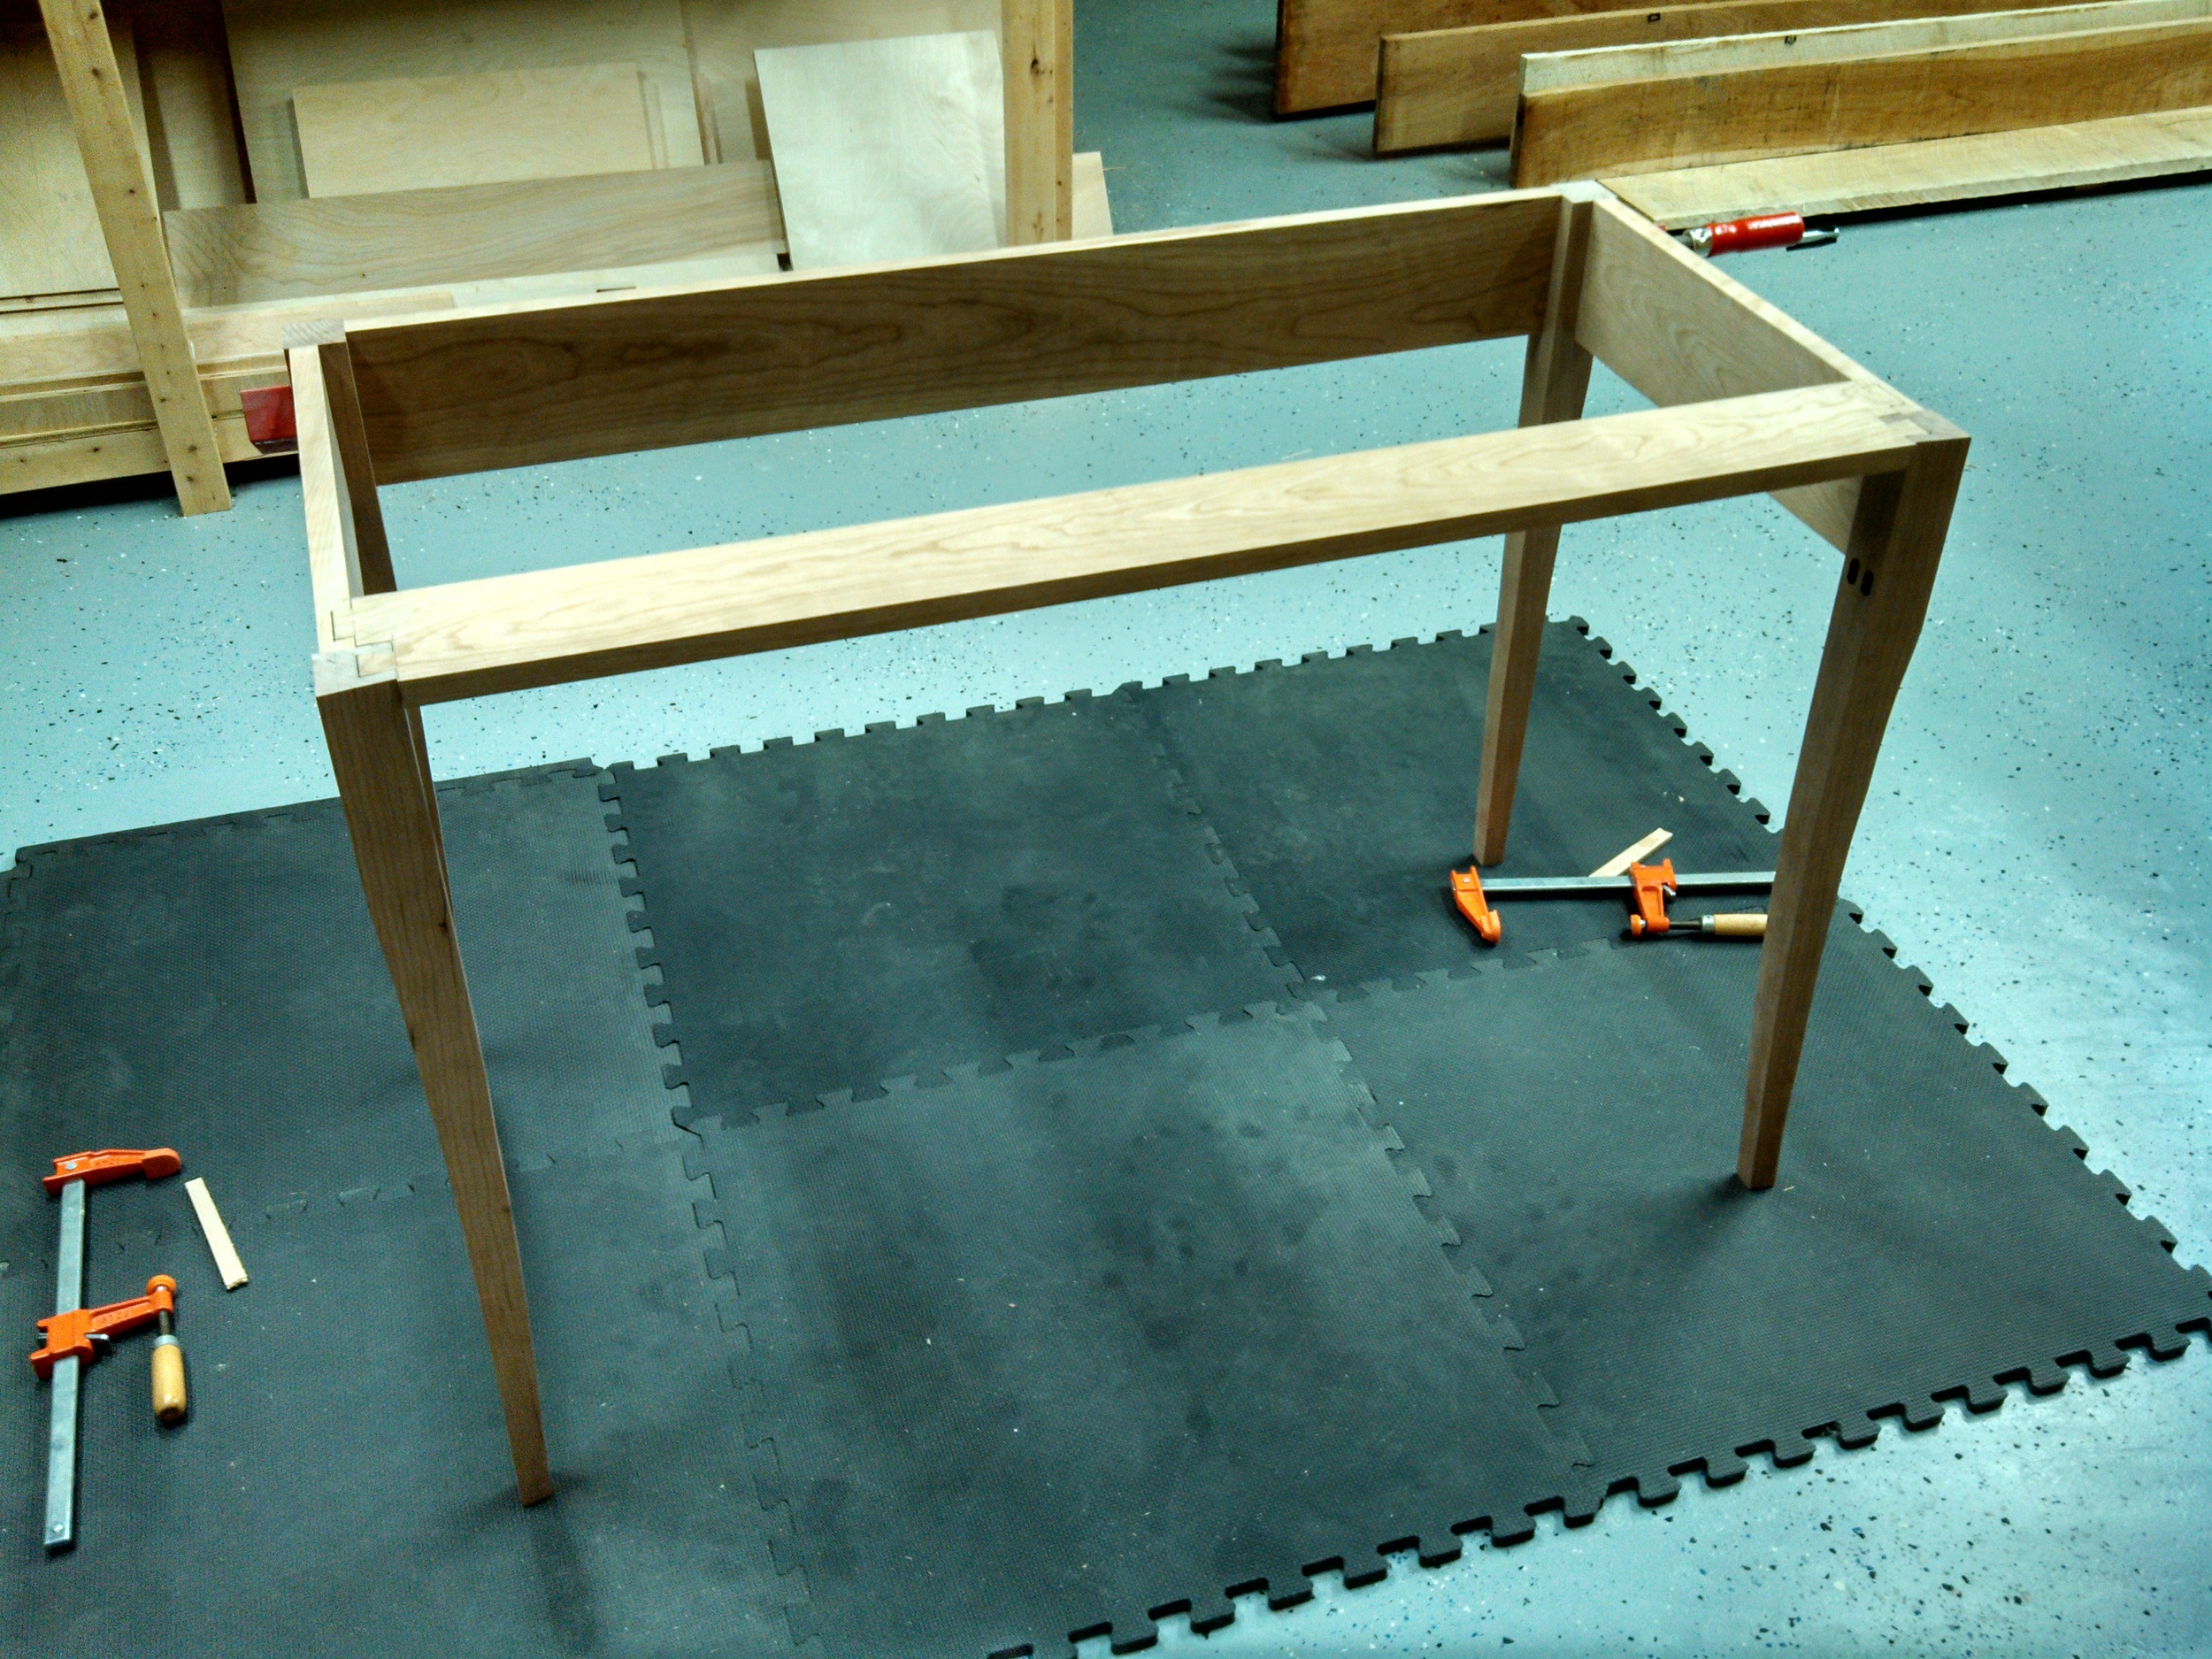
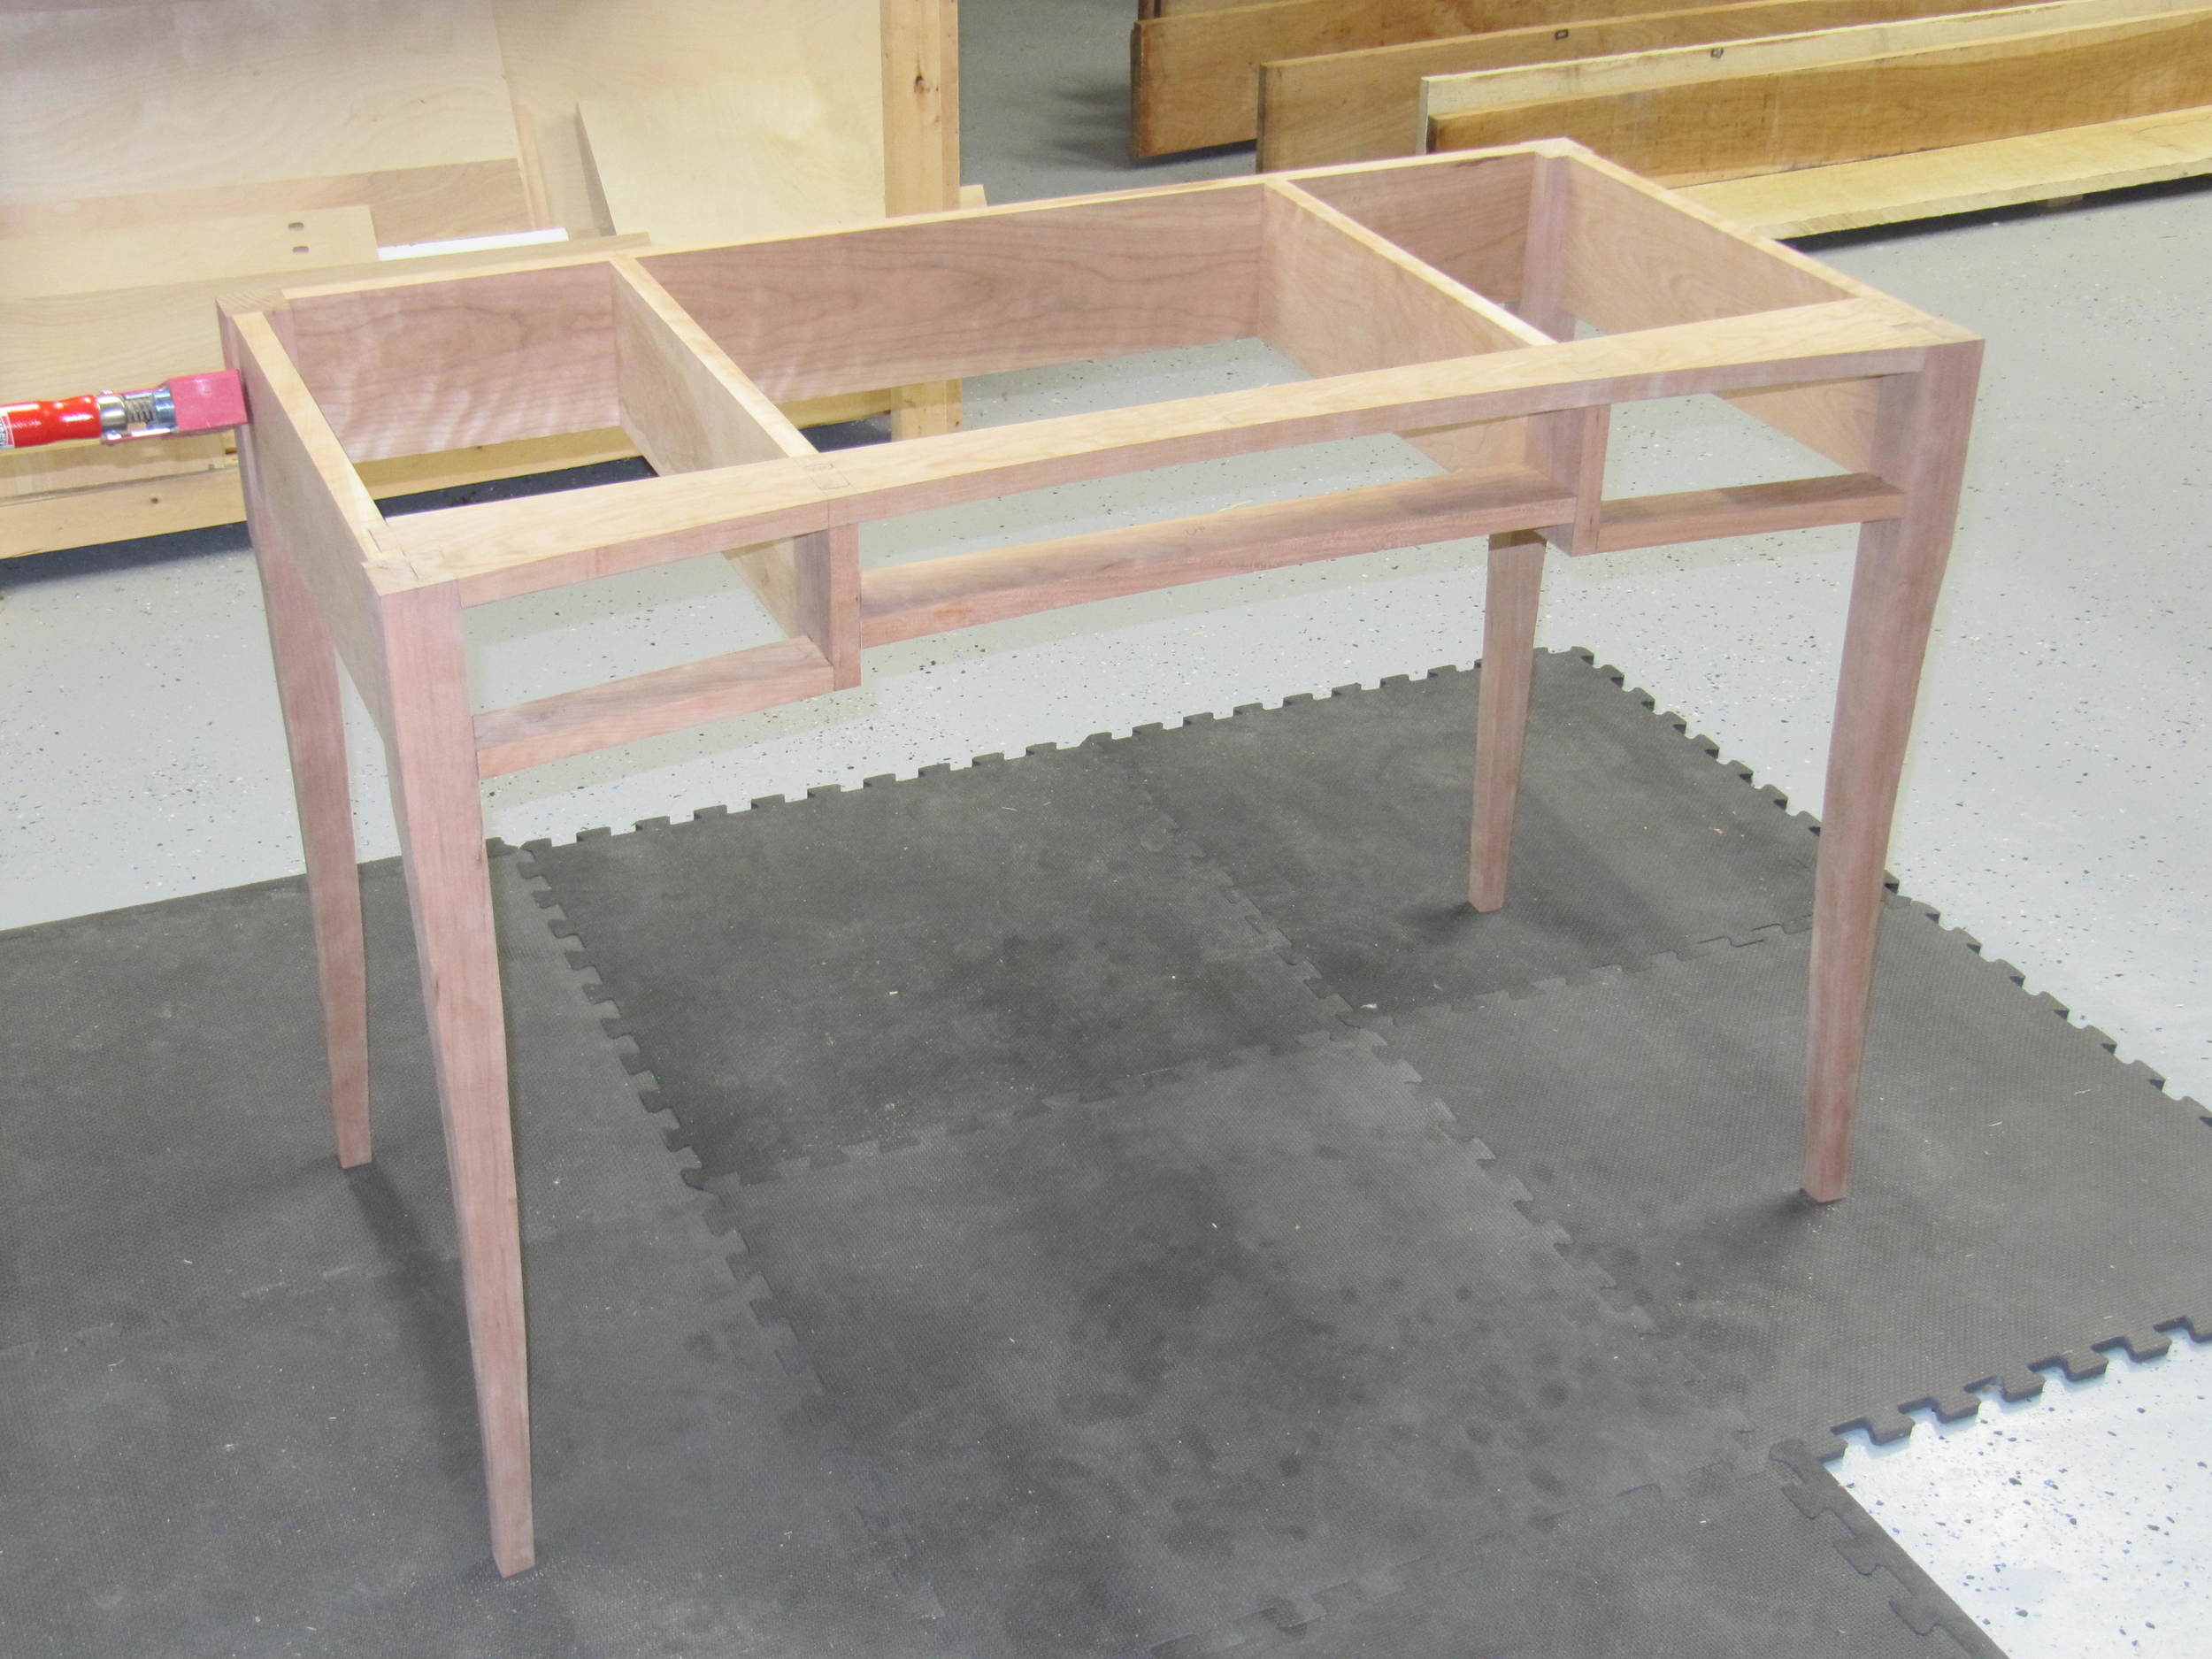
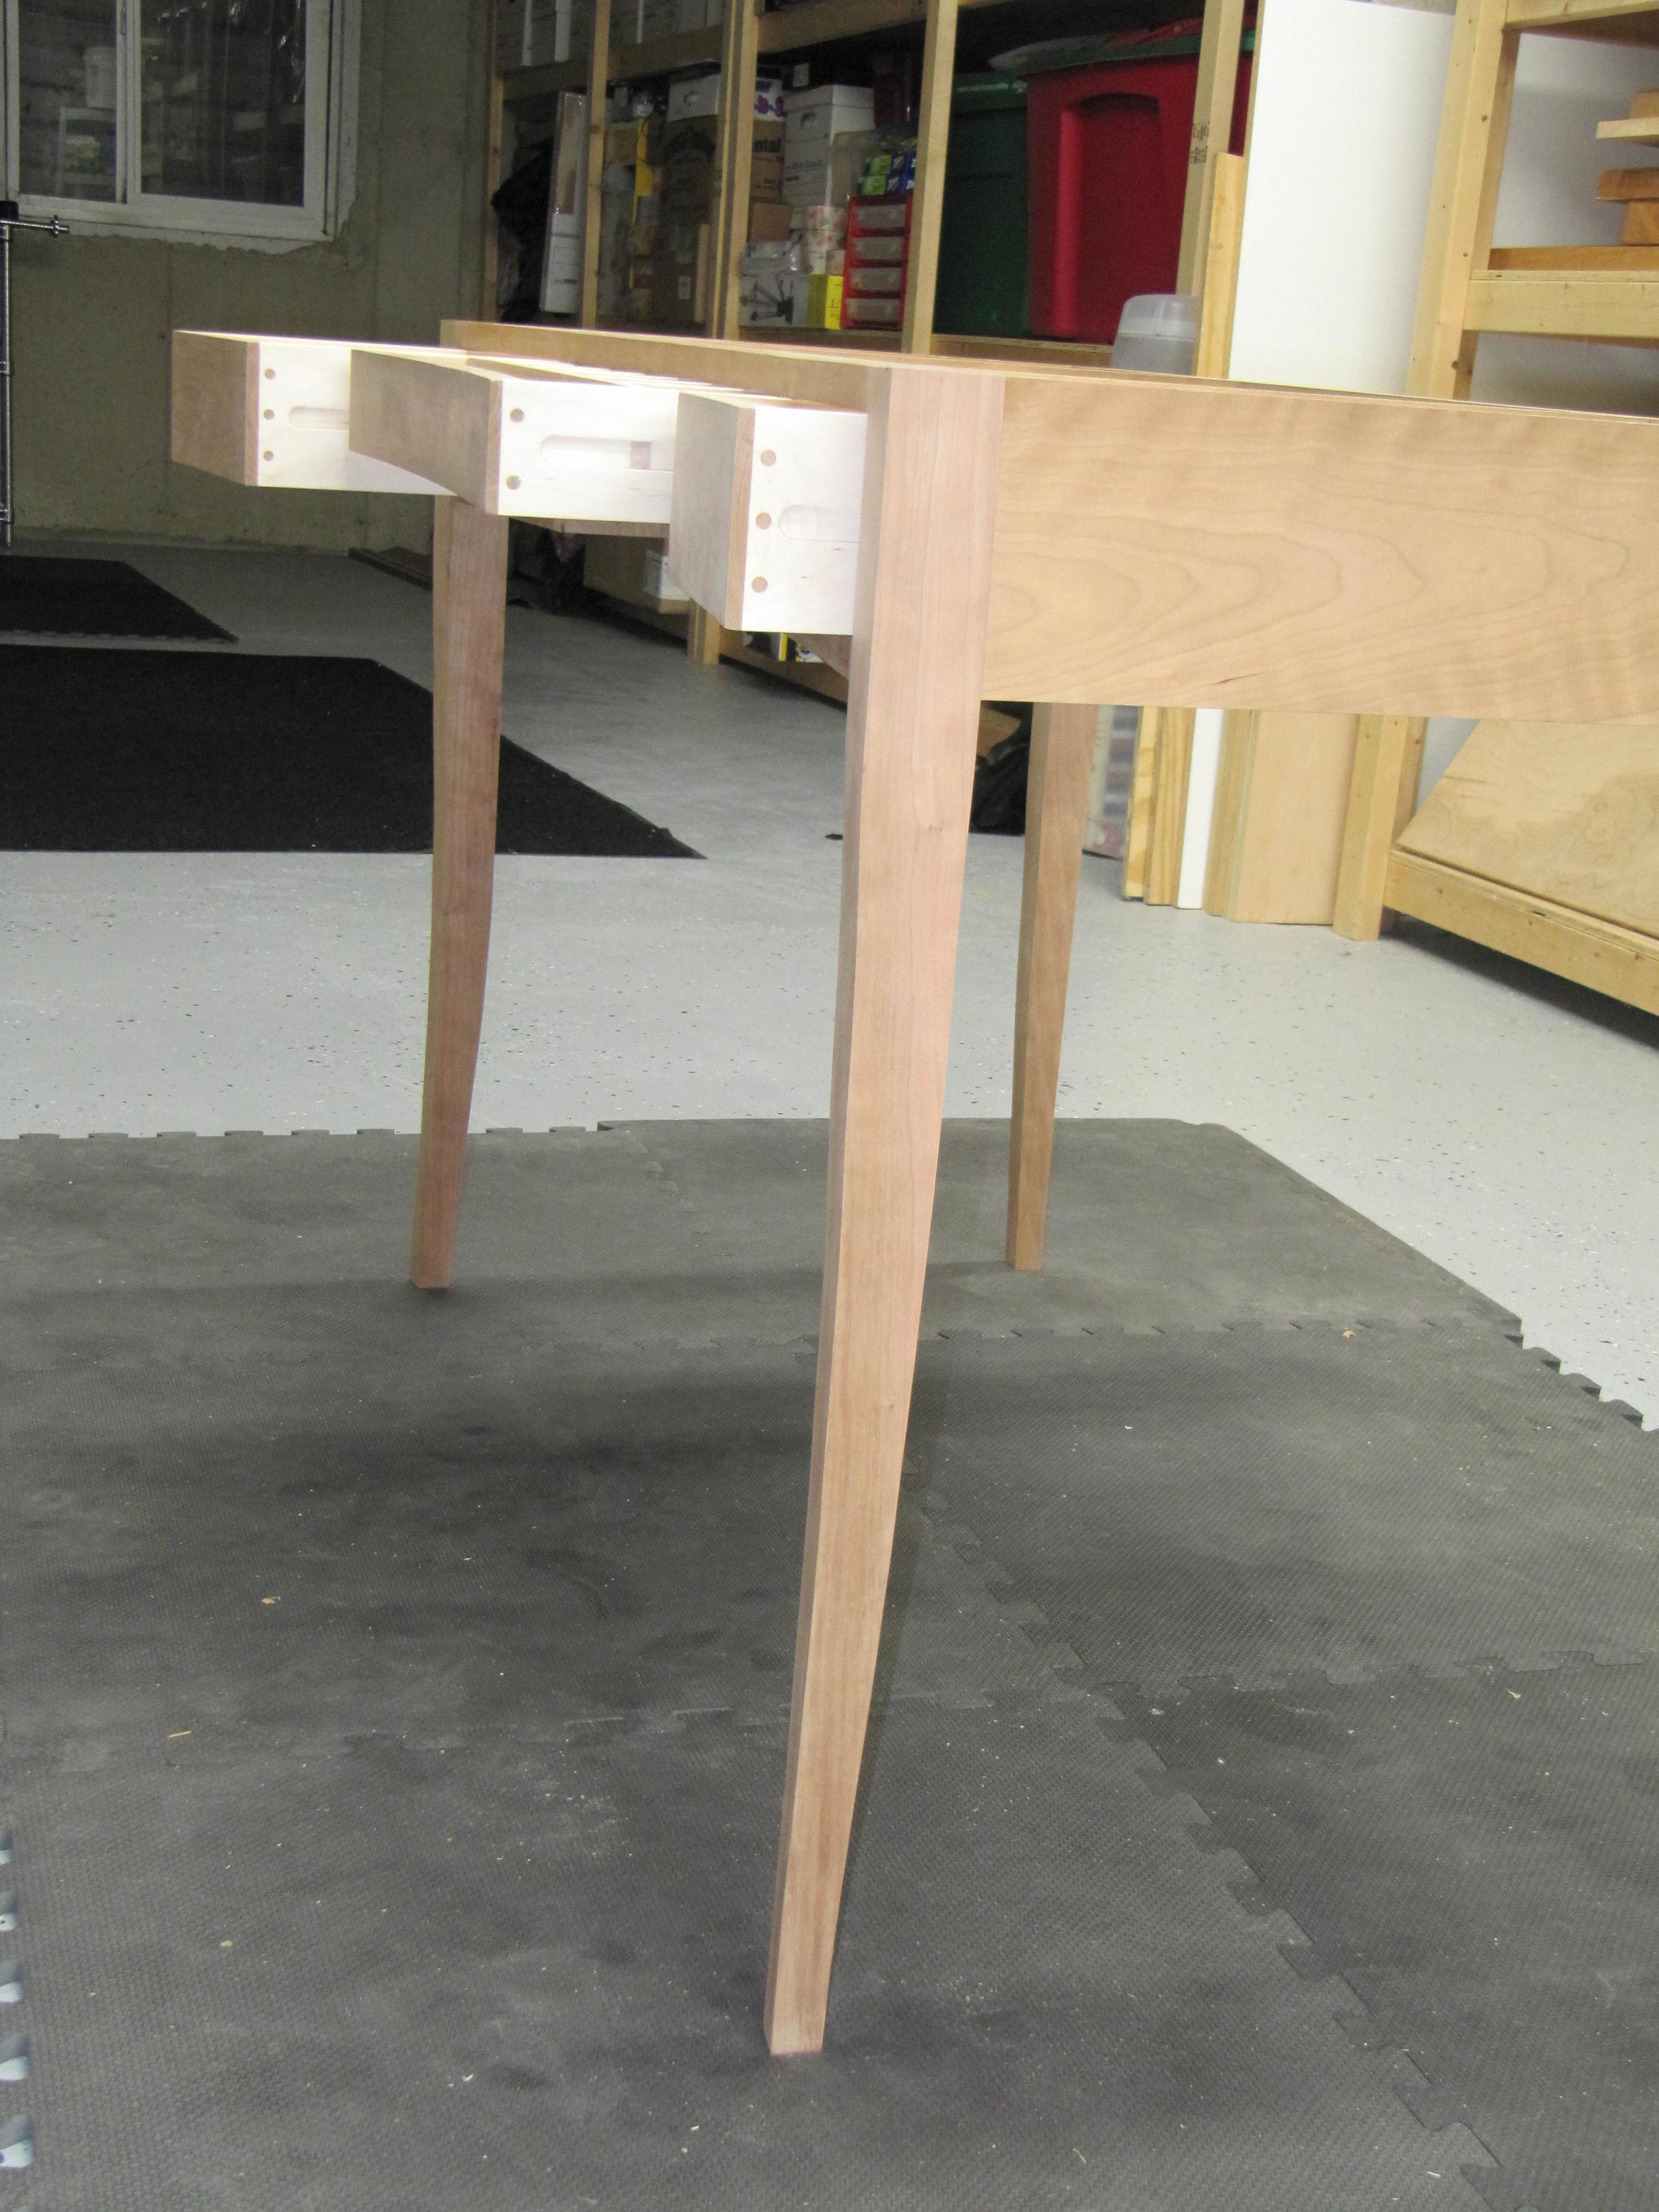
I cut rift-sawn blanks out of 8/4 stock for the legs. I gave them their modernized cabriole shape by rough cutting on the bandsaw and finessing with a spokeshave. The back and side aprons are attached to the legs with mortise-and-tenon joints.
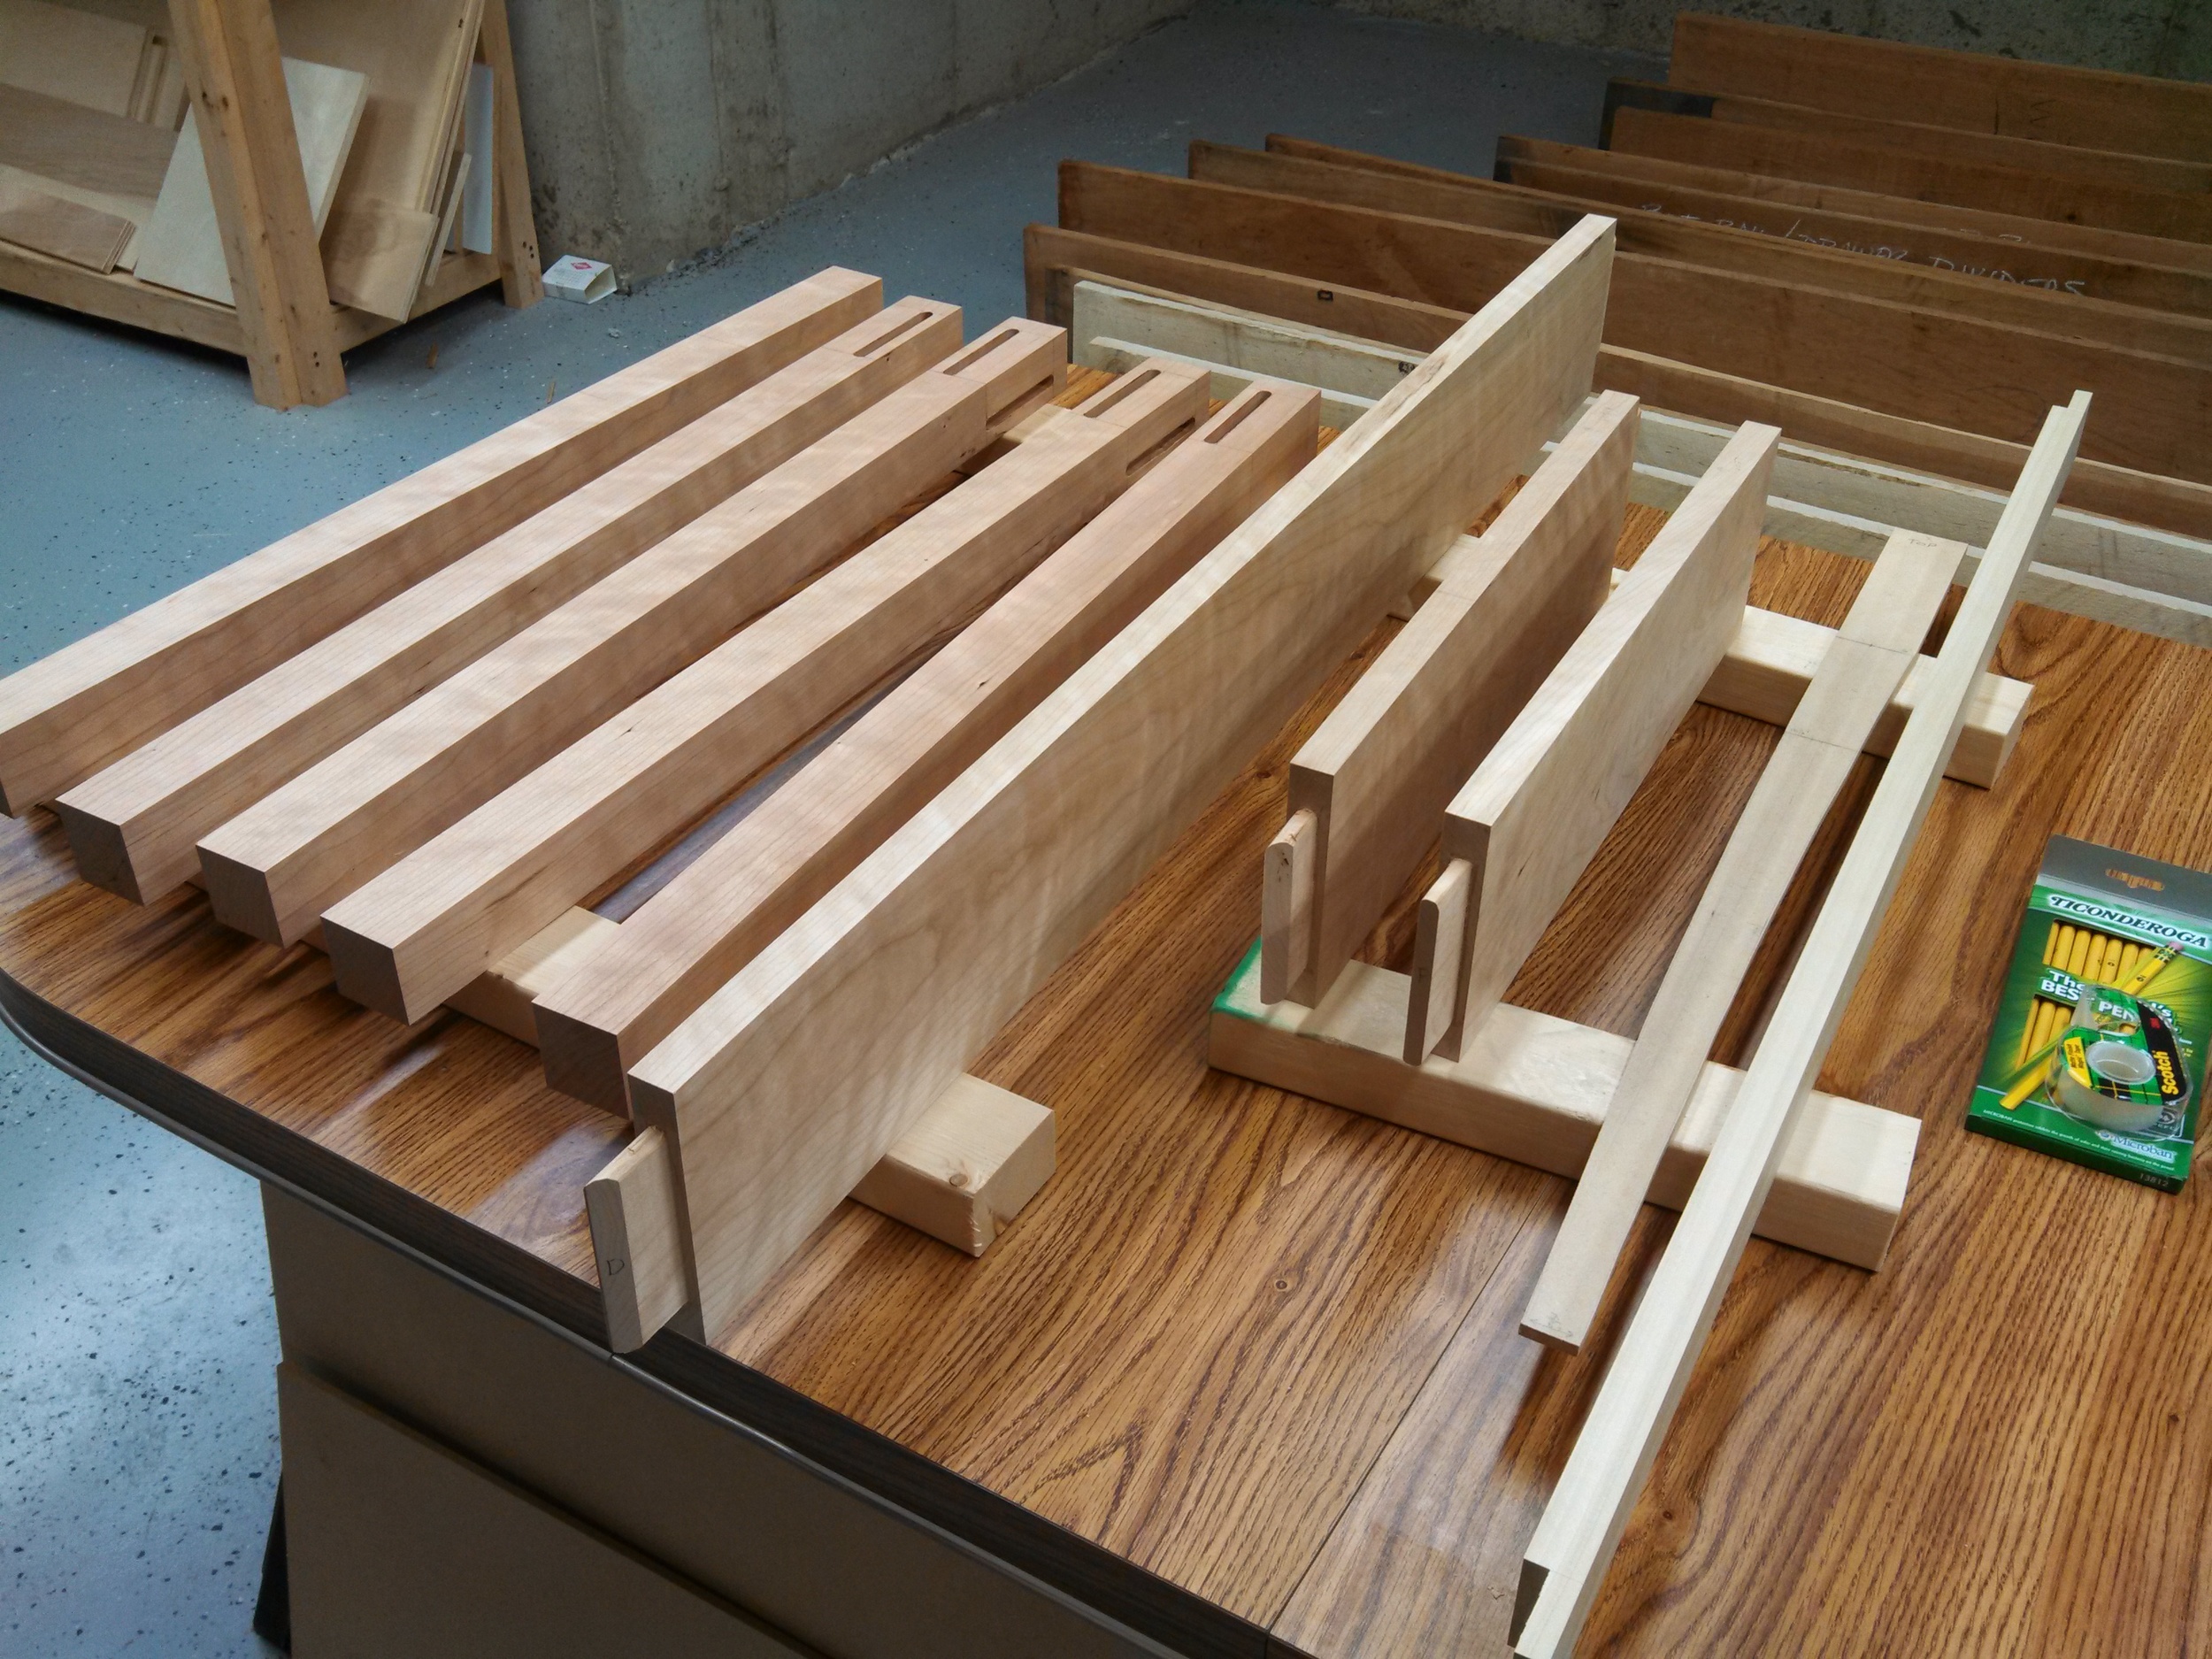
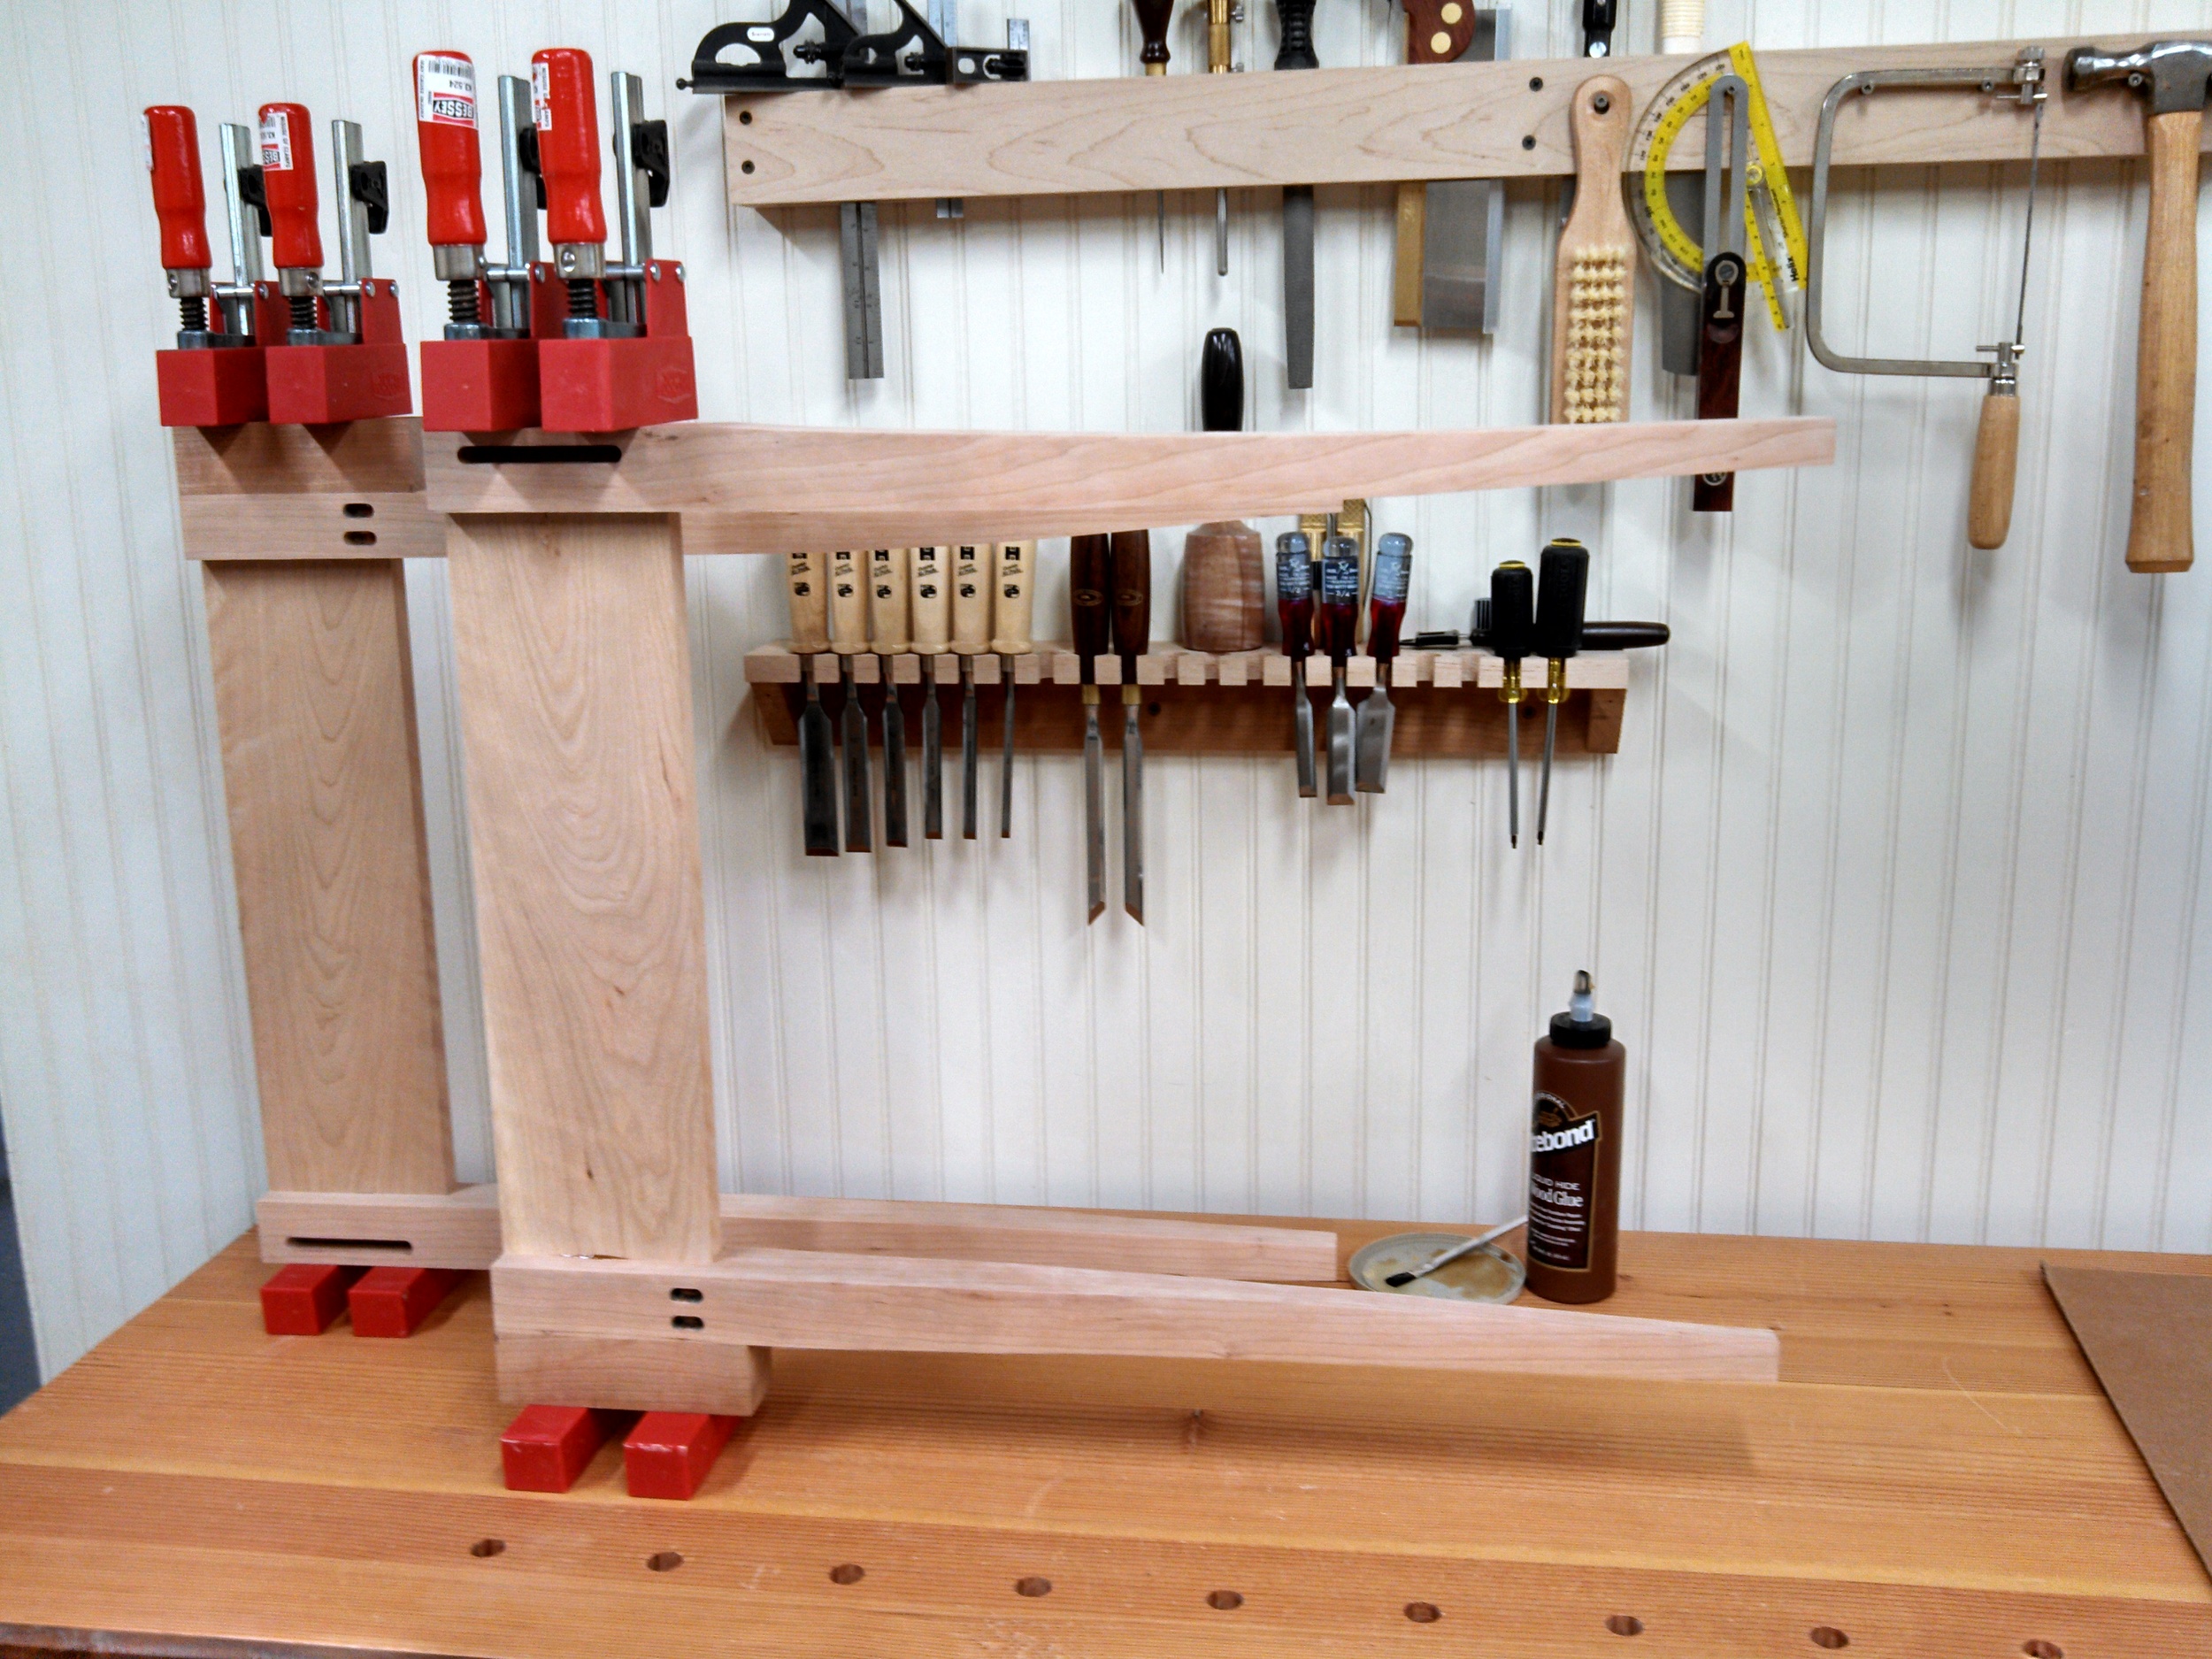
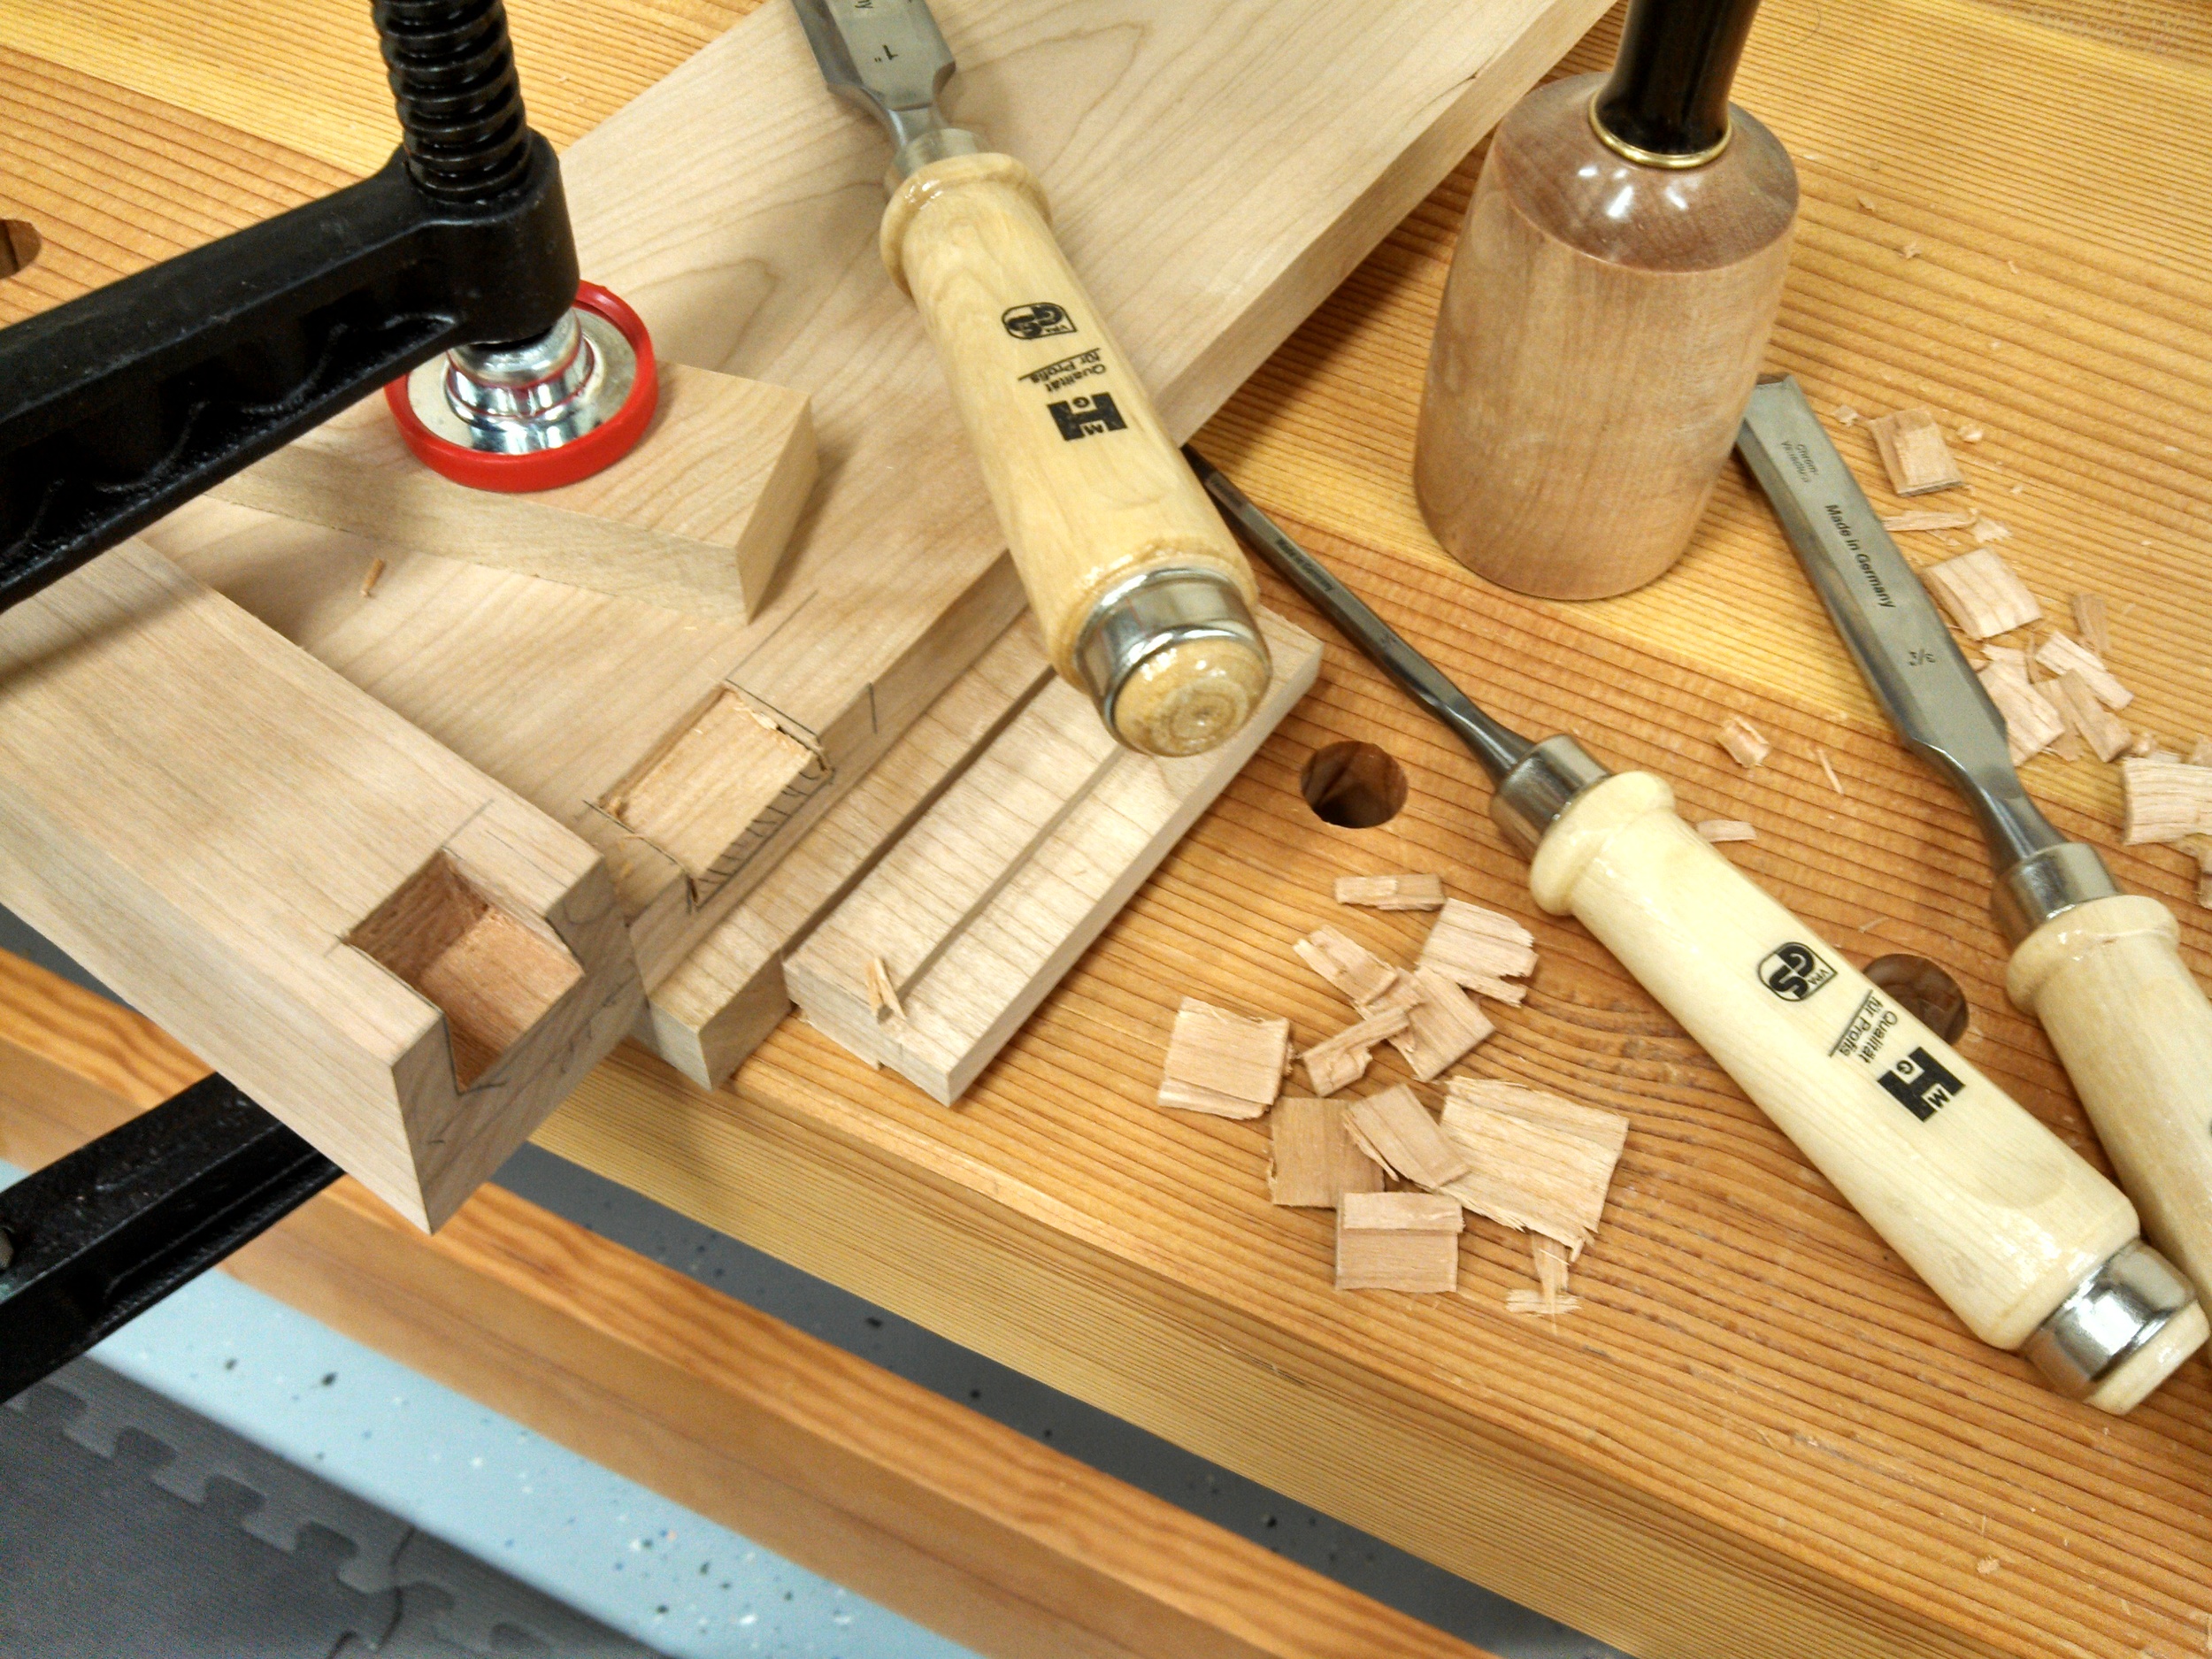
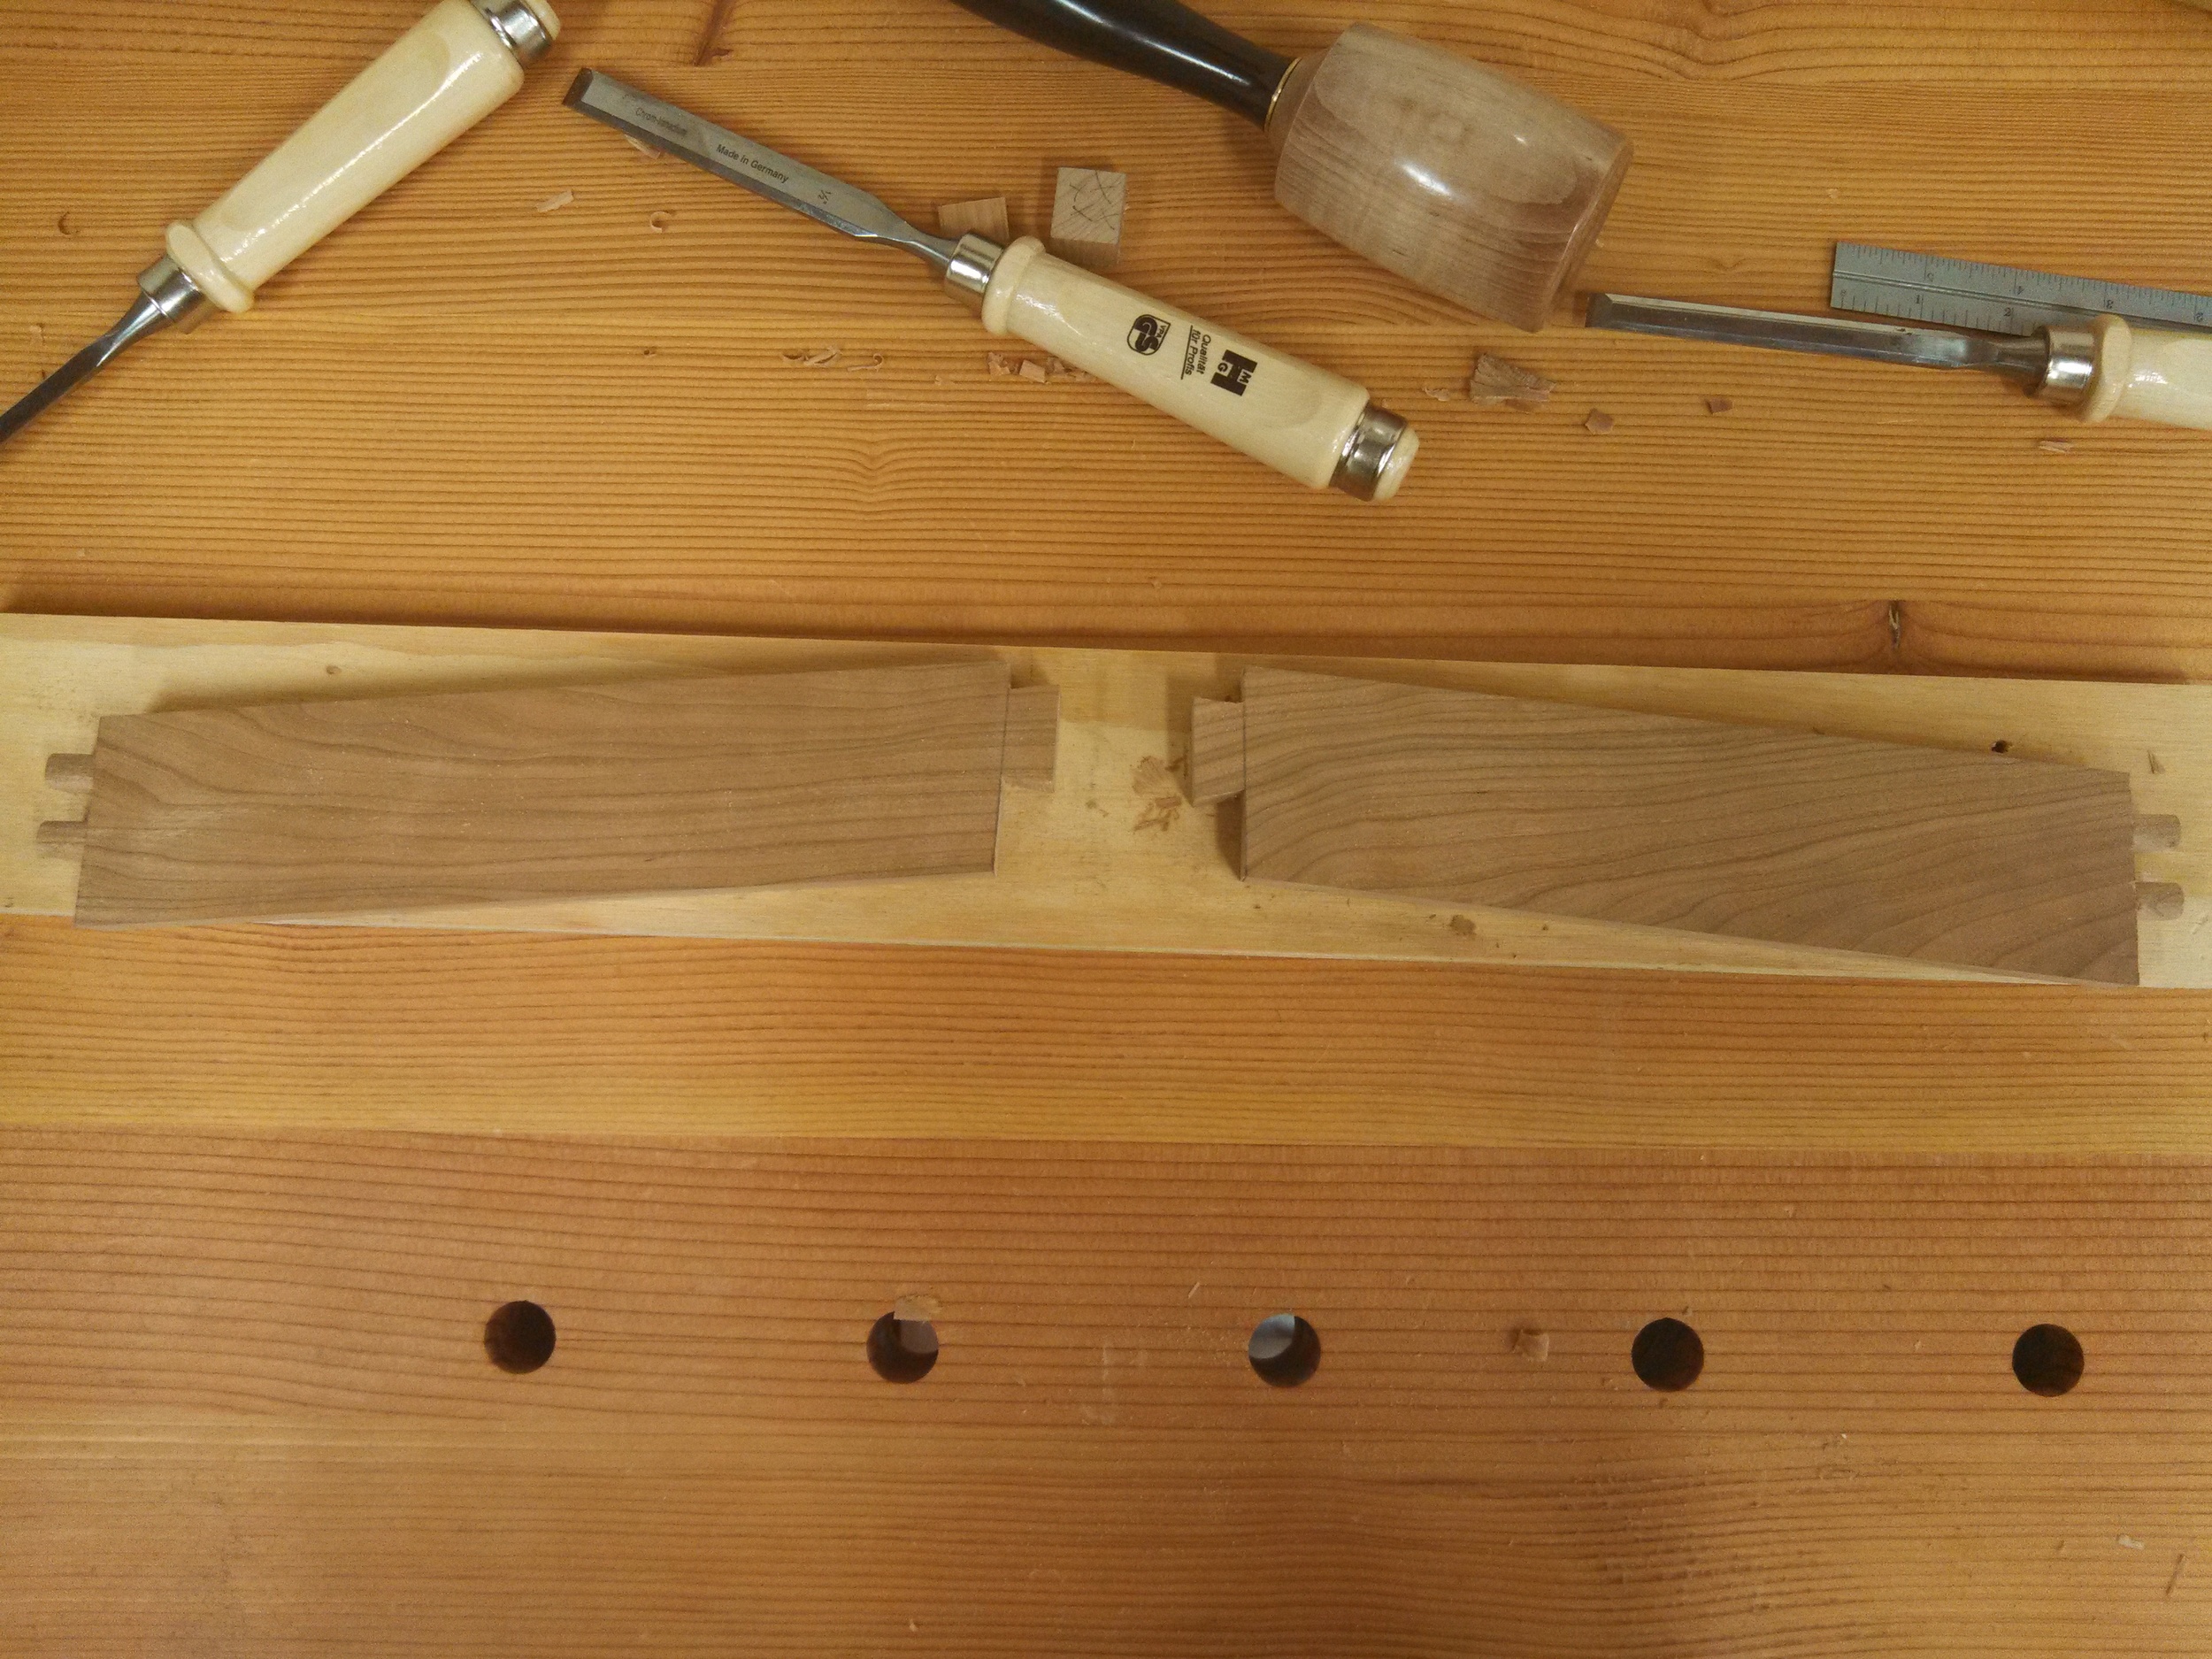
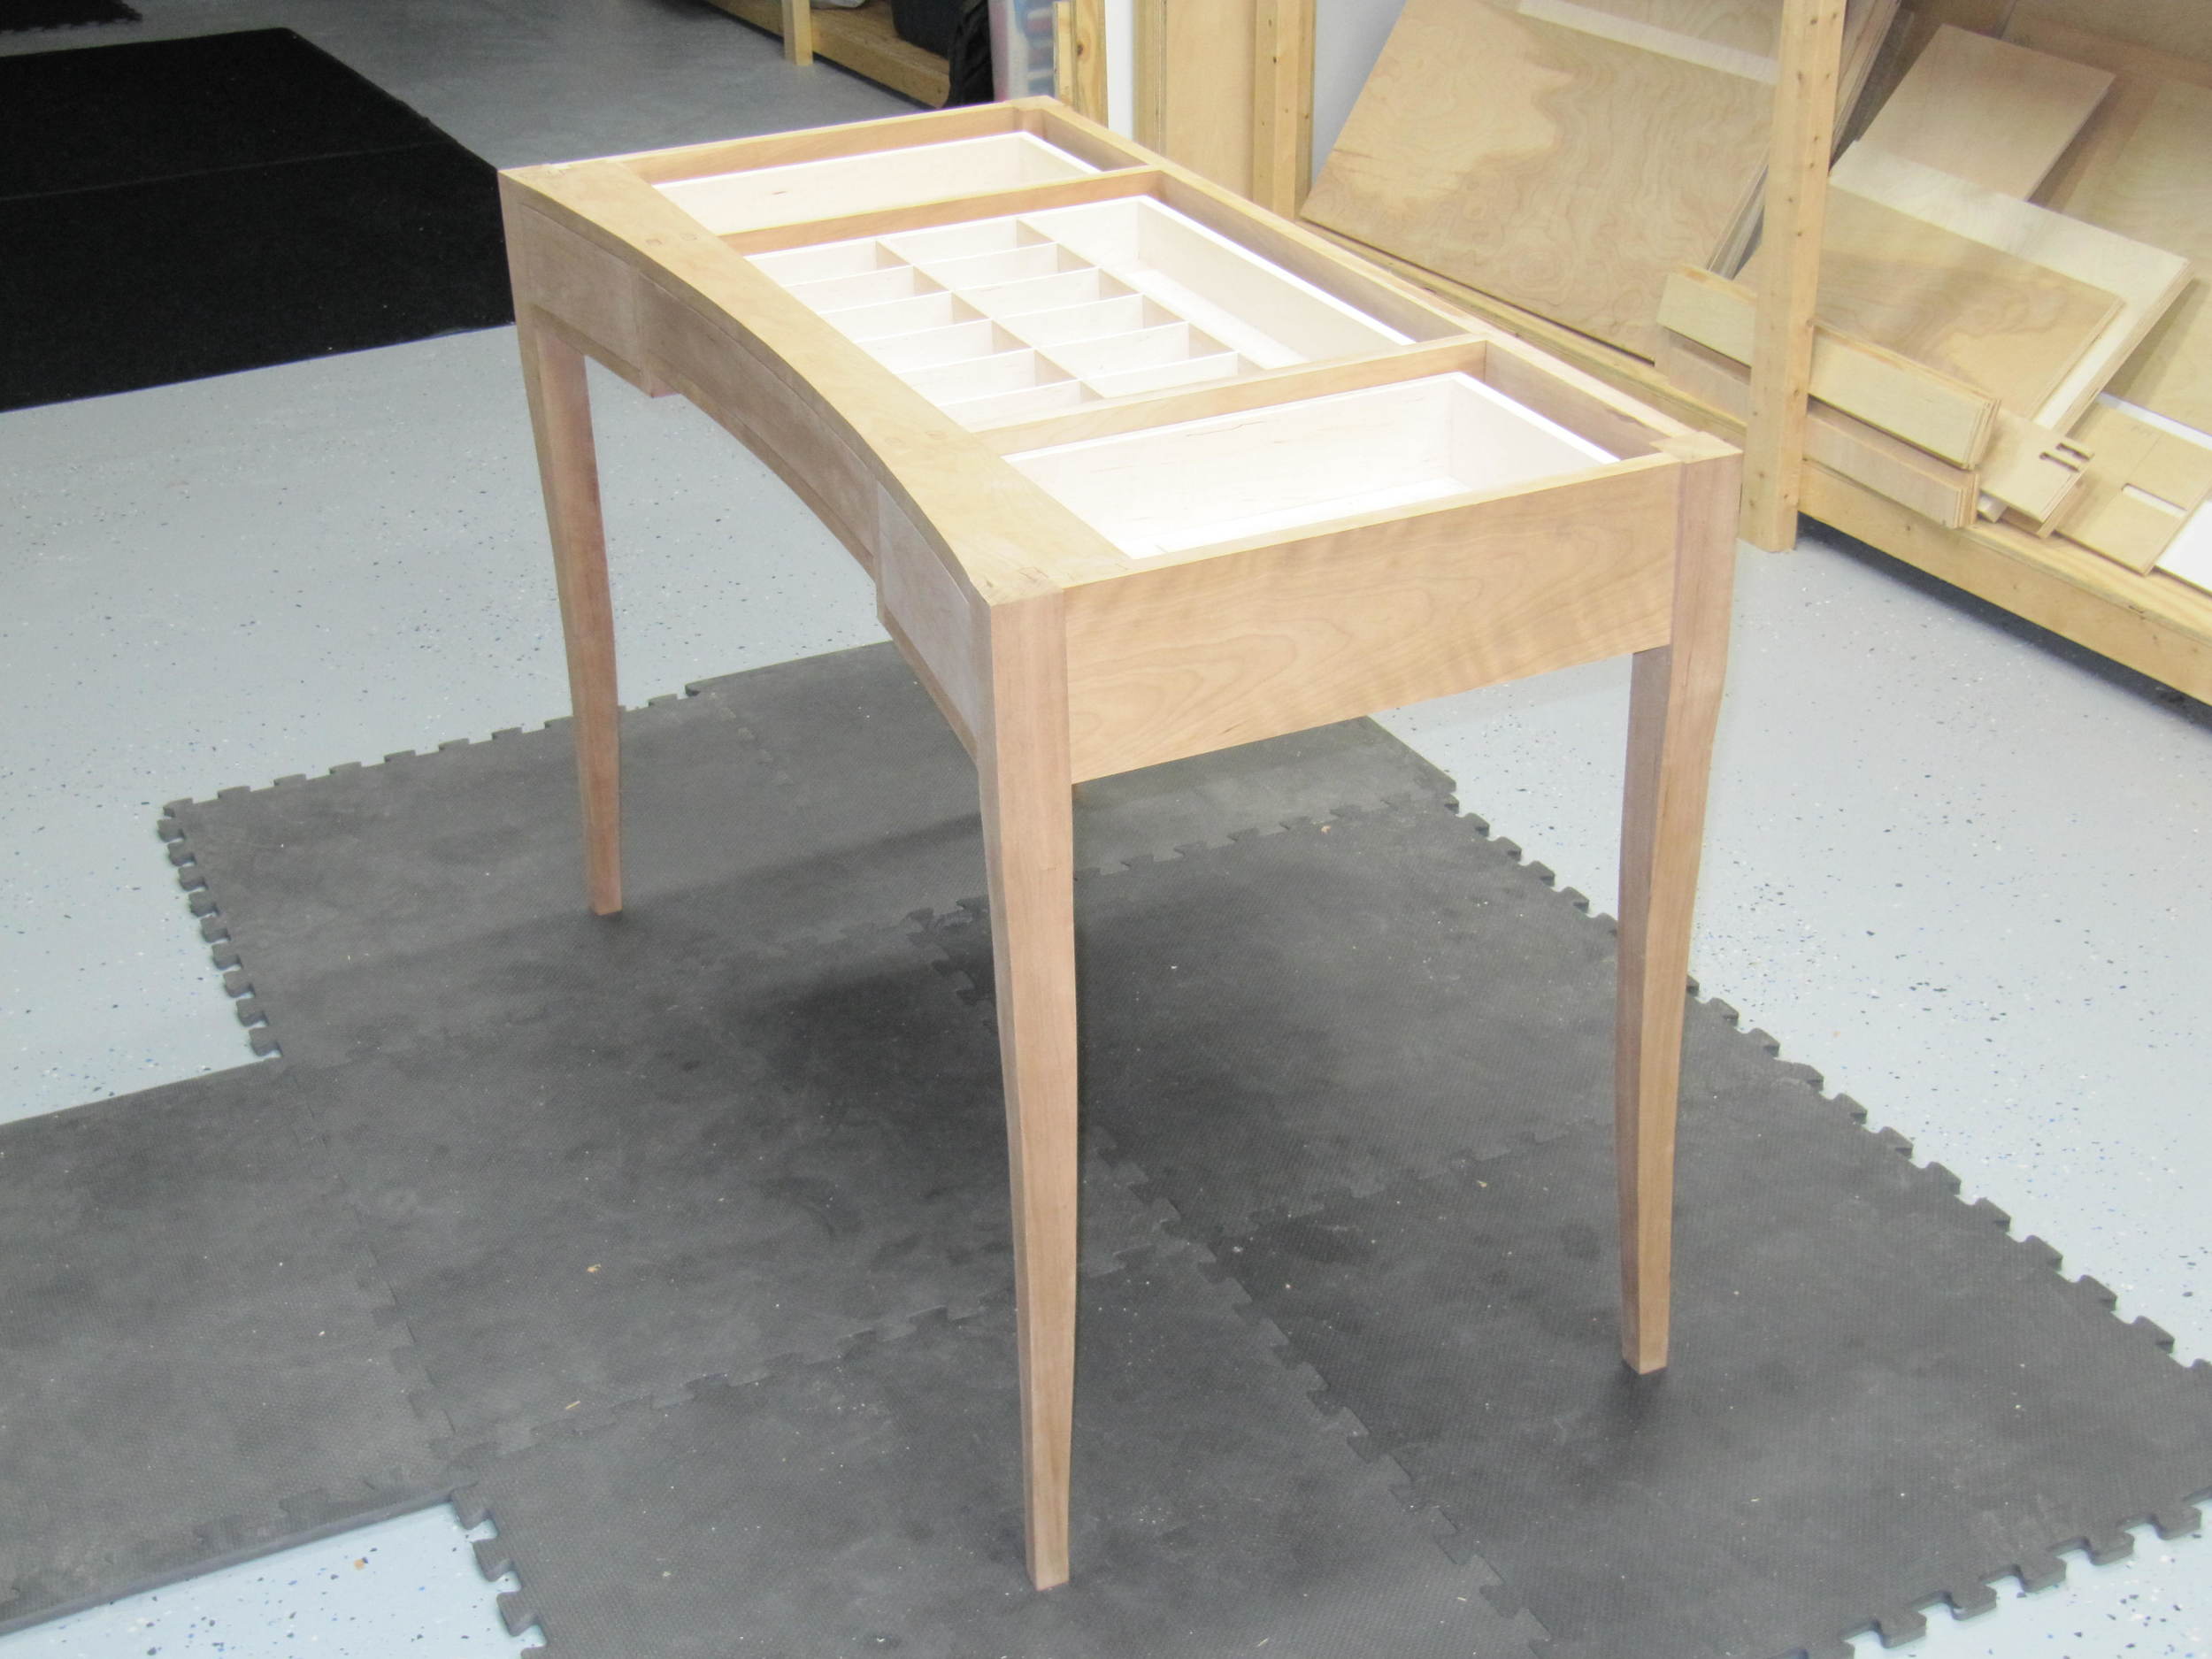
The front of this desk is where all the action is, and it’s constructed from six separate pieces, all of which are individually shaped to achieve a seamless curve: a top rail, two vertical dividers, a middle bottom rail, and two side bottom rails. These pieces are held together with a wide variety of joints: 4 dovetails on the top rail, four tenons and two sliding dovetails total on the dividers, four tenons on the middle bottom rail, and four tenons and two dovetails total on the side bottom rails. It would have been considered a healthy joinery workout on a square carcase, but in this case, all of these joints needed to be cut at various angles which makes it a bit trickier.
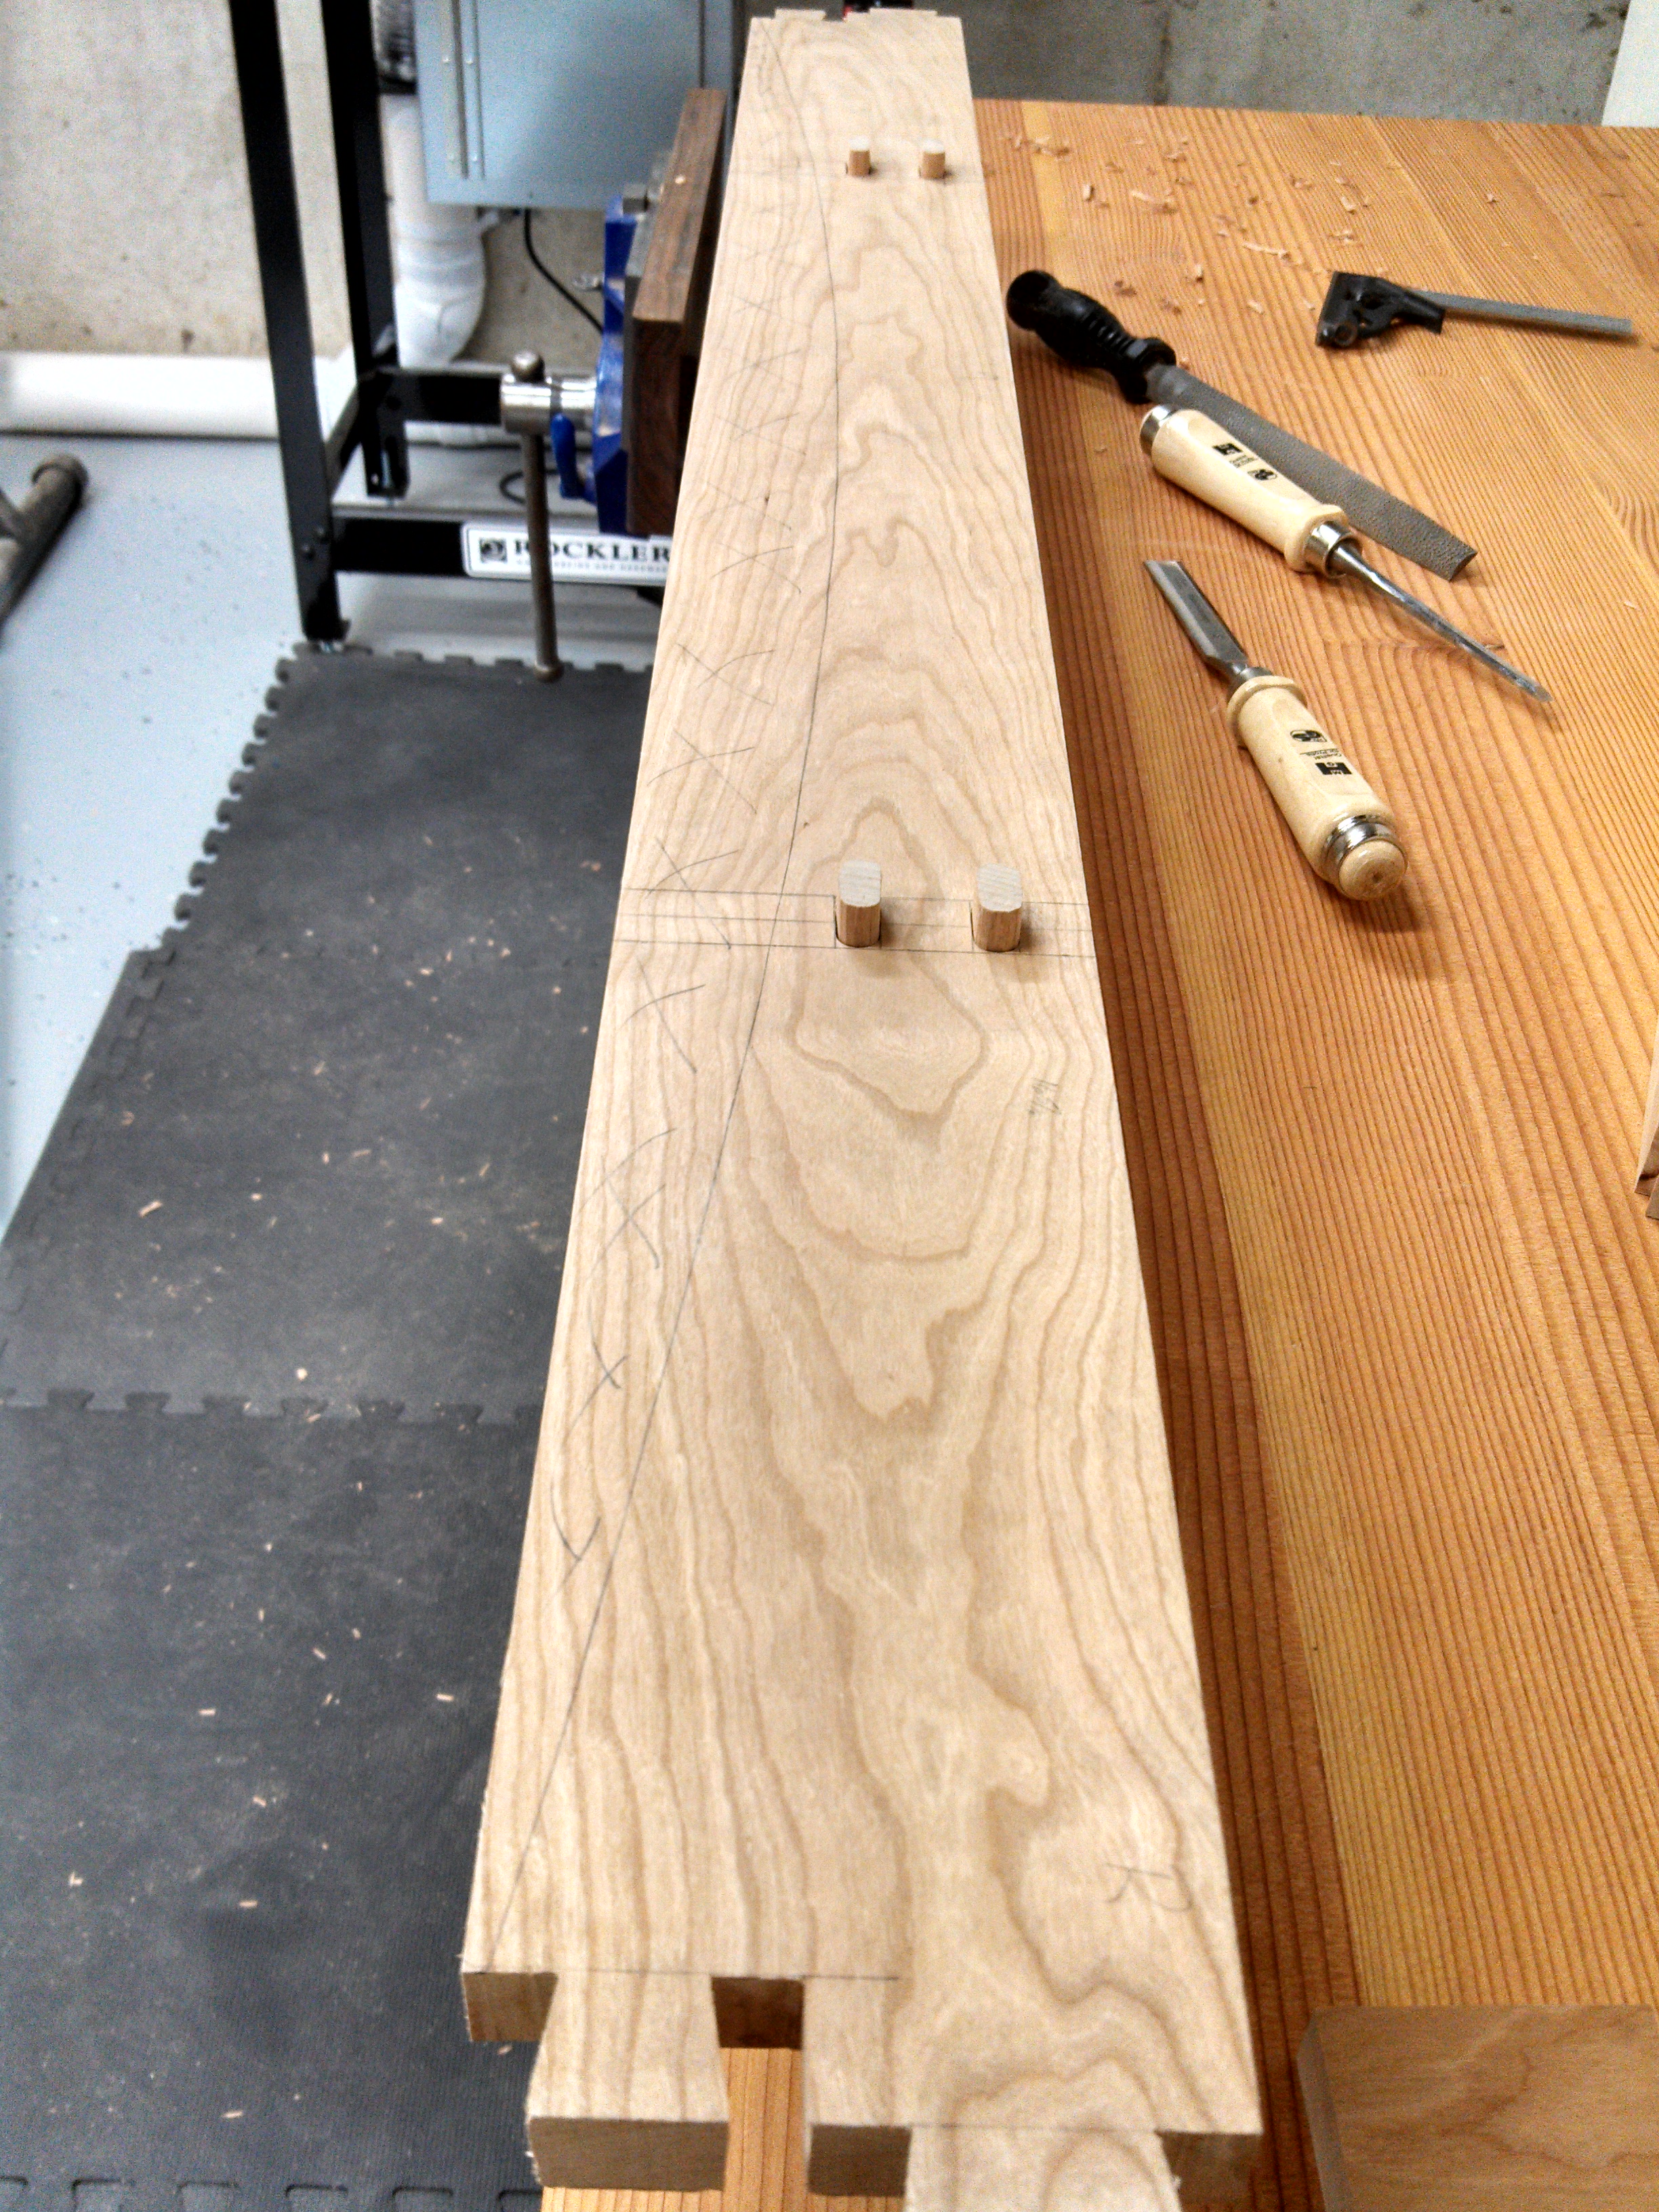
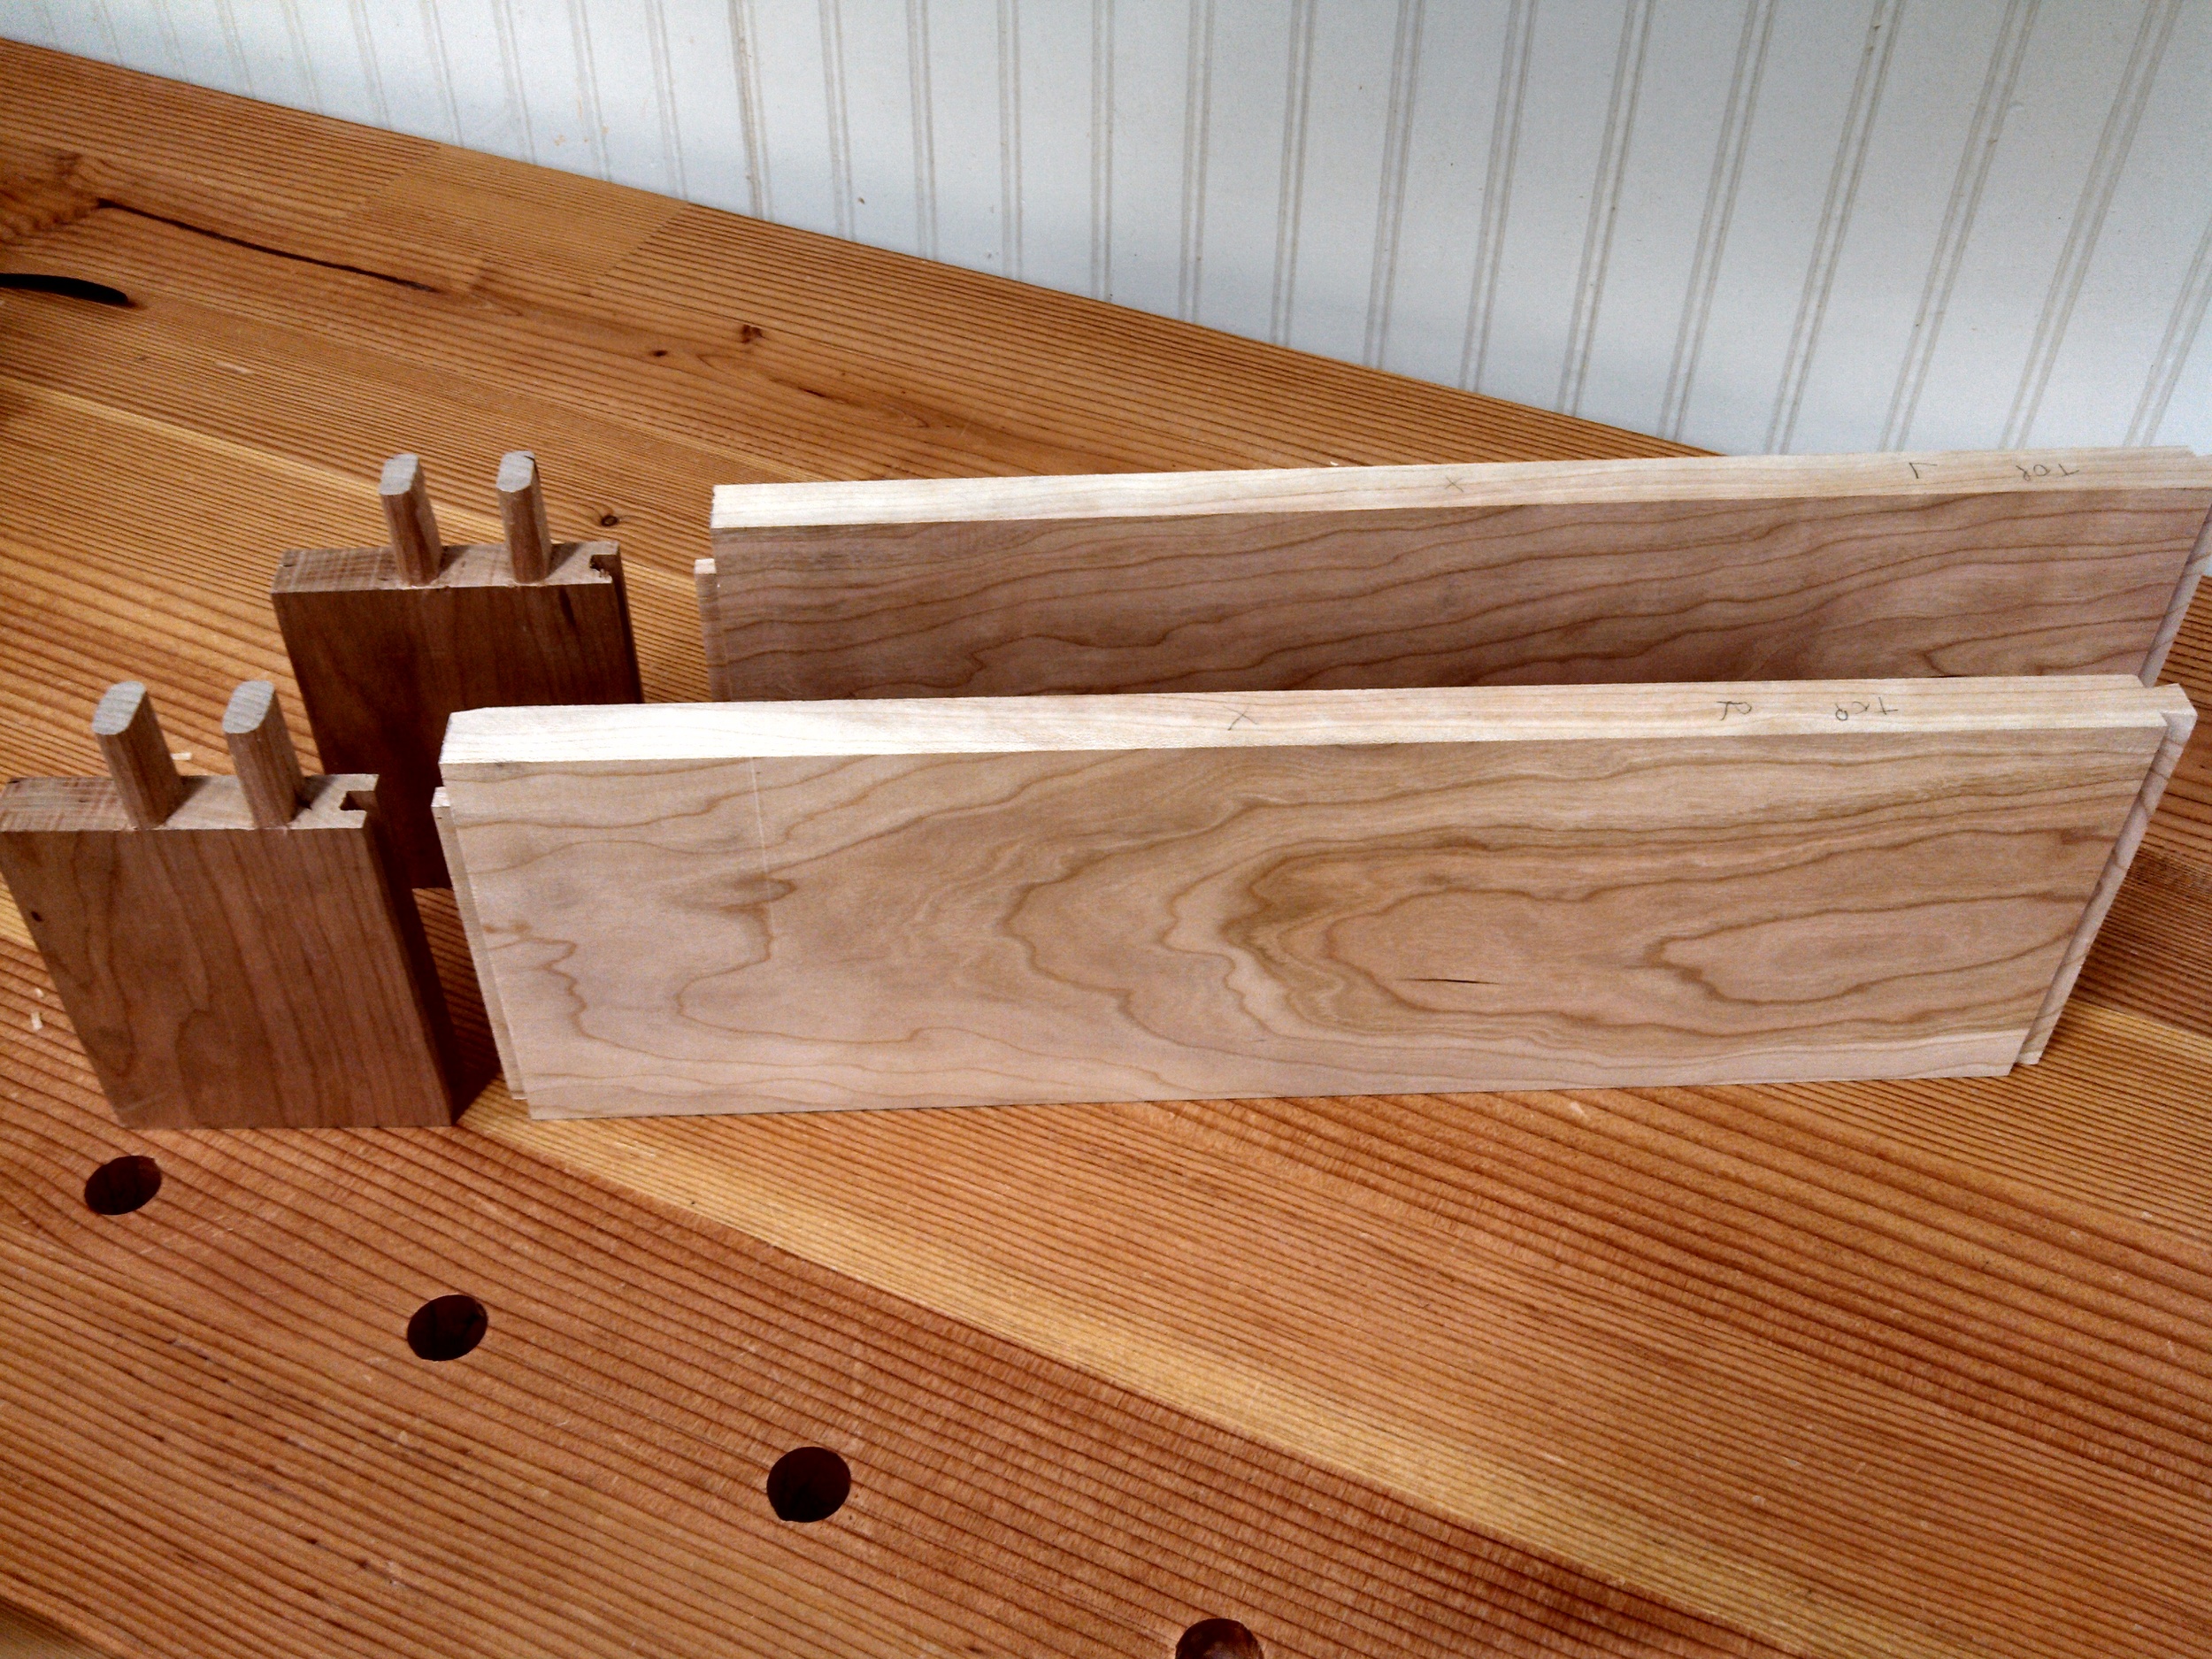
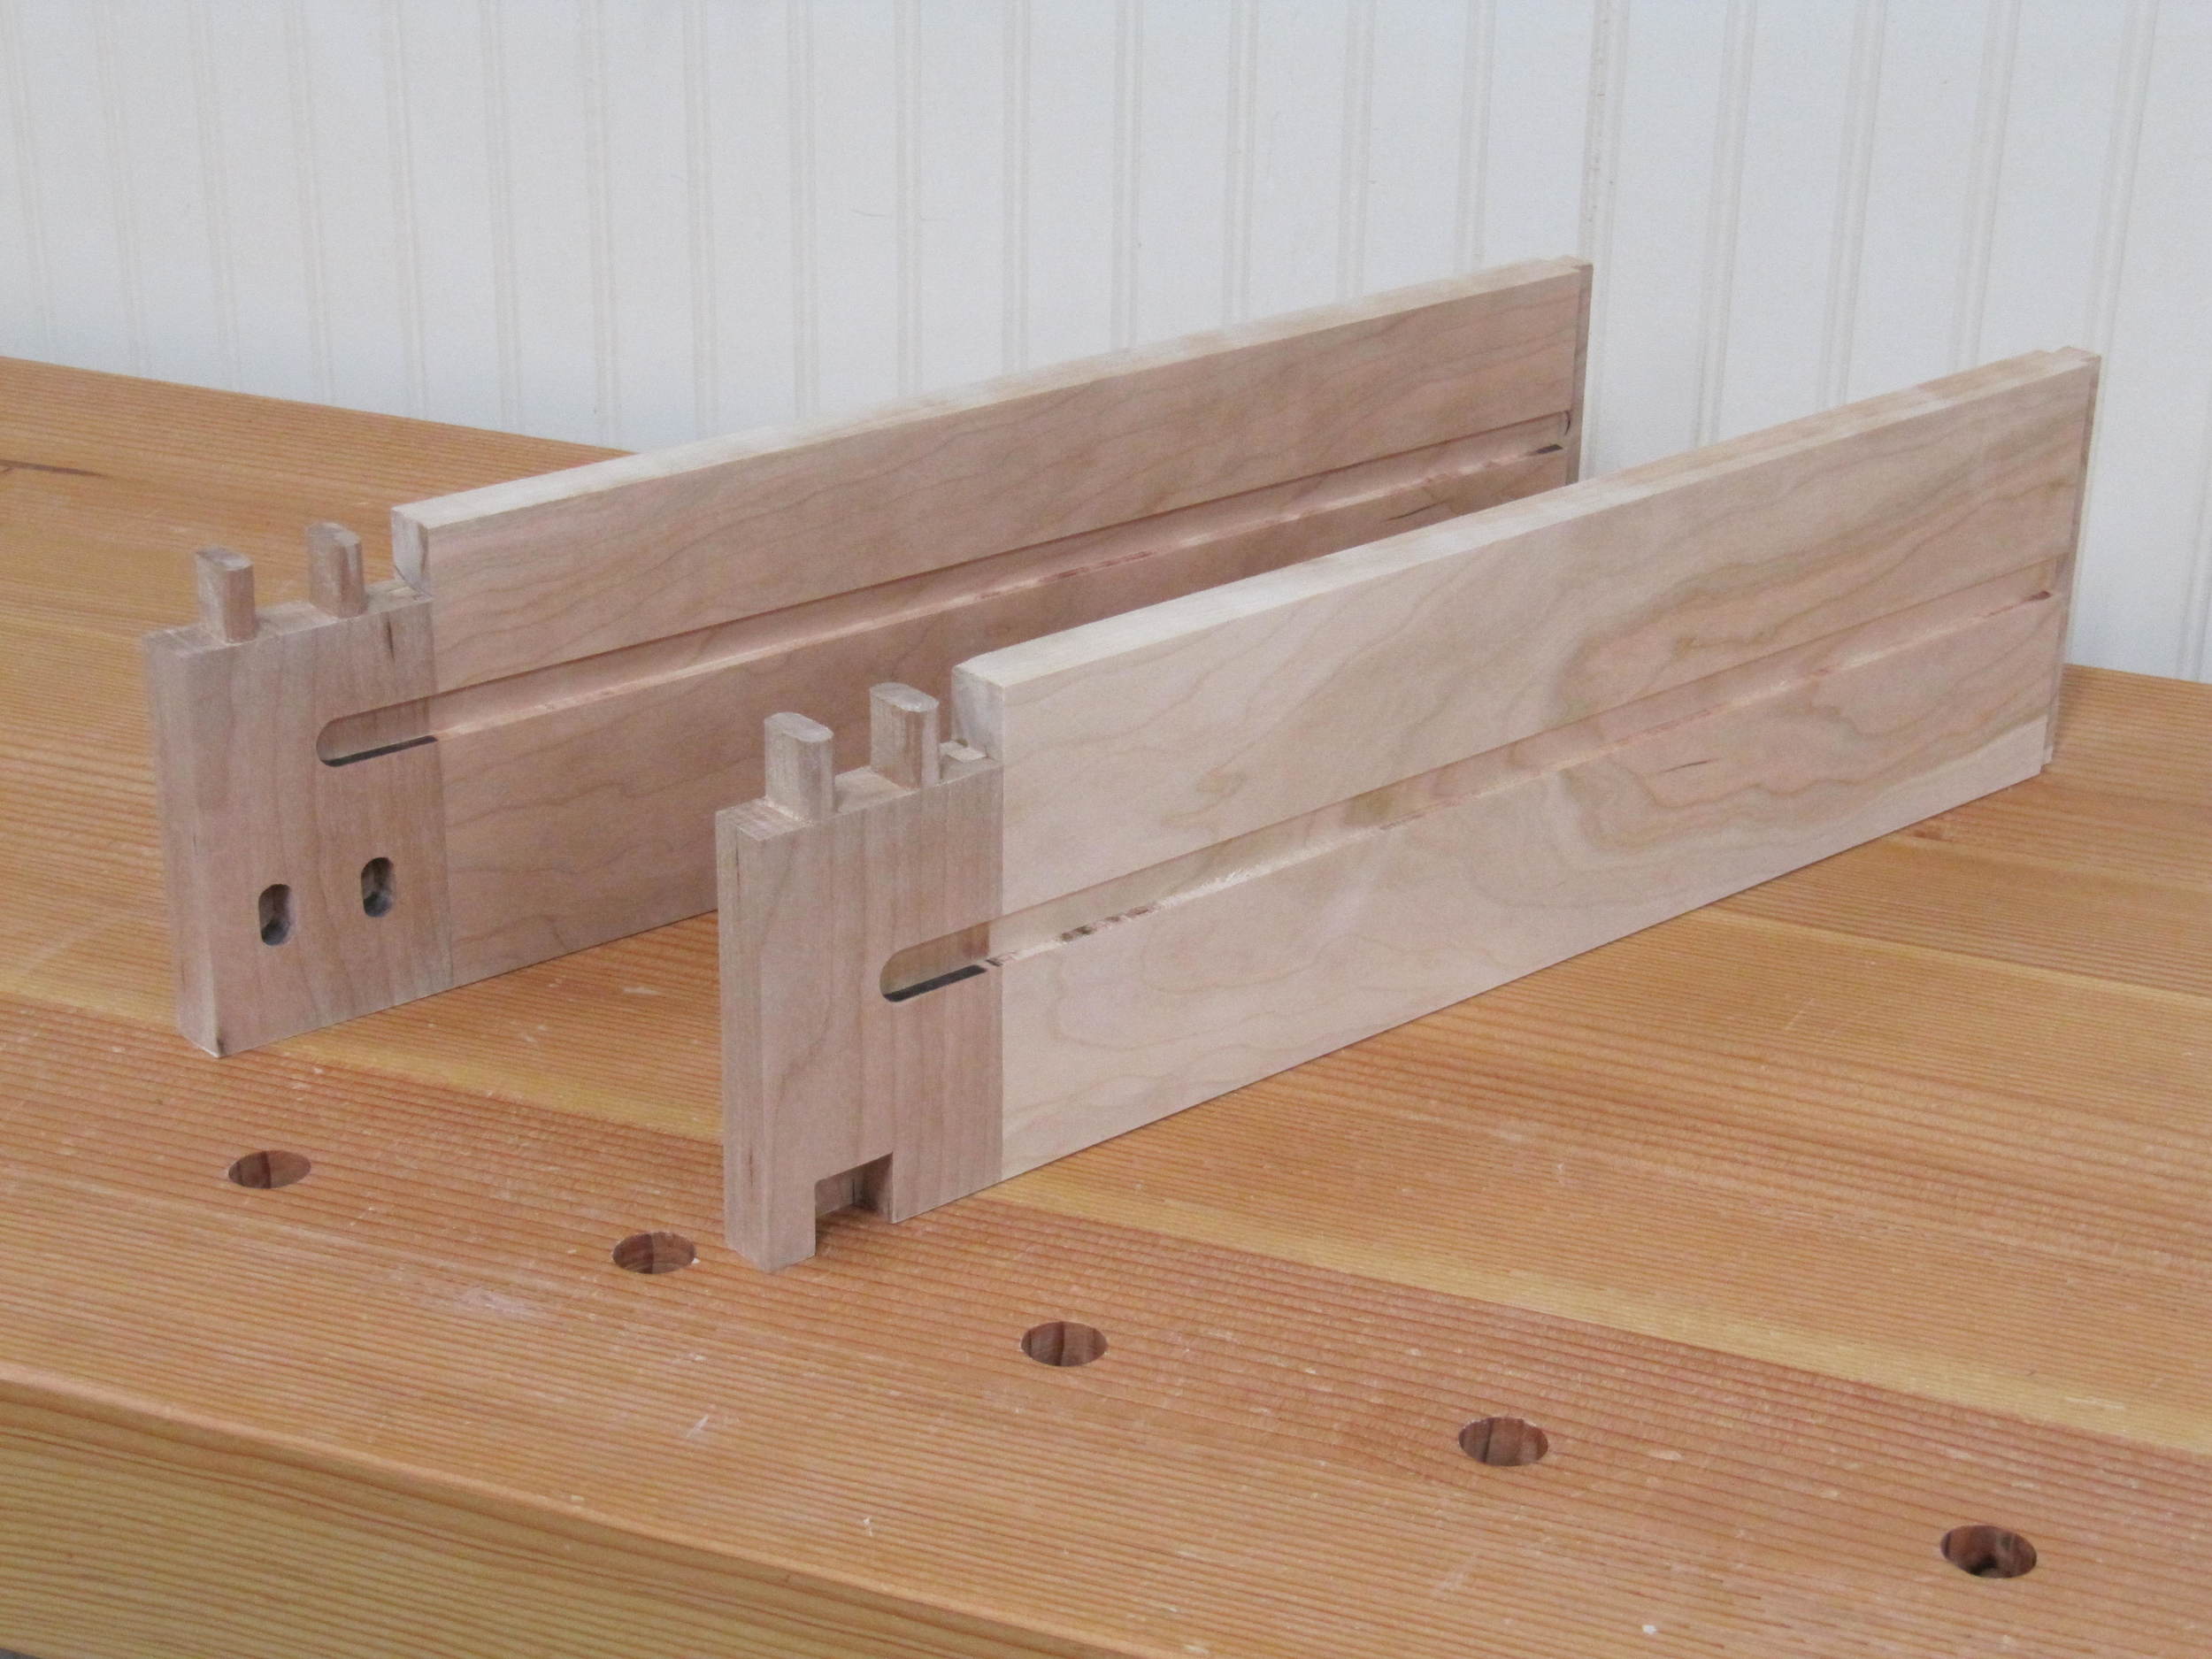
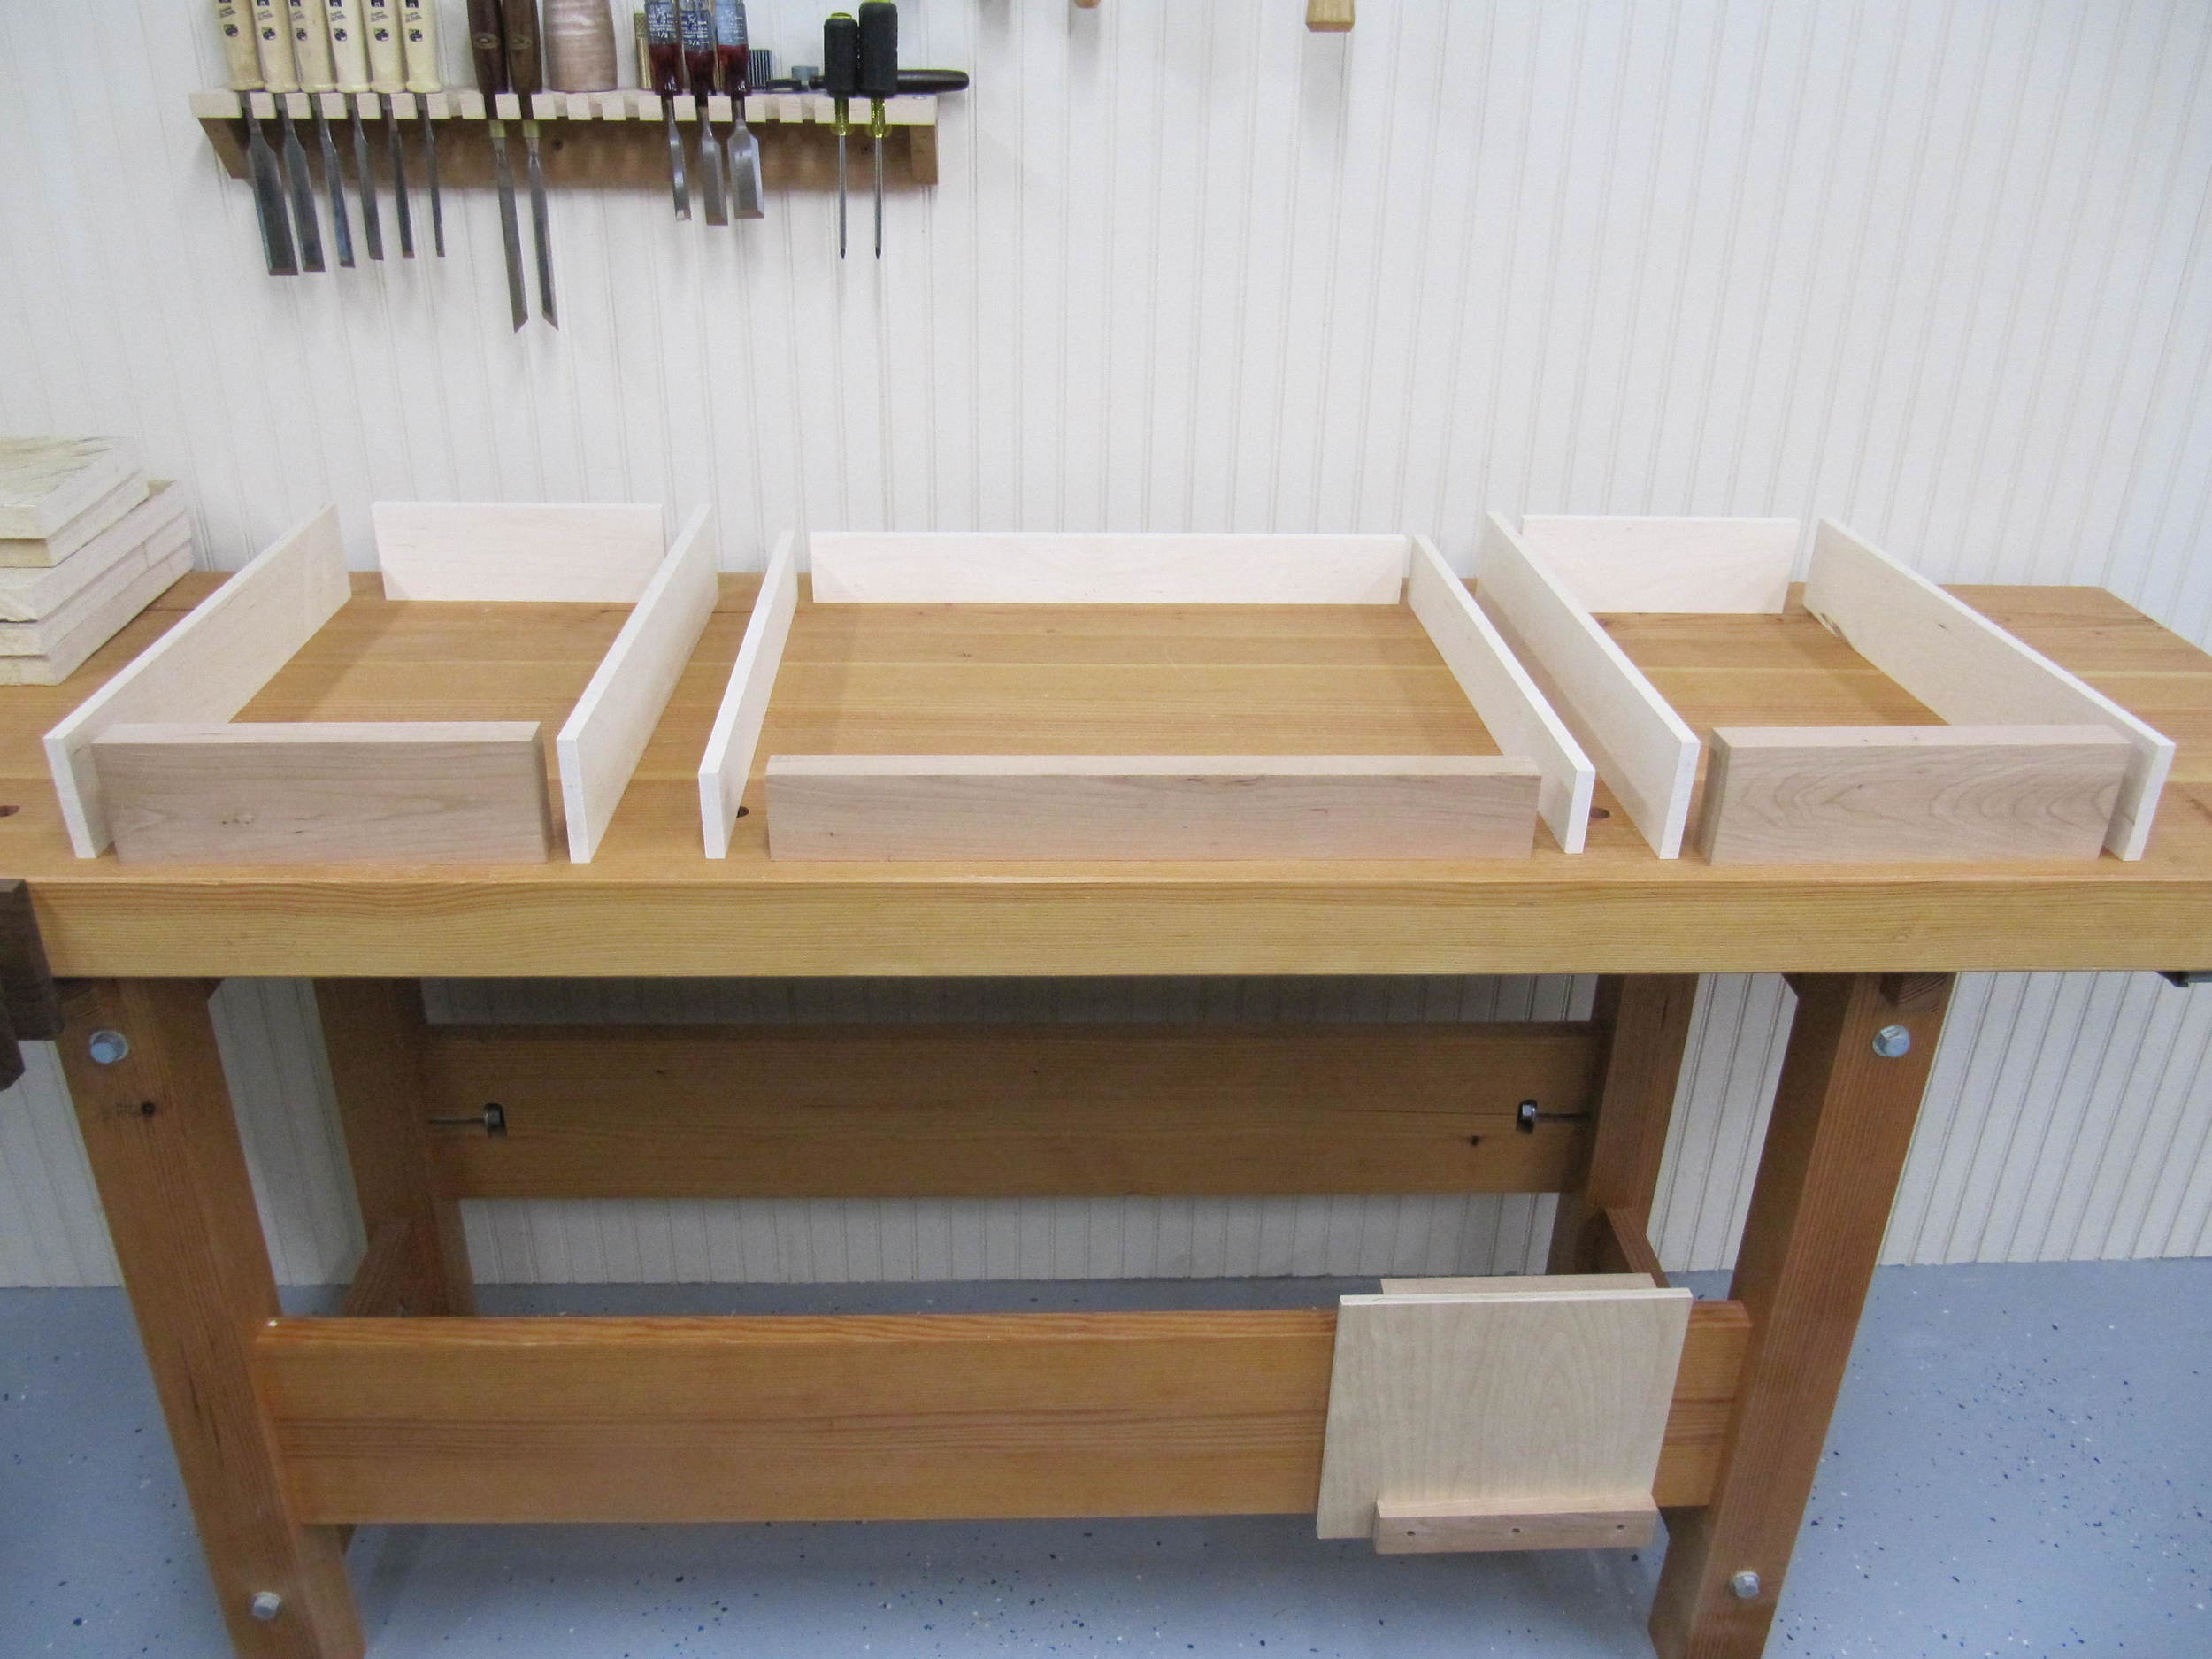
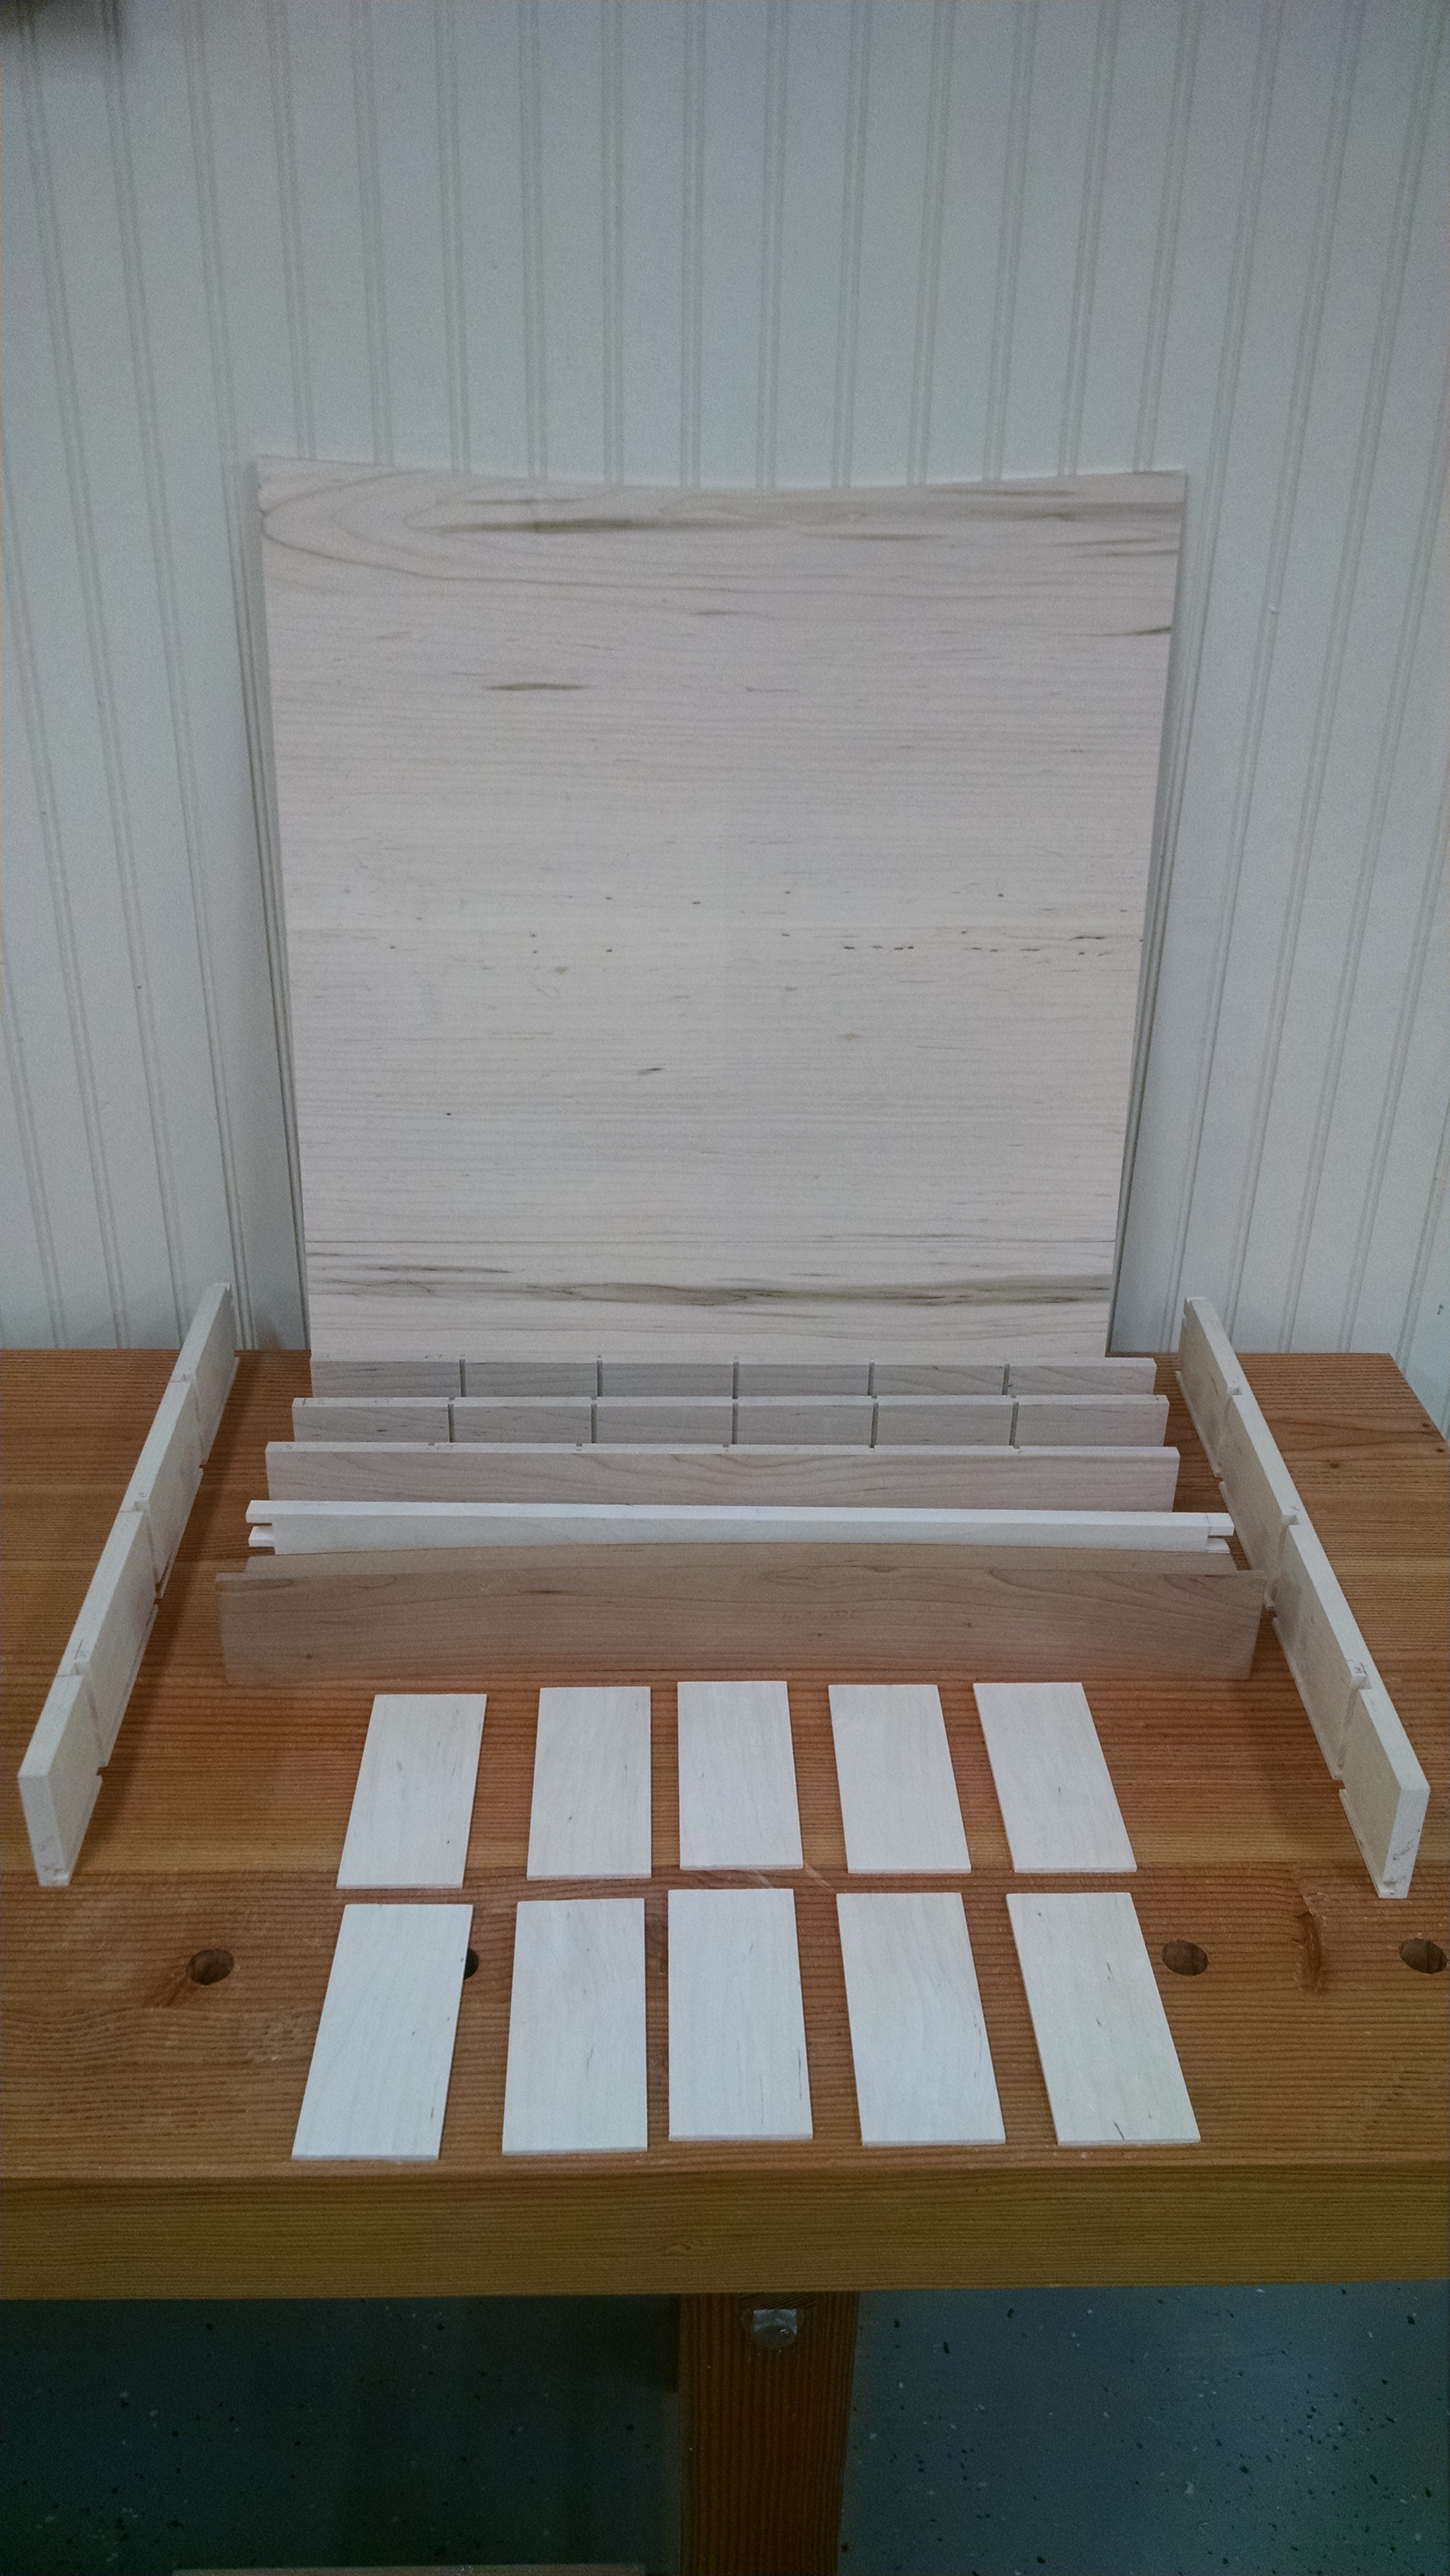
The drawers on this piece are side-hung. The middle drawer was fairly straight-forward since the box itself is square, but the two side drawers are asymmetrically curved. I wasn’t confident enough in my hand cut dovetails to use them at these odd angles, so I opted for pegged rabbet joints at the front of the drawers and through dovetails at the back. I rough-cut the curves on the drawer fronts with the bandsaw and faired them with a spokeshave.
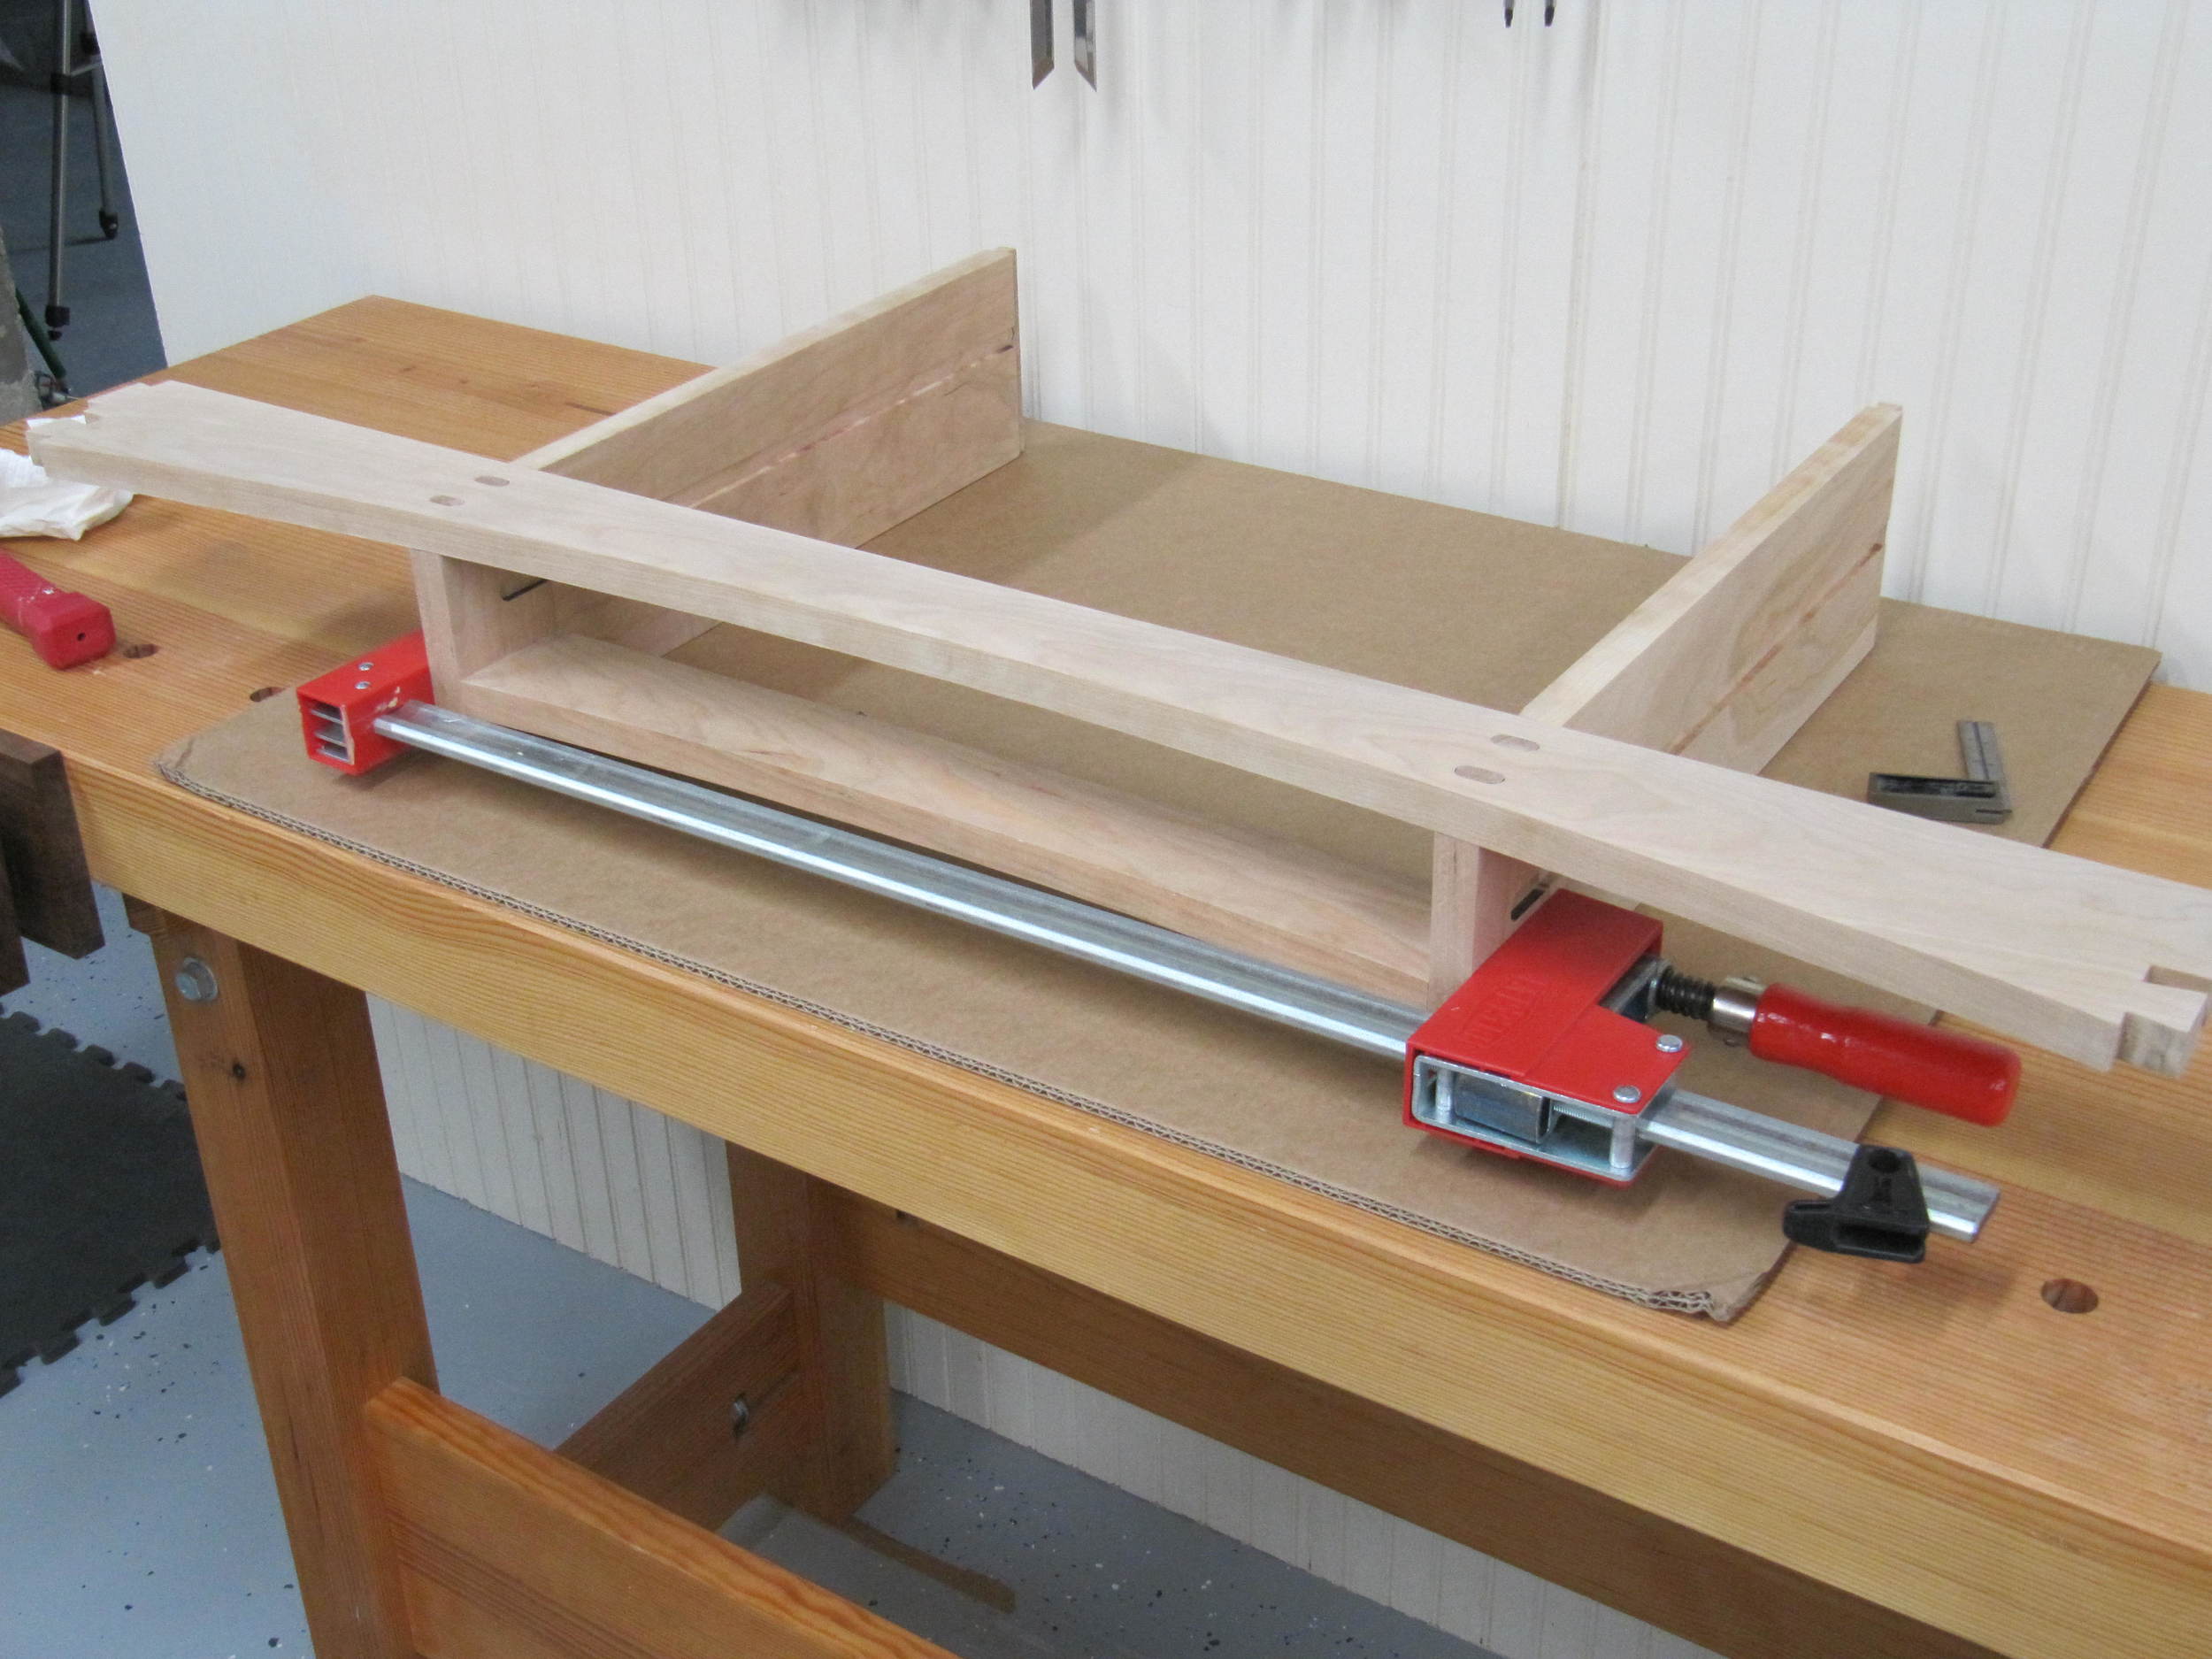
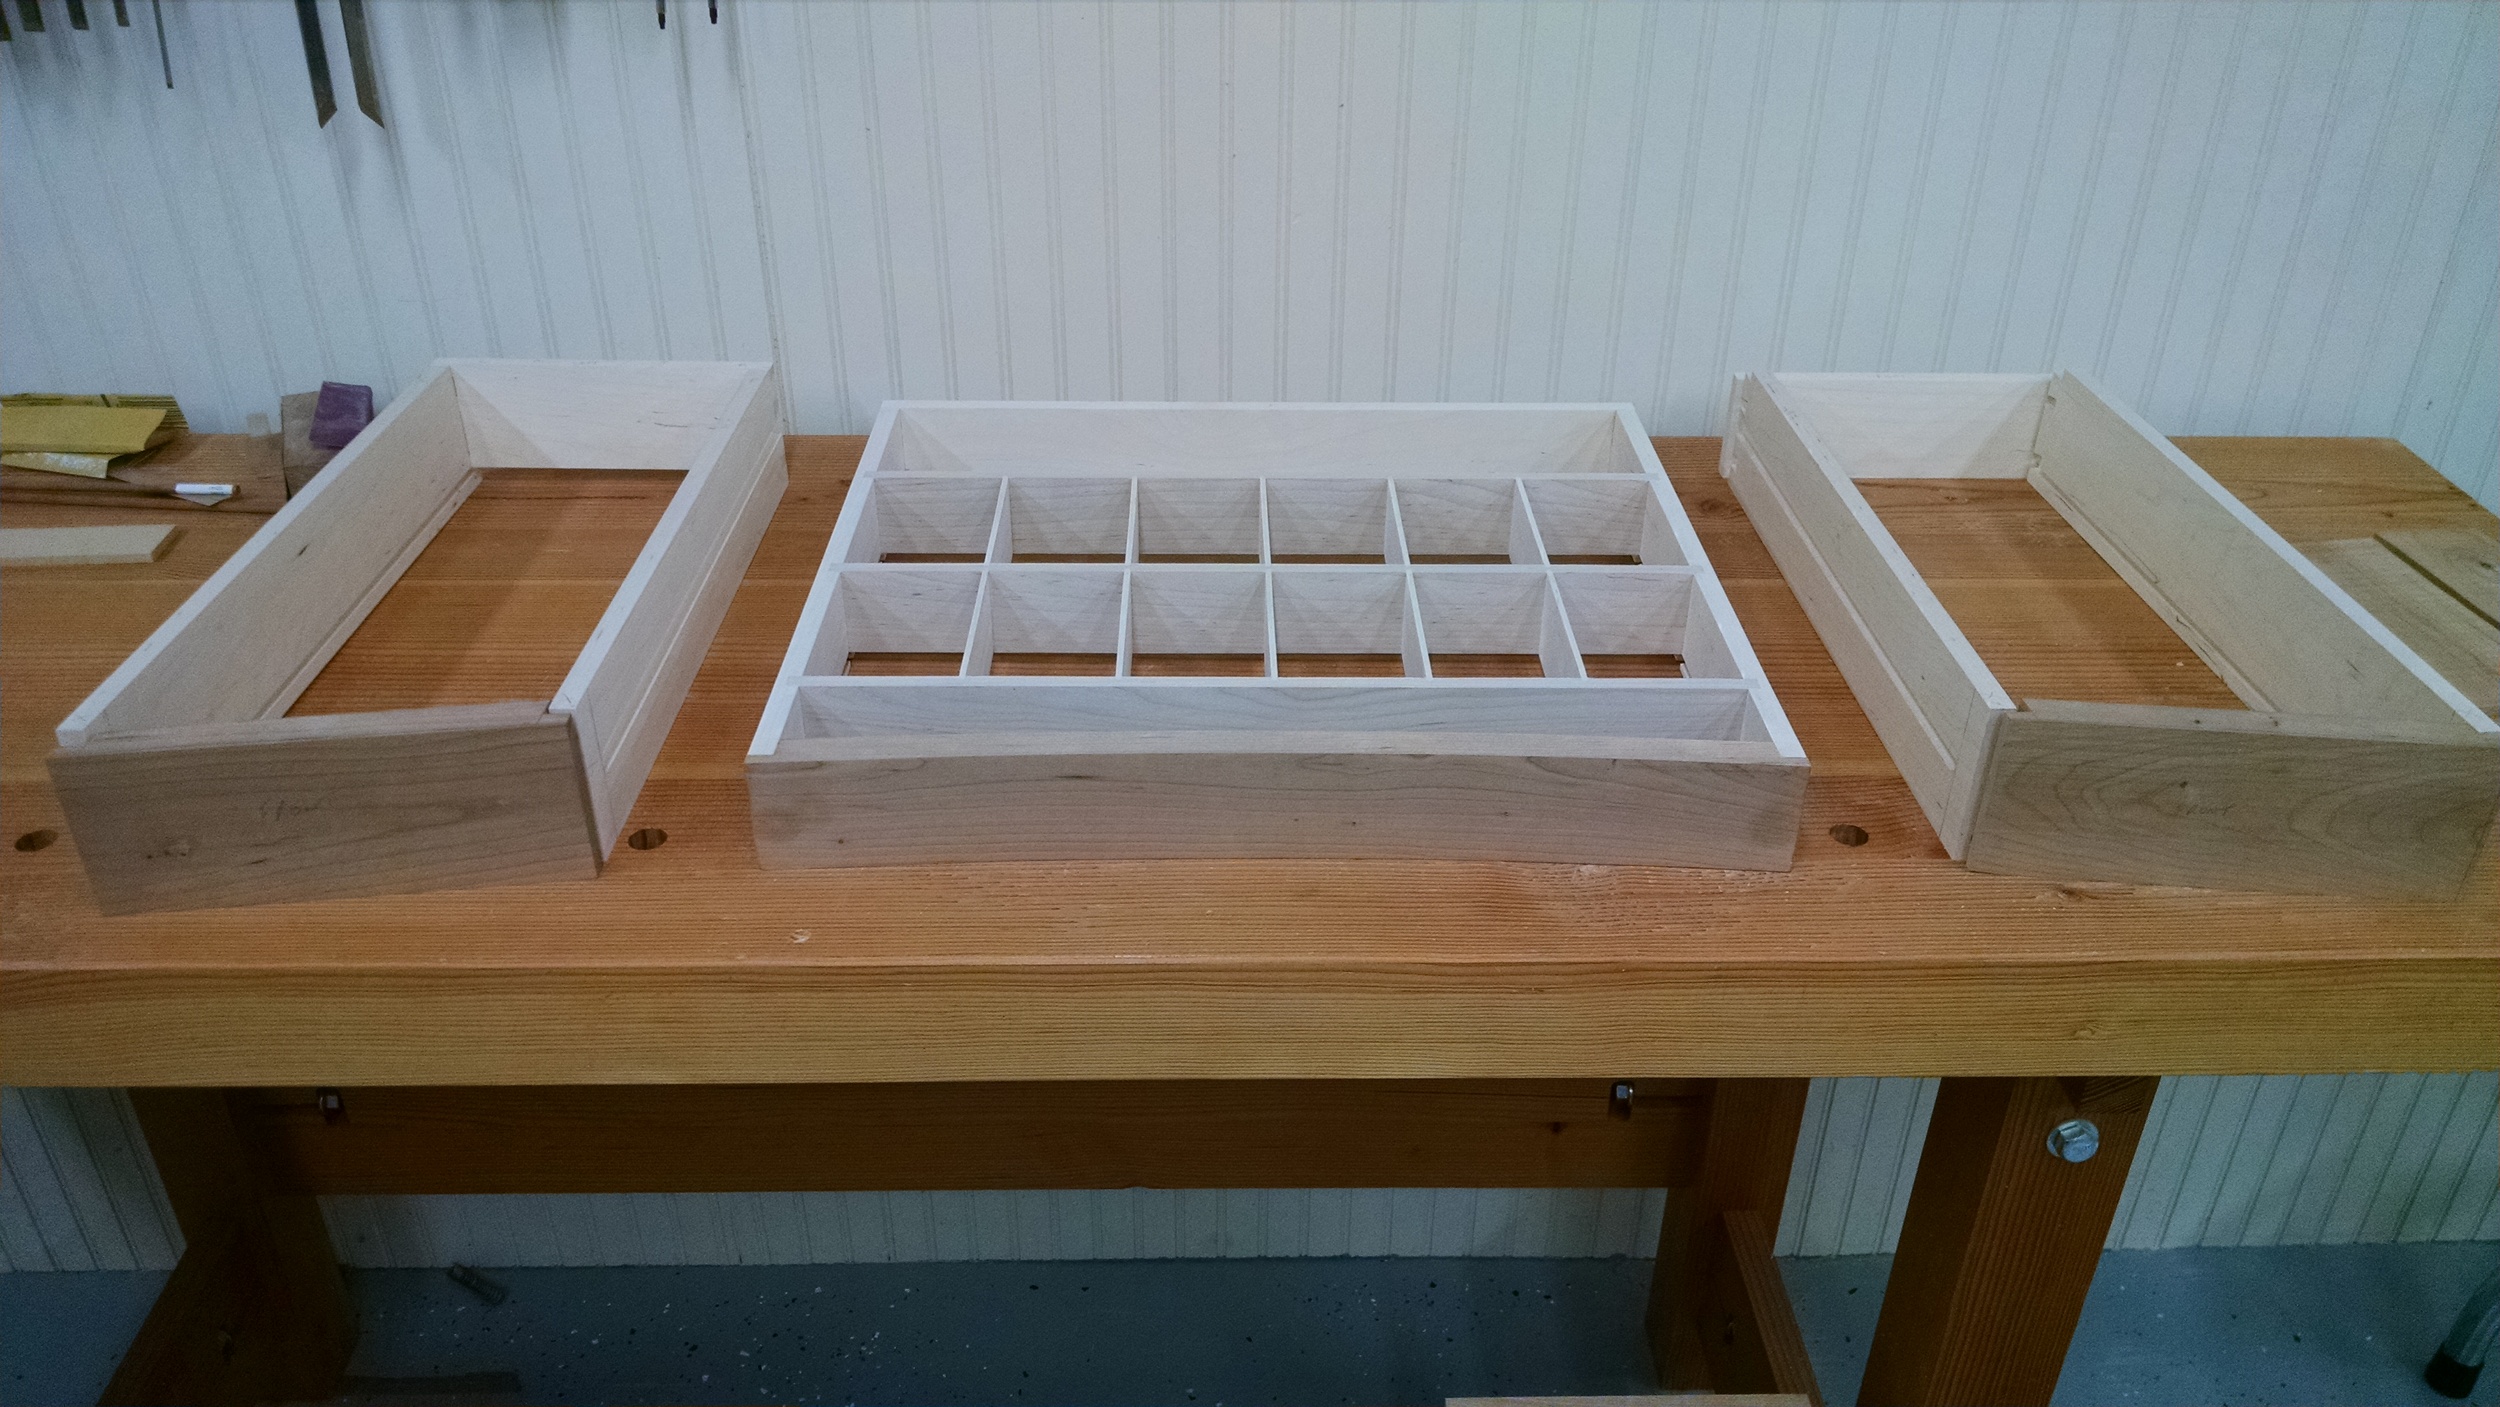
I got seriously bogged down while working on the drawers. First, I made a game-time decision to add a built-in organizer in the center drawer. I like having a built-in organizer, but I should have planned it out more. My biggest mistake was making the organizer flush with the top of the drawer sides. When you pull out the drawer a bit, it naturally tilts downward a little due to the position of its center of gravity, which caused the organizer to rub on the bottom of the top rail. I had to relieve the bottom of the top rail a bit to give more clearance, which was not an easy task with the carcase already glued up.
Next, I discovered that the right drawer pocket in my carcase was slightly out-of-square, and I ended up jumping through more hoops than necessary to get a square peg to fit smoothly in a not-quite-square hole. My first inclination was to relieve the tight areas on the carcase using a block plane and chisels. This was a waste of time. Planing down the drawer sides helped a bit, but the fit was still tight near the back. In the end, I shortened the drawer by about a 1/2" to get the fit that I needed.
Lastly, I somehow managed to taper the right drawer front from top to bottom when rough cutting the curve on the bandsaw. I was able to correct this with a spokeshave, but I had removed too much material and the drawer front looked too thin. I ended up scrapping it and making a new one.
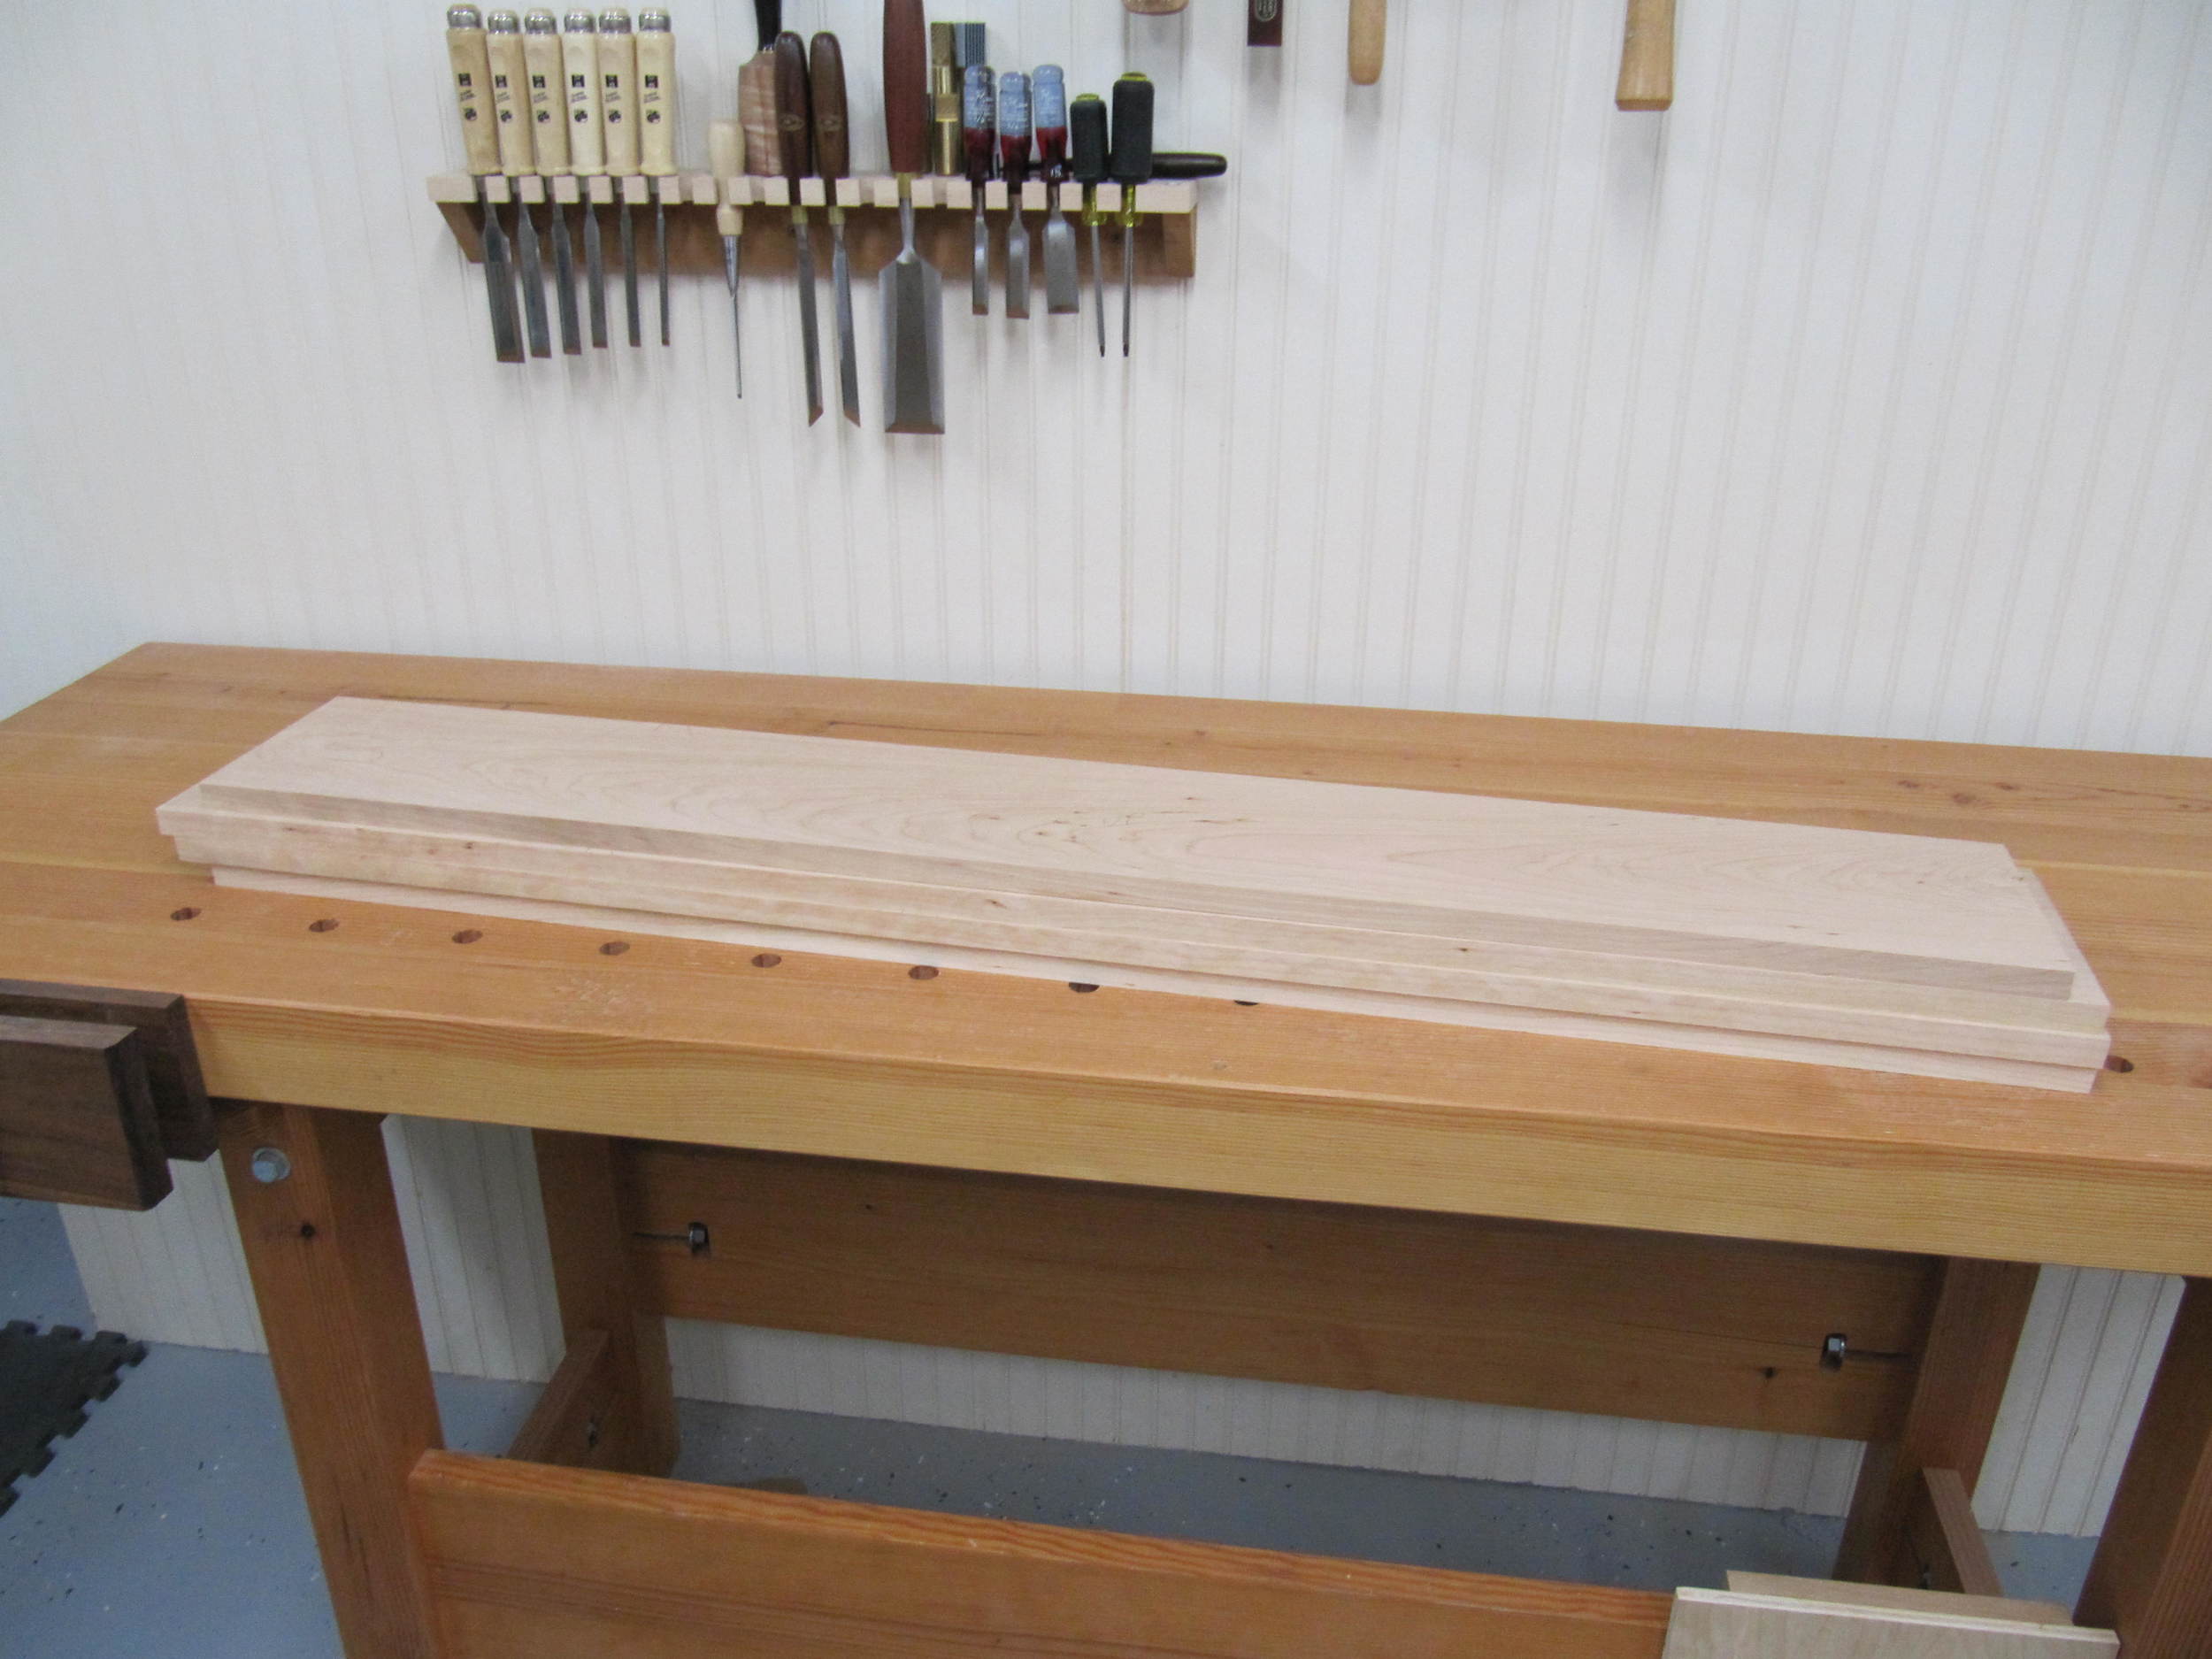
At this point, I’m nearing the finish line for this project; the top is the only component remaining. I’ve already milled the boards, glued them up into a solid panel, and cut the panel to size. All that's left is to cut and fair a curve on the front edge and do some smoothing with my #4. Construction photos are available in the gallery below.